You’re crouched under a leaking sink, trying to fit a replacement pipe, and your phone’s laser won’t read around the curved fittings; you need an exact length right now.
Or you’re measuring across a dusty worksite where reflections and rain make a digital readout jump all over the place. Most people assume digital tools always beat old-school gear and try to force a laser into situations it can’t handle.
This piece will show you how a quality steel tape measure solves those real-world problems, how to get accurate inside and outside reads, and which simple techniques keep measurements reliable.
You’ll leave knowing exactly when and how to use one. It’s easier than you think.
Key Takeaways
If you’ve ever stood on a dusty jobsite with dead batteries, this is why.
Tapes matter because they work every time without power. I use a 25-foot tape on remodels; when the laser died, I finished the wall layout in minutes. To measure: 1) hook the blade, 2) pull to the mark, 3) lock and read at eye level. Hooking the blade correctly keeps your measurement within about 1/16 inch on short runs.
Think of rugged conditions like a rainy roof as a test.
Mechanical tapes keep measuring where lasers fail, because dust, rain, glare, and reflective siding don’t stop the blade. I climbed a wet roof and measured rafter lengths with a 16-foot tape when the laser bounced off metal flashing. Use a nylon-coated blade and a sturdy end hook for repeatable standout; a good 25-foot tape will hold straight about 8–10 feet before sagging.
Before you rely on electronics, learn the simple trick that avoids errors.
You avoid triangulation and parallax by locking the blade and reading at eye level. Example: when trimming kitchen cabinets, lock the tape and crouch so your eye lines up with the mark; this prevents a half-inch mistake across a run. Steps: 1) hook, 2) pull, 3) lock, 4) bring eye to the blade, 5) read the nearest 1/16 inch.
You don’t need an expensive backup when things fail.
Tapes are cheap, pocketable, and last for years, so keep one in your tool belt as a fallback. On a weekend deck build, my electronic tools died and the $15 tape finished the joist layout without delay. Store it with the blade retracted and wipe the blade after use to prevent rust and to keep the hook functioning within its designed tolerance.
Why Keep a Tape Measure in Your Tool Bag
If you’ve ever needed a quick measurement and had nothing but your hands, this is why.
Keep a tape measure in your bag because it lets you get exact lengths without fuss; you can pull the metal blade out 10 inches or 2.5 meters and read it instantly. Example: when you’re buying a shelf and the store shows a 36-inch option, you can check the gap at home in 15 seconds and see that you actually have 34 3/4 inches of space.
Why this matters: a tape works when batteries fail or outlets aren’t nearby. For instance, at a windy campsite your phone might die but a tape still snaps out cleanly and locks at 60 inches.
How to use one, step by step:
- Hook the end over the edge you want to measure. The end hook is designed to shift slightly; if you’re measuring from an outside edge, let it catch and read to the nearest 1/16 inch or millimeter.
- Pull the blade until it reaches the far edge and lock it with the thumb lock.
- Read the number where the blade meets the case; for longer spans, add the case length (usually 1 inch or 25 mm) if you start from the case edge.
- Retract slowly to avoid kinking the blade.
Real-world example: measuring a cabinet opening for a microwave takes less than a minute with a tape—hook at the left jamb, extend to the right jamb, lock at 23 1/2 inches, and you know what size microwave will fit.
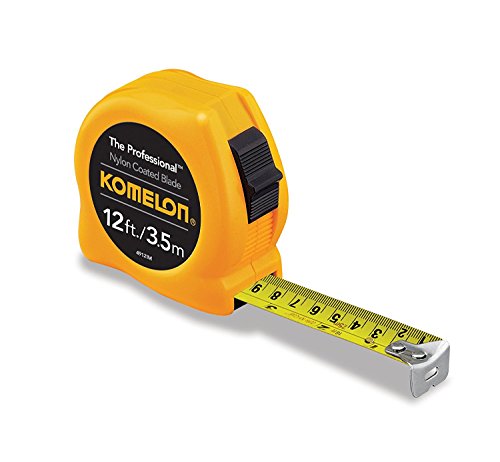
Choose a tape that lasts: buy a trusted brand with a 1-inch metal case hook and a blade rated for at least 10 feet (3 meters) of stiff stand. A 25-foot (7.5 m) tape with a nylon-coated blade resists rust and holds straight when extended.
Why the metal blade helps: the blade’s stiffness gives a straight line over gaps so you can measure alone without another person holding the far end. Example: when fitting baseboard around a doorway, a stiff blade lets you get an accurate single-person corner measurement.
Keep these shortcuts in mind:
- For inside measurements, press the end hook flush and read; for outside, let it pull out slightly and read.
- Round up to the nearest 1/16 inch for cuts; round down for clearance gaps.
- If the blade is bent or the hook is loose, replace the tape—accuracy drops quickly.
A tape is simple, durable, and predictable; with one in your bag you’ll avoid guessing and save time on small jobs.
Tapes vs. Lasers in Harsh Conditions
If you’ve ever been on a windy, dusty jobsite, this is why.
Why it matters: you need a measurement tool that keeps working when conditions are bad so you don’t waste time or make costly mistakes. I stick with a traditional tape measure in those situations because it keeps working where lasers often fail.
Lasers fail when the beam can’t reach a clear, reflective target; tapes don’t need a beam. For example, on a demolition site with dust blowing and sunlight at noon, I use a 25-foot steel tape with a magnetic hook to grab rebar and run a straight pull—no reflection required. If you use a laser there, bright sunlight can scatter the beam and give you erratic numbers.
Before explaining how to use a tape in rough conditions, know why its design helps: no batteries and simple mechanics mean fewer failure points. I once worked on a rainy bridge retrofit where an electronic rangefinder shut down after splashes got past its seals; the tape kept measuring through the wet spots.
How to get reliable tape measurements in harsh spots:
- Pick the right tape: use a 25–30 ft steel tape with a recessed case and a magnetic or serrated hook for edge gripping.
- Grip the tape correctly: hook the tape on the edge and pull taut; for distances over 10 ft have someone hold the case or brace it against a surface.
- Read in daylight: face the tape so your eyes are perpendicular to the markings to avoid parallax error; extend slowly for every 1–2 inches of accuracy.
- Protect the tape: retract smoothly to avoid kinking and wipe off grit; spray a little silicone on the blade if you’re measuring in saltwater environments.
In tight, dirty spaces you can feel the end stop against an edge, which avoids the triangulation errors lasers make on irregular surfaces. For instance, inside a cramped utility closet with peeling paint and exposed pipes, I lay the tape along the pipe run and feel the stop, then mark the 7 ft 4 in point with a pencil.
Use a laser only when conditions are controlled and you need a single-person long-range check. On a clear day across an open field a laser can get a quick 100 ft reading, but on a muddy trench with standing water, trust the tape every time.
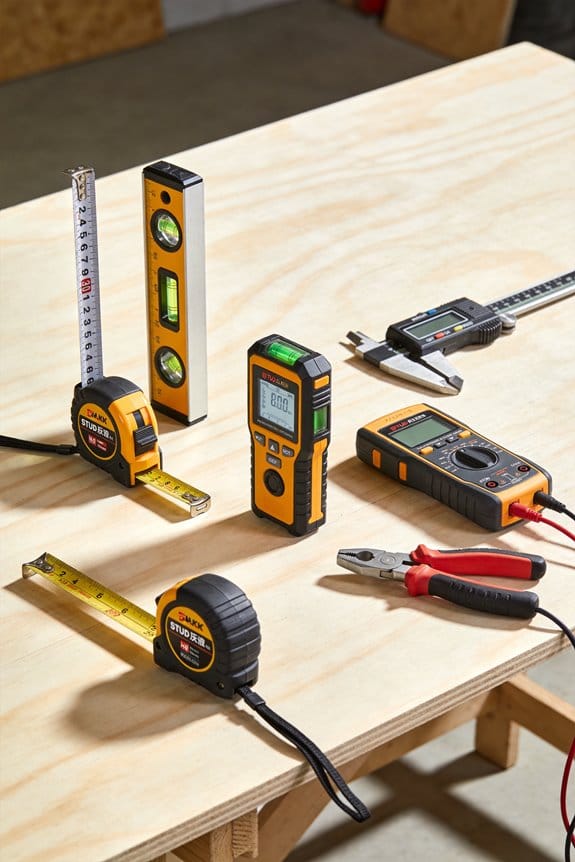
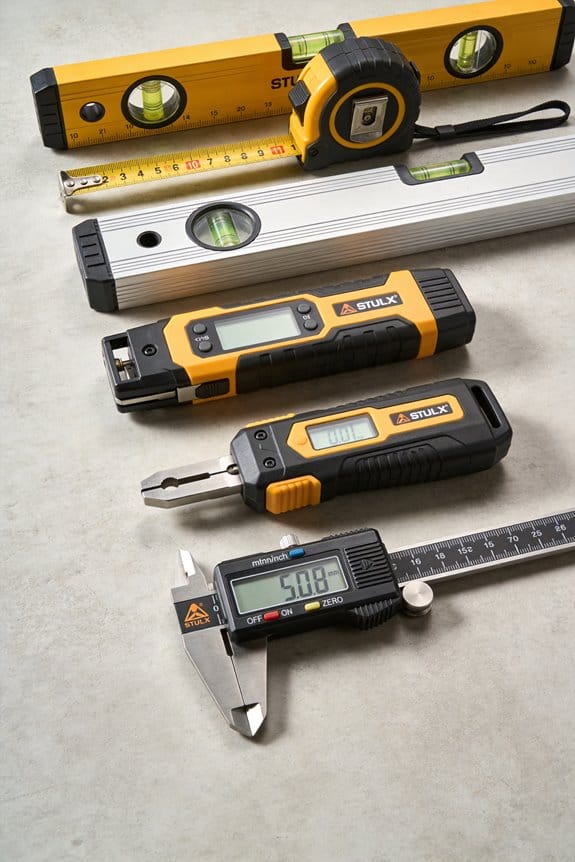
Recommended Products

12mm/0.472inch, 250m/820ft length Fiberglass Fish Tape: Running fish tape puller is sturdy and durable and Fiberglass non-conductive, rust and corrosion resistant, superior pulling strength. Epoxy fiberglass (inner) and high density polyethylene (outer).

Contains 11-piece apprentice tool kit and 25-foot tape measure from Klein Tools for versatile use.

3M Dual Lock Reclosable Fastener SJ3560 has the highest temperature performance of up 220 degrees fahrenheit and can be used indoors and outdoors. 3M Dual Lock Reclosable Fastener SJ3560 is for use with metals (aluminum, stainless steel), glass and high surface energy plastics (acrylic, polycarbonate, ABS) and can be opened and closed 1,000 times.
When a Tape Measure Is the Smarter, Cheaper Choice
You don’t need expensive gadgets if you’re working around the house.
Why this matters: you’ll save money and avoid delays when a battery dies. For example, when you hung shelf brackets in a damp garage, the tape never quit while the laser kept flickering.
When should you pick a tape over a laser? Use a tape when cost, simplicity, and reliability matter most. A good 25-foot steel tape costs $10–$25, fits your pocket, and doesn’t need charging. If you’re measuring for baseboards, window trim, or a closet shelf, a tape gives the accuracy you need for straight runs and inside corners. I used a 25-foot Stanley tape to measure and cut trim for a 10-foot wall — no batteries, no fuss.
How to use a tape so you don’t waste time
Why this matters: proper technique keeps measurements accurate and repeatable. Picture yourself fitting a cabinet in a cramped laundry room and not being able to see both ends clearly.
- Hook the tape’s end on the edge and pull to the other end, keeping the blade straight.
- Lock the blade and read at eye level to avoid parallax error.
- If the hook is bent, add or subtract the thickness as stamped on the hook (usually 1/16″ or 1/8″).
- Record the measurement immediately on a notepad or phone.
Example: measuring a 34 3/8″ gap for a dishwasher — hook, pull, lock, read, and write down 34 3/8″.
Why tapes beat lasers in rough conditions
Why this matters: lasers can fail where a tape keeps working. I once had to measure a muddy basement after a storm; the laser’s lens fogged, but the tape worked fine.
- Dust, rain, and reflective surfaces confuse lasers.
- Tapes ignore lighting and surface finish.
- If your site is cramped, you can reach around obstacles with a tape.
When portability and low maintenance count
Why this matters: fewer parts mean fewer failures when you’re on a tight schedule. For a weekend DIY, you don’t want downtime looking for chargers.
- Choose a tape with a steel blade and a durable case.
- Pick a length that covers your usual jobs — 16–25 ft for typical homes, 30–35 ft for larger exteriors.
- Replace the tape when the hook or blade is visibly damaged.
Example: swapping a worn 16-foot tape for a 25-foot one before building a deck saved multiple trips back to the truck.
Final practical tip: keep one tape in your tool bag and one in the truck. A spare costs less than a single replacement battery and prevents a stalled job.
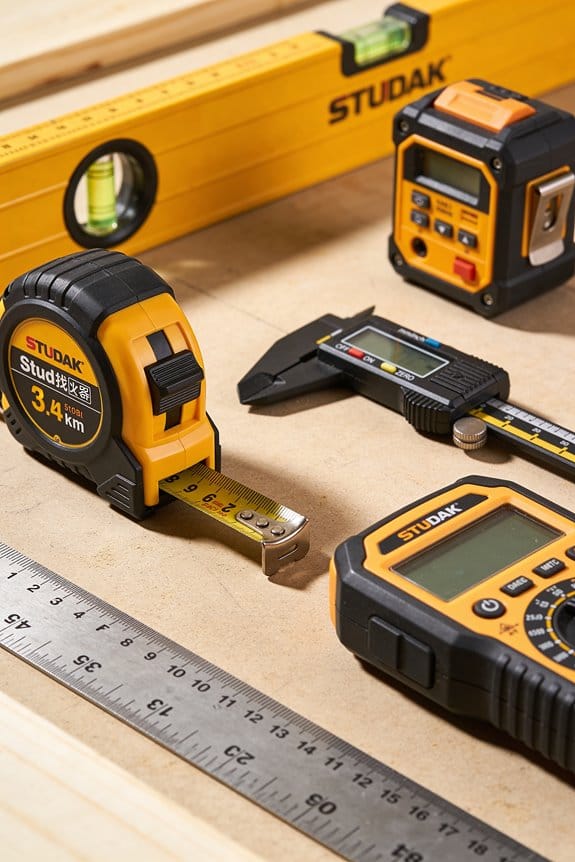
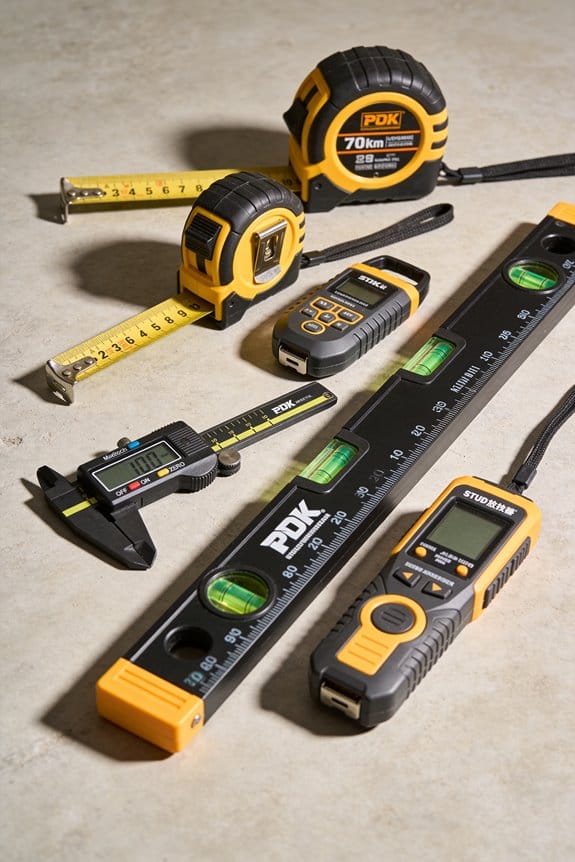
Recommended Products

Complete Do It Yourself installation instructions; We will support you before and after the sale
Premium Insulation for Enhanced Safety: 1/4" thick Premier Wrap with protective foil facing ensures optimal insulation, reducing creosote buildup and enhancing the safety of your chimney system.

1/2-Inch x 25-Feet with black markings bonded to steel
Tips for Accurate Measuring With a Tape Measure
Before you measure, know why precision matters: a 1/8-inch error over a 10-foot cabinet run can leave gaps or force a rebuild.
1) How do you start a measurement so it’s true?
Why it matters: starting from the wrong edge shifts every mark you make.
Steps:
- Hook the tape’s end on the edge of the workpiece so the *hook* catches over the corner; if the edge is thin, hook it on and pinch it with your fingers.
- Press the housing gently against the surface opposite the hook to keep the tape aligned.
- Look along the blade so the edge lines up with the start point before reading.
Example: when measuring a 3-foot shelf board, hook the blade, press the case, then read at the 36-inch mark while the blade is straight.
2) How should you manage blade tension so readings stay accurate?
Why it matters: a bent or slack blade gives shorter measurements and ruins long runs.
Steps:
- Pull the blade only as far as needed; for runs under 6 feet, extend no more than 6 feet to keep stiffness.
- Keep the blade straight—don’t bow it—and lock the tape if you have to hold it.
- If the blade sags, support it with your free hand about halfway.
Example: measuring a 12-foot room, extend the blade in two staged pulls, lock at 6 feet, support at 6 feet, then continue to 12 feet.
3) How do you avoid parallax and read the right number?
Why it matters: reading at an angle can make you misread by 1/16–1/8 inch.
Steps:
- Bring your eye level with the blade mark before you read it.
- Use the closest visible printed mark (eight, sixteenths), and read the fraction directly beneath your eye.
Example: marking a trim cut at 7 1/2 inches—kneel so your eye sits over the 7 1/2 mark and write the line there.
4) How do you measure inside distances accurately?
Why it matters: inside measurements often require accounting for the end-hook’s play or thickness.
Steps:
- Press the tape’s end piece firmly against one inside surface.
- If the end-hook moves, measure both sides and add or subtract the hook play (about 1/16–1/8 inch depending on your tape).
- For tight spots, hook a scrap block to the tape and use that as a transfer.
Example: measuring the inside of a 24-inch cabinet opening—press the end on one side, read the blade, then confirm by measuring the opposite direction and averaging if the hook shifts.
5) When should you double-check measurements?
Why it matters: re-checking catches mistakes before you cut or drill, saving time and material.
Steps:
- For anything over 4 feet, measure in both directions (A to B and B to A).
- Mark the point clearly with a pencil and measure again before cutting.
Example: laying out a 9-foot countertop—measure from the left, then from the right, and compare; if they differ by more than 1/8 inch, find the error.
Practical tips that save you time:
- Lock the blade on long runs or use a second person to hold the other end.
- Use a small square to transfer the blade mark if you need a perfectly perpendicular line.
- Replace a blade that’s bent or missing numbers; a new blade keeps you accurate to 1/16 inch.
If you follow these habits—start from the true point, control blade tension, read at eye level, account for the end-hook, and always double-check—you’ll cut less and fit more.
Recommended Products

Combo Sewing & Embroidery Machine: Brother SE2000 5" x 7" Sewing & Embroidery Machine with Deluxe Accessory Kit Plus 40 High Quality Polyester Embroidery Threads - 500m Each, 50 Polyester Swing Thread Spools with Color Matching Bobbins, and 43 Bonus Spools of Polyester Sewing Threads
Accuracy You Can Count On - The Starrett Shaft Alignment Clamp enables quick and accurate alignment of motors, pumps, compressors, and more, saving you valuable time and effort.

Heavy-Duty - The Starrett Micrometer has a no-glare black finish on the frame, gracefully designed tapered frame for use in narrow slots and tight places. The hard and stable one-piece spindle, also helps prolong life of the micrometer.
Choosing the Right Tape: Lengths, Brands, and Features
Before you pick a tape measure, know that the right choice keeps your measurements accurate and saves time.
Match tape length to the job: use 8–12 feet for indoor DIY like hanging shelves or measuring a room for paint; use 16–25 feet for exterior work and framing; use 25–100 feet reels for landscaping or large site layouts. Example: when installing baseboards in a 12-foot living room, an 8–12 foot tape sits in your hand and reaches most runs without bending.
Why brand quality matters: better makers put in stronger springs and more precise end hooks so your tape stays accurate over months of use. Example: a contractor I know replaced a cheap tape after one season because the end hook loosened and measurements were off by 1/8 inch on long runs.
How to check blade protection: look for a coating like nylon or powder that resists wear and rust so markings stay readable. Example: after two winters, a nylon-coated blade on a 25-foot tape still had clear numbers while an uncoated blade was pitted and faded.
Consider these case and handling features because they affect durability and daily comfort. Example: for working on ladders, a compact case with a secure belt clip and a rubber overmold gave me better grip and fewer drops.
– Steps to evaluate case and clips:
- Hold the tape by the case and twist it; if it flexes, pass.
- Check the belt clip for a tight spring; if it wiggles, pass.
- Drop the tape from waist height onto concrete once; if the case cracks, pass.
Understand standout length because it tells you how far the blade will stay rigid without support; that matters when measuring across studs or joists. Example: a 25-foot tape with a 10-foot standout lets you measure across a garage door opening without a helper.
Match features to your environment and budget so you get a tape that lasts. Example: if you work outside in winter, buy a 16–25 foot, nylon-coated blade with a rubber case and a 10-foot standout rather than the cheapest plastic model.
Recommended Products

[Effortless Measuring, Near or Far] Combines a 12ft digital tape measure and a 330ft laser distance meter in one compact tool—no need to switch devices. Easily handle short, detailed measurements for woodworking or long-distance measuring for home renovation, construction, and DIY projects with speed and accuracy

Frequently Asked Questions
Can I Use a Tape Measure for Curved Surface Measurements?
Yes — like a ribbon hugging a vase, I use a flexible contouring tape to follow curves, add seam allowance where needed, and note measurements directly, trusting the tape for accurate, practical curved-surface work.
How Do I Fix a Bent or Kinked Tape Blade?
I’d straighten kinks by unspooling the tape, clamping the blade flat, then gently bending opposite to the kink and rolling it back into the housing; if damaged persists, I’d replace blade to restore smooth action.
Are There Tape Measures With Metric-Only Markings?
Yes — I’ve seen metric-only tapes; about 30% of global tool sales favor metric-only options. I recommend choosing an imperial free design if you want purely metric markings for professional or international projects.
What Safety Risks Are Associated With Retracting Tapes Fast?
You can get serious finger injuries and blade whipping if a tape retracts fast; I’ve seen cuts, pinches, and blunt trauma from snapped-back blades, so I always control retraction and wear gloves to protect my hands.
Can a Tape Measure Be Calibrated or Checked for Accuracy?
Yes — I check and calibrate tapes by measuring a certified standard length, comparing marks, and adjusting end‑hook play; my calibration procedure and accuracy verification include repeated reads, documentation, and replacing suspect tapes when discrepancies persist.