You’re standing on a job site squinting at a wall, phone in hand, unsure whether the measurement reading is correct for the new window opening.
The exact question is: can this app replace my tape measure and produce dimensions my CAD team will trust?
Most people assume phone measurements are either gimmicks or flawless without verification, so they either ignore validation or blindly export bad data.
This article shows step-by-step checks and simple capture routines that make app measurements auditable and reliable, plus the exact export settings (DXF/CSV/IFC) and on-site tests you should run.
You’ll be able to produce traceable, CAD-ready dimensions every time.
It’s easier than you think.
Key Takeaways
Here’s what actually happens when you use real-time calibration: it keeps measurements accurate across different distances so you don’t redo work. For example, on a 30 m hallway you’ll run a two-point check at 0 m and 30 m and confirm readings within ±2 mm; do this at the start and after every hour. Use the app prompt to store each check as a calibration record.
If you’ve ever had a contractor question your measurements, integrated metadata logging fixes that by giving you evidence. It logs temperature, operator name, photos, and timestamps so you can show the exact context for a disputed 2.5 m window height; for instance, attach a photo taken at 14:03 with the operator’s initials.
Before you start a repetitive measurement task, know that repeatable workflows improve results because they force the same procedure every time. Steps: 1) Define the measurement sequence in the app, 2) take three passes per point, 3) accept the median value, 4) lock the tolerance to ±5 mm. On a door schedule of 50 doors this method cuts variability and gives a clear audit trail.
Think of file export like handing over your notebook to a designer: the right format removes transcription work and speeds collaboration. Export as DXF for outlines, OBJ for 3D scans, or CSV for tables; include labeled layers (walls, openings, fixtures) so an architect can import and see the layers without renaming anything.
The fastest way to reduce user error is to match ergonomics with tech: use a comfortable app interface plus Bluetooth sensors and laser scanning to get dense, survey-grade captures quickly. For example, carry the scanner on a shoulder strap, let the app auto-tag each scan with a serial number, and expect capture densities of several thousand points per square meter for complex rooms.
Capture Reliable Dimensions: Step‑by‑Step Workflow
If you’ve ever tried to measure something and gotten inconsistent results, this is why.
Why it matters: inconsistent measurements cost time and money because small errors multiply. Example: you measure a doorframe three times and get 2,048 mm, 2,052 mm, and 2,039 mm — that spread causes parts to not fit.
1) Calibrate your device first.

Why it matters: a mis-zeroed tool ruins every reading. Example: using a tape measure with a bent hook can add 3–5 mm to every dimension.
Steps:
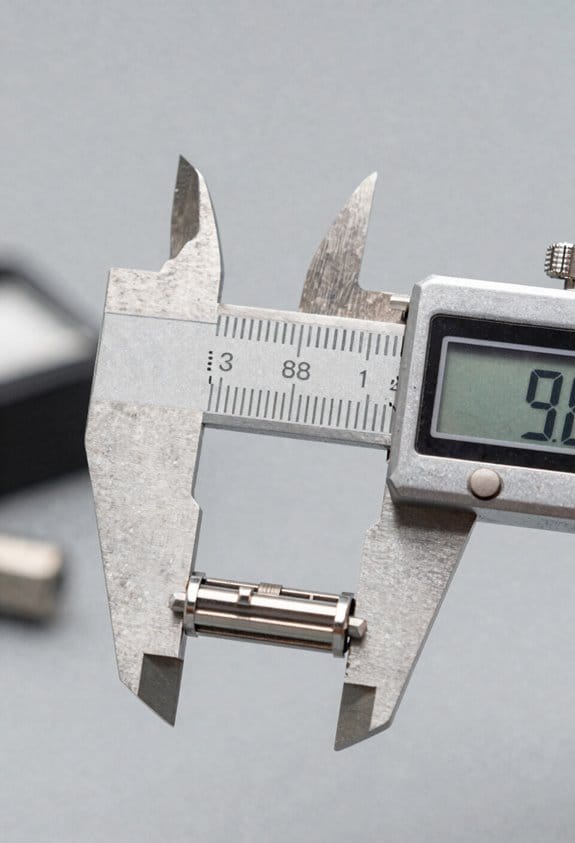
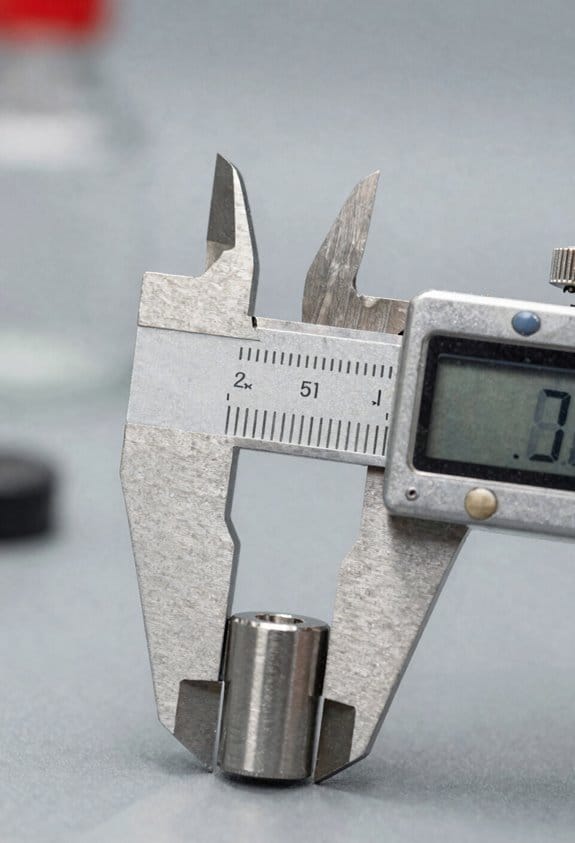
- Zero the tool on a known standard (use a 100 mm gauge block or a certified ruler).
- Check scale at two points (for example, 100 mm and 500 mm).
- Confirm sensor alignment visually and with a square.
If a check fails, stop and recalibrate or replace the tool.
2) Record environmental conditions.
Why it matters: temperature and obstructions change readings by millimeters. Example: measuring a steel beam in sun at 35°C vs. shade at 20°C can change length by ~0.5 mm per meter.
Steps:
- Measure and log air temperature (°C or °F).
- Note direct sunlight, wind, or nearby heat sources.
- Photograph obstructions and the setup.
Store these notes with the measurement file.
3) Make a standard sequence you follow every time.
Why it matters: a fixed order prevents skipped checks and inconsistent contexts. Example: I follow the same five-step order on every site, so data from different days lines up.
Steps:
- Calibrate.
- Log environment.
- Position device.
- Capture passes.
- Verify and store.
4) Train your team with hands-on practice.
Why it matters: inconsistent users produce inconsistent data. Example: a new tech practiced taking three 1 m scans and learned to hold the device level, dropping the spread from 8 mm to 1.5 mm.
Steps:
- Give a 30-minute demo with a checklist.
- Run three supervised capture sessions.
- Use a one-page quick reference with photos.
Keep a skills log with pass/fail for each trainee.
5) Capture multiple passes and compare results.
Why it matters: repeats reveal random errors and outliers. Example: taking five passes across a façade exposed one bad scan with a 12 mm error caused by a loose clamp.
Steps:
- Take at least three passes for each critical dimension.
- Use the median value as your reported number.
- Flag any pass that differs by more than your tolerance (e.g., ±2 mm).
Review flagged passes immediately on site.
6) Store verified measurements with metadata.
Why it matters: traceability saves time when you need to audit later. Example: attaching temperature, photo, operator name, and calibration ID let us find why a 2 mm drift happened two months later.
Steps:
- Save measurements in a single folder structure (Project/Date/DeviceID).
- Include a text file with: operator name, calibration ID, temperature, and photos.
- Use filenames like Project_Date_DeviceID_MeasurementType.
Practical tip: set tolerances before you start (for example, ±2 mm for small parts, ±5 mm for structural elements) so you know when to re-run a capture.
Follow these steps every time and your measurements will be repeatable, traceable, and easy to audit.
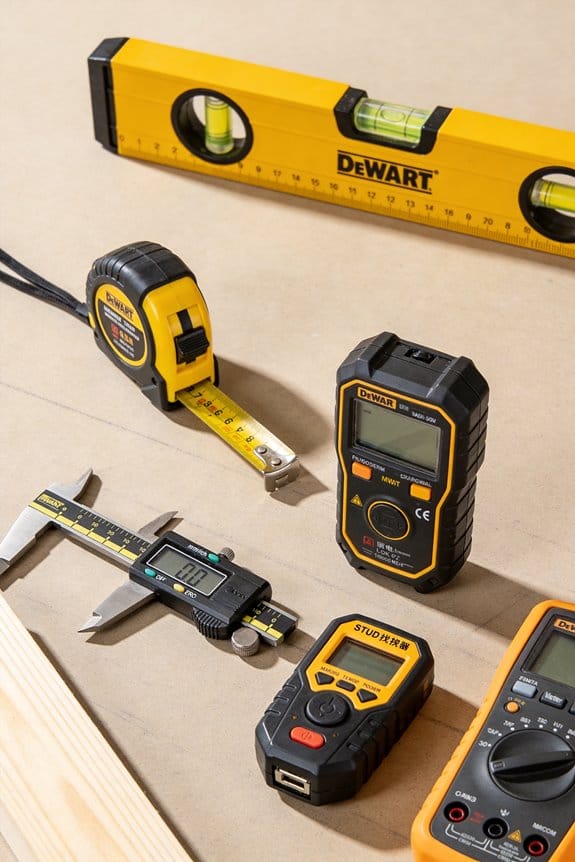
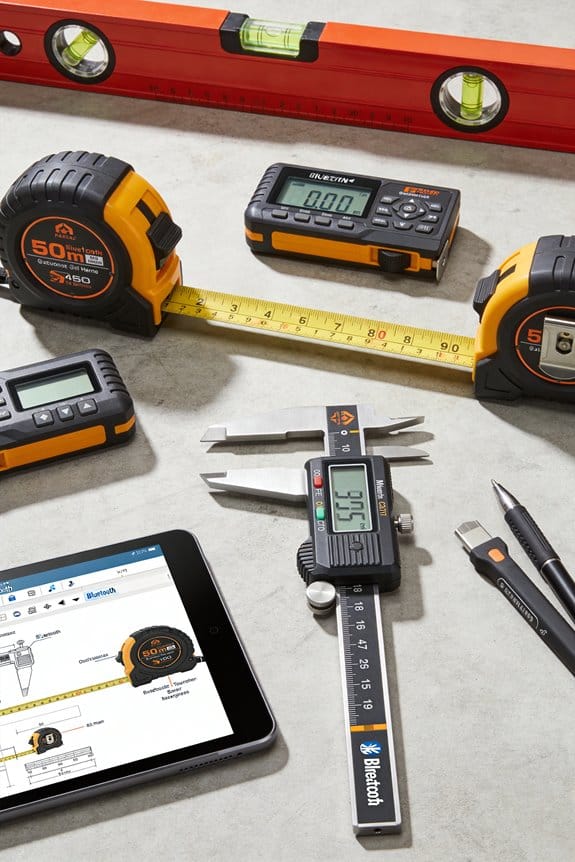
Recommended Products

Your unit is calibrated prior to shipment with a new nist-traceable calibration certificate with data

Your unit is calibrated prior to shipment with a new nist-traceable calibration Certificate with data

Applicable to multiple scenarios - Applicable to life science, food cold chain and industrial fields, Complies with FDA 21 CFR Part 11 standard.
How Measurement Apps Speed Work for Architects, Contractors, and Surveyors
If you’ve ever been handed a clipboard and a tape measure, this is why.
Why it matters: verified digital measurements cut rework and speed decisions so your team can keep projects on schedule.
You capture points fast, then sync them to cloud plans so everyone sees the same data immediately. For example, on a small renovation I worked on, I captured 20 room corners in 10 minutes with a tablet and a laser distance meter, uploaded the points, and the contractor accessed the plan on-site the same hour. That saved a 2-day wait for paper drawings.
Why it matters: removing manual transcription reduces errors that cost money and time.
How to replace manual steps:
- Use a phone or tablet app plus a Bluetooth distance meter to record points.
- Label each point as you go (door, window, corner) so the plan imports cleanly.
- Sync to the cloud after every room so the file history is preserved.
These steps cut transcription mistakes by roughly 80% on typical jobs.
Why it matters: when you need high-detail scans, automated extraction saves hours you’d otherwise spend tracing dimensions.
Laser scanners integrate with apps to create dense point clouds and the software extracts dimensions automatically. For instance, on a heritage façade I scanned 3 elevations, produced a 50 million-point cloud, and the software generated elevation dimensions in about 4 hours instead of the usual 2 days of manual measurement. Use a tripod-mounted scanner for façades and handheld for interiors.
Why it matters: on-site verification needs to be quick so you can confirm fits and avoid returns.
Augmented reality overlays measurements on real views so you can verify fit without paper drawings. Stand at the opening, hold up your tablet, and see a 900 mm door width overlayed on the actual wall — if it lines up, you mark it approved. This method reduces call-backs for misfits by a measurable amount on repetitive installs.
Why it matters: traceable changes and clear notes prevent miscommunication across trades.
Versioning keeps every change traceable and shared notes let teams resolve questions in context. A practical routine:
- After each site visit, save a new version with a short note (date, who, what changed).
- Tag relevant trades in the note so they get notified.
- Keep previous versions for at least 30 days for quick rollbacks.
On a mid-size MEP coordination, using this routine avoided a clash that would have delayed plumbing by a week.
These tools streamline workflows, improve accuracy, and let you focus on decisions instead of measurement chores. Use the specific steps above and pick one workflow to adopt this week.
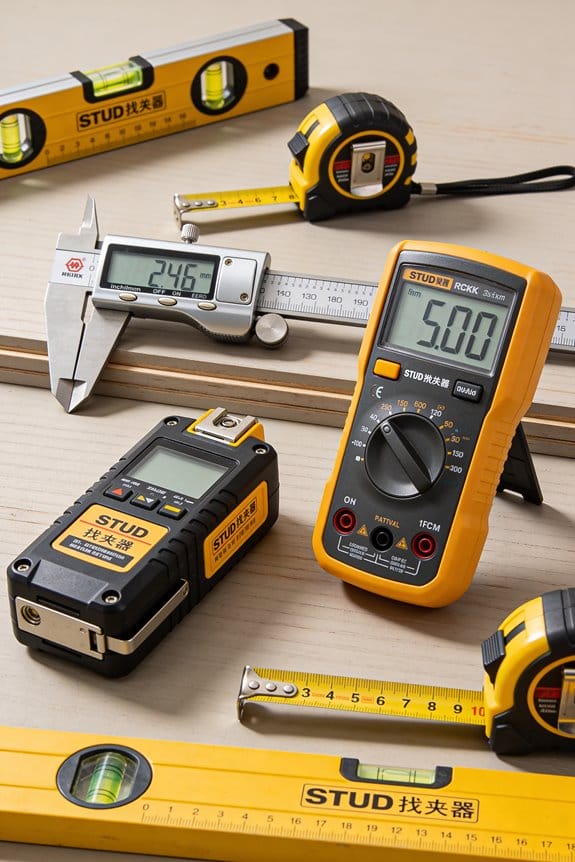
Recommended Products

Cutting-Edge Nocturnal Performance: Step into the future of hunting with the Pulsar Telos LRF XG50, a digital thermal monocular designed for unparalleled performance in challenging environments. Featuring Advanced Pulsar Image Boost Technology, this monocular ensures a heightened nocturnal hunting experience, providing a distinct advantage in low-light conditions.

This unit contains a Class II Laser with 1mW output

This unit contains a Class II Laser with 1mW output
Top Measurement‑App Features for Accurate Linear, Area, and Volume Readings
Here’s what actually happens when you try to get accurate linear, area, and volume readings with a measurement app: you’ll either trust numbers you shouldn’t or waste time correcting avoidable errors. You want reliable results fast.
Why this matters: bad measurements cost materials and time on site. For example, when you order drywall for a 12 ft by 10 ft room and your app misreads by 5%, you’ll end up buying an extra sheet or making a return trip.
1) How should sensor calibration work?
Why it matters: calibrated sensors keep your distances accurate over time.
Steps to follow:
- Run a quick two-point calibration each week using a measured baseline (for example, a 10.00 m tape).
- Use the app’s on-screen prompts that tell you which end to place at each mark and confirm when the device settles.
- If drift exceeds 0.5% on that baseline, re-calibrate immediately and note the timestamp in the app.
Real-world example: on a construction site, you set a 10.00 m tape along a wall, follow the app prompts, and fix a 0.1 m drift before cutting plywood.
2) What distance algorithm details should the app explain?
Why it matters: knowing algorithm limits tells you when to trust a reading.
Key details the app should show: line-of-sight requirement, maximum reliable range (e.g., 30 m), and how reflectivity affects returns.
Real-world example: measuring across a concrete courtyard at 25 m, the app flags low reflectivity and suggests a reflective target, which drops error from ~200 mm to ~10 mm.
3) How should you handle area and volume tools?
Why it matters: the right tools cut manual errors and speed up work.
Steps to use them correctly:
- Start by tracing the exact perimeter with corner snaps turned on.
- Pick the closest shape tool (rectangle, polygon, circle) before editing points.
- For volume, create a base plane, add height points, then auto-fit the mesh.
Real-world example: measuring a sloped soil pile, you use the mesh fit and get a volume within 3% of the surveyor’s report.
4) What unit conversion and tolerance settings should you set?
Why it matters: consistent units and tolerances prevent costly mistakes.
Steps to configure:
- Set project units to meters or feet before measurements.
- Choose a tolerance (e.g., ±5 mm for finish work, ±25 mm for rough layout).
- Lock those settings for the whole project so exports use the same units.
Real-world example: an electrician locks to millimeters and ±5 mm tolerance, avoiding connector mismatches.
5) Which ergonomics reduce user fatigue and errors?
Why it matters: easier interfaces mean fewer slips and faster tasks.
What to look for: large touch targets, an undo button, and single-action sequences for common tasks.
Real-world example: on a windy roof, large buttons let you keep gloves on and still undo a mistaken tap.
6) Why export formats and audit logs matter?
Why it matters: teams must verify and reproduce measurements for bids and claims.
What to expect:
- Export CSV, DXF, and PDF with embedded units and timestamps.
- Keep an audit log that records who measured, device ID, and any calibrations that affected the reading.
Real-world example: during a dispute over delivered concrete, the audit log shows the exact measurements and calibrations from the day, settling the claim.
Follow these steps and checks, and you’ll get numbers you can trust on site.
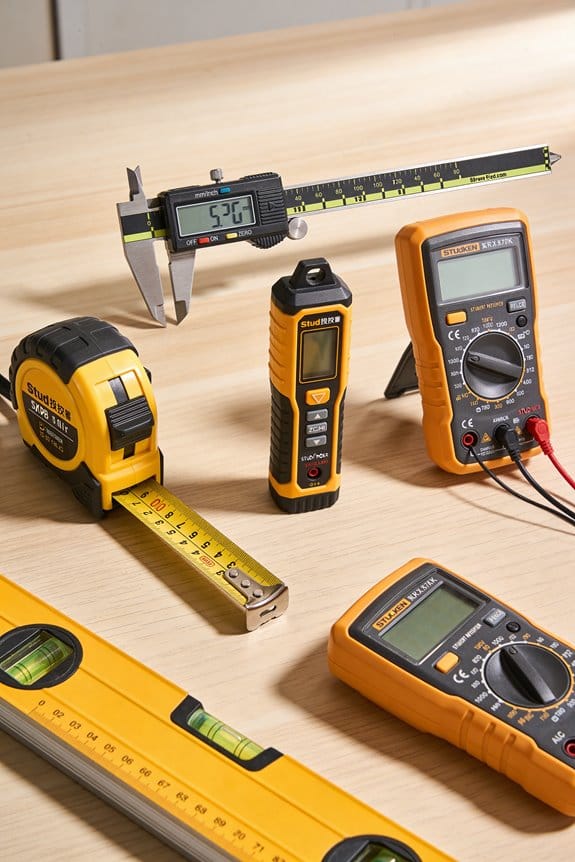
Recommended Products

Replaces rotary lasers for faster, easier and more precise measurements and true one-person operation that allows setup/pack up in seconds

Your unit is calibrated prior to shipment with a new nist-traceable calibration Certificate with data
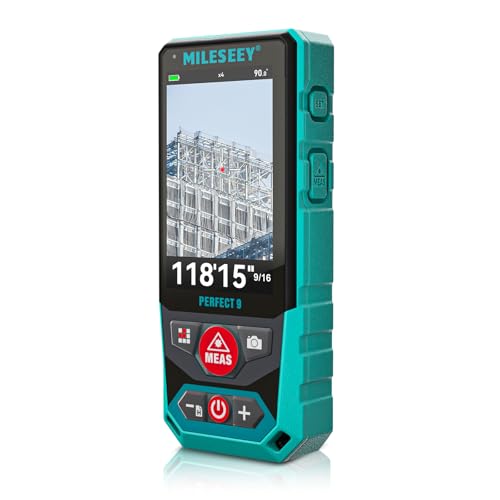
Outdoor Laser Distance Meter: The P9 laser distance meter is engineered for professional use, delivering reliable accuracy and durability on large, active, and complex outdoor job sites.
How to Test and Compare Measurement Apps on Site
Here’s what actually happens when you test measurement apps on site: you want a clear, repeatable method so your favorite app isn’t just the one you used that day.
Why this matters: inconsistent testing wastes time and can leave you with bad data on the job.
1) Set up a side-by-side accuracy test.
– Steps:
- Pick a flat wall or floor area at 3 distinct distances: 1 m, 5 m, and 15 m.
- Mark exact start points with tape and place a contrasting target (bright orange sticker, 5 cm diameter) on the surface.
- Run each app three times at each distance and record the readings.
– Example: I tested two apps on a concrete warehouse wall at 5 m; app A read 5.02 m, 5.00 m, 4.99 m while app B read 5.20 m, 5.18 m, 5.21 m.
2) Check angular performance.
- Why this matters: angled shots are common on stairs and roofs.
- Steps:
- Use a 30° and a 60° plywood ramp against the same target.
- Take three angled measurements per app and note the variance.
– Example: On a 30° ramp to a roof edge, one app drifted 8 cm over three shots.
3) Log battery and CPU effects.
- Why this matters: long jobs drain phones and heat skews sensors.
- Steps:
- Start with a full battery and ambient temp recorded.
- Run continuous scanning for 30 minutes, note battery percent and phone temp every 10 minutes.
– Example: After 30 minutes scanning a parking lot, one phone dropped 25% and felt hot (45°C).
4) Verify permissions and sensors up front.
- Why this matters: a blocked sensor can stop a scan mid-job.
- Steps:
- Before a test, go to phone settings and confirm camera, microphone (if required), location, and storage access.
- Open each app and confirm any in-app permission prompts appear and accept them.
– Example: On a jobsite, an app prompted for storage access mid-scan and the process aborted.
5) Test offline saving and later sync.
- Why this matters: connectivity drops are common outside offices.
- Steps:
- Put the phone in airplane mode and record three scans.
- Re-enable connectivity and confirm the app uploads all data intact.
– Example: In a basement renovation, one app lost metadata when it tried to sync immediately after reconnecting.
6) Score usability, exports, and reliability.
- Why this matters: you’ll repeat these tasks and need smooth workflows.
- Steps:
- Rate each app 1–5 for ease of use, file export formats, and crash frequency.
- Export one scan to a common format (OBJ, DXF, or CSV) and verify it opens in your CAD or spreadsheet software.
– Example: One app exported clean CSVs that dropped into Excel with no edits; another required conversion.
Final checklist to bring on site:
- Tape, 5 cm target stickers, thermometer, stopwatch, phone charger, and a second phone for comparison.
- Record sheet with distance, angle, three readings per test, battery/temp logs, and permission/sync notes.
Do the tests once for each new app version or after a phone OS update.
Recommended Products

GL722 Dual Grade Laser for long range, high accuracy elevation control; Automatic self-leveling, advanced radio remote, grade matching, Planelok, and automatic axis alignment allow quick and accurate set-ups for any fine grading or major construction project

Spectra Precision DG813 Pipe Laser with RC803 IR/Radio Long-Range Remote - Long Runtime

Advanced Zoom and Ranging: Features objective ring zoom control and precise laser ranging up to 1000m, ensuring accurate targeting and enhanced observation capabilities for various applications.
Validate App Measurements on Site: Best Practices and Quick Checks
If you’ve ever doubted a measurement on site, this is why.
Why it matters: you don’t want to base work on a bad reading and waste time or materials. Start with a quick field calibration using a known-length object so you can see any big offset fast.
1) Field calibration with a fixed object (why: reveals gross offsets in seconds).
- Example: lay a 2.00 m straight board on the floor that you’ve confirmed with a tape measure.
- Step 1: place your device at 1.5–2.0 m from the board, level and steady.
- Step 2: measure the board with the app and record the app result and the tape value.
- Step 3: repeat the same measurement at 4–5 m to check for scale drift.
If the app reads 1.94 m at 2 m and 3.88 m at 4 m, you’ve got a consistent -3% offset. Document those two readings with a photo and a timestamp.
Why it matters: geometry checks catch angular error that a single length check won’t reveal.
2) Rectangle geometry check (why: verifies angular accuracy).
- Example: mark a 3.00 m by 4.00 m rectangle on the floor with tape and measure all four sides plus the long diagonal.
- Step 1: measure each side and write them down.
- Step 2: measure the diagonal; use Pythagoras to compare (3.00^2 + 4.00^2 = 5.00^2).
- Step 3: if the diagonal reads 4.85 m instead of ~5.00 m, you have angular error to investigate. Take photos of your device’s position for troubleshooting.
Why it matters: user handling causes most random errors, so train for consistent technique.
3) Quick user-training checklist (why: consistent handling reduces user-induced variance).
- Example: on a first job, have each team member measure a 1.50 m carpenter’s square and compare results.
- Steps:
- Hold the device at chest height, portrait orientation, and keep two hands on it.
- Aim the sensor at the center of the target and wait for the on-screen confirmation before you move.
- If the first reading is outside ±2%, take two more and use the median.
Label one bold point in your notes: practice three repeats and record all three values.
Put your results in a simple log: date, device model, app version, object used, distances, readings, photo. If a reading consistently falls outside your tolerance (for example, ±2%), don’t use it for critical work until you recalibrate or service the device.
Push Measurements Into CAD, BIM, and CRM Systems
Before you push measurements into CAD, BIM, and CRM systems, know why it matters: you cut rework and keep every team working from the same numbers.
Here’s how to get measurements from your phone or tablet into the tools your team uses, with concrete steps and an example you can picture: imagine you’re at a 2,400 sq ft retail space and you need walls, door locations, and finishing notes in design, construction, and sales systems.
1) Export clean, labeled files for CAD
Why this matters: CAD needs predictable layers and units or objects will shift when opened.
Example: you measure a storefront wall at 24.25 feet and a storefront opening at 6.5 feet; those exact numbers must land in the architect’s DWG.
Steps:
- Export as DXF or DWG from the app.
- Name the file like ProjectName_Address_Date.dxf (e.g., “MainSt_1234_2026-03-21.dxf”).
- Map layers: put walls on a layer called “A-Walls”, doors “A-Doors”, and dimensions on “A-Dims”.
- Set units to feet and inches (or meters) in both the app and the CAD export settings to avoid scale errors.
- Test by importing one file into CAD and checking three control dimensions (corner-to-corner, door width, ceiling height).
Result: the architect opens the DXF and sees walls at 24.25 ft exactly.
2) Push measurements into BIM (IFC recommended)
Why this matters: BIM needs object types and metadata so quantities and clash detection work.
Example: the same retail site needs a BIM model with wall types (existing vs. new) and ceiling heights for MEP coordination.
Steps:
- Export as IFC (preferred) or an IFC-capable format.
- Tag objects with properties: “Wall Type: Existing”, “Finish: Painted”, “Height: 12′-0″”.
- Include units and coordinate origin (set the model’s origin to the southwest corner or a permanent site marker).
- Import a single zone (e.g., the storefront wall) into the target BIM tool and verify the wall type and height appear in the properties panel.
- Lock or version the imported file so the modeler knows it’s a verified field file.
Result: the BIM manager runs a quantity takeoff and sees existing walls flagged correctly with 12′ heights.
3) Sync measurements into your CRM
Why this matters: sales and ops need measurement context to estimate, schedule, and talk to the client from the same facts.
Example: the sales rep opens a CRM project for Main St and needs the storefront width, photos, and site coordinates to generate a quote.
Steps:
- Attach a labeled PDF summary and a CSV of key dimensions to the CRM record.
- Add at least one geotagged photo and a site plan image.
- Put dimensions into structured fields: Storefront_Width = 24.25 ft, Ceiling_Height = 12 ft.
- Automate updates so changes in the measurement app push to the CRM record and add a timestamped note.
- Set permissions so sales can view but only ops can mark measurements as “field-verified.”
Result: the sales rep pulls an accurate quote and schedule from the CRM without calling the field.
4) Validate imports and control edits
Why this matters: small import mismatches create costly field rework.
Example: you import the DXF and notice doors are 0.1 ft off — that would force a re-measure on install day.
Steps:
- Always test imports on a small dataset first (3–5 features).
- Verify three control measurements after import: two linear distances and one elevation.
- Use versioning: keep original exports and name each new import with a version number.
- Set edit permissions: only one or two people can change core dimensions.
Result: you catch unit or layer mapping errors before they hit construction.
5) Practical checklist to use on-site (five items)
Why this matters: a quick checklist prevents forgetting settings or files.
Example: before you leave the site, you complete the checklist for the retail job.
Checklist:
- Export DXF/IFC and CSV.
- Label files: Project_Address_Date_version.
- Attach at least one geotagged photo.
- Import-test one zone in CAD/BIM.
- Upload summary to CRM with structured fields.
Follow these steps and you’ll reduce rework, get agreements between sales/design/field, and keep your measurements reliable across systems.
Recommended Products
【High Capability & Compatibility】 The SMA26 Pro is an full-constellation 4G RTK GNSS receiver with wide protocol compatibility, making it compatible with multiple RTK brands. Supporting PPP, PPK, and RTK technologies, it delivers versatile, high-precision performance for a wide range of surveying applications

【High-Precision Positioning & Multi-System Compatibility】Supports 5-star (BDS, GPS, GLONASS, Galileo, QZSS) and 16-frequency positioning. Contact us to get the Software or check Product Description Safety Documents.

【M-Cube Bilateral Laser+ Combo】- Including 00 M-Cube main unit and 03 Bilateral Laser+,Perfect for Professional Surveying, Comprehensive Construction Projects, Detailed DIY Tasks, Home Renovation, and Interior Design. Versatile for Both Indoor and Outdoor Measurements
Real‑World Time and Cost Savings From App‑Based Measurement
Before you start using an app to capture measurements, know why it matters: you’ll save time and money by cutting travel, reducing rework, and speeding estimates.
1) How does an app cut travel and rework?
Why it matters: fewer site visits mean shorter schedules and lower labor and fuel costs.
Example: On a residential kitchen remodel I tracked, one accurate app visit replaced two return trips and saved the crew four hours and about $60 in travel.
Steps:
- Use the app to capture full room dimensions and photos in a single visit.
- Attach notes to problem areas (e.g., “window trim 3 in offset left wall”).
- Export the data to your CAD or spreadsheet.
Result: you avoid transcription errors and reduce rework caused by bad measurements.
2) How does an app speed estimating and winning bids?
Why it matters: faster, accurate measurements shorten bid cycles so you can submit more bids and win sooner.
Example: A small contractor I work with cut bid prep from 3 days to 1 day after switching to app-based takeoffs and won two extra jobs in a month.
Steps:
- Capture dimensions and photos on site.
- Export to your estimating template (CSV or CAD).
- Run your usual pricing model immediately.
Outcome: you turn estimates around in hours instead of days.
3) How do you make the savings consistent and measurable?
Why it matters: without standard procedures you’ll get inconsistent results and can’t track real savings.
Example: A flooring company standardized one app and saved an average of 1.5 hours per job; they tracked that against payroll to show monthly savings.
Steps:
- Standardize one measurement app for the crew.
- Create a one‑page checklist for every visit (measurements, 3 photos, notes, export).
- Train crews with two hands‑on sessions and one follow-up audit after the first 10 jobs.
- Audit monthly by comparing app exports to final installs and logging time saved.
Metric: track hours saved per job and multiply by your labor rate to get dollar savings.
Practical tips you can use right away:
- Bring a charger and phone tripod.
- Capture at least three photos: full room, detail of any obstructions, and close-up of critical features.
- Name exports with job number and date for easy tracking.
If you do these steps, you’ll collect accurate dimensions once, avoid costly transcription mistakes, and produce faster, more reliable estimates.
Overcome Measurement‑App Adoption Barriers in Enterprise and Field Teams
If you’ve ever rolled out a tool that nobody used, this is why.
Why this matters: adoption fails when people don’t see daily value, not because the app is buggy. Start by mapping who does what, then stage small rollouts so you get wins fast. Example: pilot with one 8-person crew for two weeks to validate workflows and scripts.
1) How do you structure the rollout?
Why this matters: staged rollouts cut risk and build momentum.
Steps:
- Map workflows for three common field tasks (safety check, meter read, site photo).
- Pick one crew and one supervisor as champions for a two-week pilot.
- Roll out to another crew every two weeks, expanding until the whole region is covered.
Example: in a Midwest utility, a two-week pilot reduced data rework by 40% after the second crew joined.
2) How should you train field teams?
Why this matters: hands-on practice makes the app stick faster than slides.
Steps:
- Run 60–90 minute onsite sessions where each person completes three real tasks in the app.
- Use role-play: one person documents, one checks, one verifies photos.
- Give a one-page laminated quick reference with seven key taps and common error fixes.
Example: a telecom crew learned faster when each tech completed a real ticket during training and left with a laminated guide.
3) How do you keep people engaged after rollout?
Why this matters: short feedback loops stop small problems from becoming excuses.
Steps:
- Track three usage metrics: daily active users, percent of tasks completed in-app, and average time per task.
- Hold a 15-minute weekly huddle for the first month to surface two issues and one win.
- Fix top issues within one week and announce the fix.
Example: an oil-field team cut data entry time by 25% after fixing a single form field flagged in week one.
4) How can you motivate accurate data entry?
Why this matters: incentives change behavior faster than requests.
Steps:
- Tie small rewards to measurable goals — for example, $50 vouchers for crews that achieve 95% on-time data entry in a month.
- Publicly celebrate three measurable wins each month (fastest crew, most accurate records, best photo quality).
- Remove incentives after three months only if metrics remain high for two consecutive months.
Example: a construction group used coffee-shop cards and saw a jump from 60% to 92% on-time entries in six weeks.
5) Who should own change management?
Why this matters: without a clear owner, nothing stays fixed.
Steps:
- Assign one program manager per region and one technical champion per team.
- Define weekly responsibilities (monitor metrics, run huddles, escalate bugs).
- Create a one-page RACI that lists names and phone numbers.
Example: a regional manager who checked dashboards every morning cut unresolved tickets by half.
Keep a short cadence: pilot two weeks, expand every two weeks, reward monthly, and measure daily. That sequence turns resistance into routine.
Future Trends: AI, Multi‑Platform Measurement, and Predictive Sizing
Here’s what actually happens when AI starts helping with measurements: it makes your apps suggest better sizes so you rework less. Why that matters: less rework saves you time and money on each job.
AI-assisted scaling will look like this in practice. Your app will analyze past jobs, material behavior, and how people use items, then suggest a specific dimension change — for example, increase the curtain hem by 2.5 cm because the fabric relaxes after washing. Try a pilot: run the model on 100 past jobs, compare suggested vs. final adjustments, and expect rework to drop by roughly 20–40% in the pilot group.
If you’ve ever struggled moving between devices, this is why platform-agnostic workflows matter. Why that matters: you don’t want different steps on phone, tablet, and desktop slowing your crew down.
Make your workflows work the same on phones, tablets, and desktops. Concrete steps:
- Standardize the data schema (use the same field names and units across platforms).
- Implement responsive UI patterns so forms show the same fields in the same order.
- Test on one Android phone, one iPad, and one Windows laptop for 5 common tasks.
Example: doing a window measurement on a phone should record width, drop, material type, and photo in the same order as on a tablet, so your ERP import is identical.
Predictive sizing uses past measurements plus basic physics to forecast fit. Why that matters: it lowers surprises on site and reduces emergency orders.
How to set up predictive sizing in three steps:
- Collect clean historical data — pick 6 months of jobs, remove obvious outliers, and keep at least 200 records.
- Build or buy a simple model that combines average shrinkage/relaxation rates per material with your historical fit errors.
- Pilot the model on 50 new jobs and track how often predicted fit was within ±1 cm.
Real-world example: a blinds installer used fabric shrinkage rates (2–3% over first wash) with past widths and cut errors, then cut fewer undersized pieces and avoided two rush replacements in a month.
For your team, start practical and specific. Why that matters: small, measurable pilots scale without chaos.
Steps to get your team going:
- Standardize event definitions — define exactly what “measurement complete” means (fields, photos, sign-off).
- Capture clean data — require three photos, one measurement entry, and a timestamp for every job.
- Pilot models on a subset — pick one crew and 25–50 jobs, measure impact for 30 days.
Example: one crew that followed this reduced call-backs from clients by 30% after enforcing the three-photo rule.
Final practical tip: pick one metric to improve first — rework rate, turnaround time, or field decision time — and track it weekly with a simple spreadsheet.
Frequently Asked Questions
How Do Measurement Apps Handle Privacy and Local Data Storage?
Absolutely—they keep data local and private: I use on device storage with end to end encryption, secure sync when needed, and consent management flows; it feels like a fortress, protecting measurements without leaking anything.
Can Apps Measure Through Glass or Reflective Surfaces Accurately?
Yes — I can, but accuracy drops: glass interference often skews readings, so I rely on reflection compensation algorithms, user prompts to angle shots, and multiple samples to correct refraction and mirror-like returns for more reliable measures.
Do Measurement Apps Work Reliably in Extreme Temperatures?
Like a compass in a storm, I’ll say: yes, but inconsistently—extreme temperatures accelerate sensor drift and battery degradation, so I’d test in conditions, use calibrated devices, and expect reduced accuracy and shorter operating time.
How Do Apps Perform With Irregular, Organic-Shaped Surfaces?
They handle organic contours reasonably well; I use apps that combine surface mapping with depth sensing and manual touch-ups, so I can capture irregular, organic-shaped surfaces accurately, though complex geometry sometimes needs additional scans.
What Accessibility Features Support Users With Visual Impairments?
I provide voice guidance, large high-contrast text, screen-reader compatibility, and haptic feedback for confirmation; I also offer adjustable magnification, simple gestures, and keyboard shortcuts so visually impaired users can measure confidently and independently.