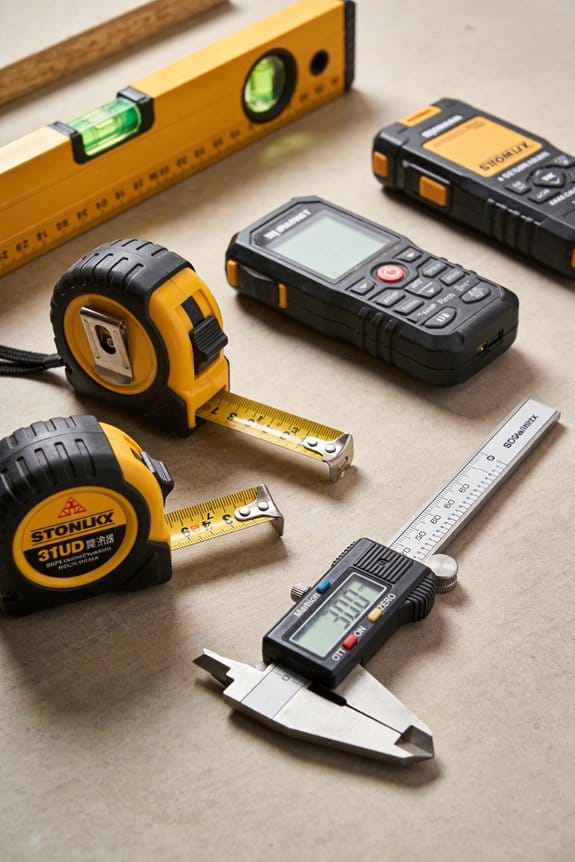
You’re standing in a half-finished kitchen, staring at uneven cabinet tops and asking why your measurements never match the wall. You can’t tell if the problem is crooked studs, a bad level, or your eye playing tricks on sloped floors.
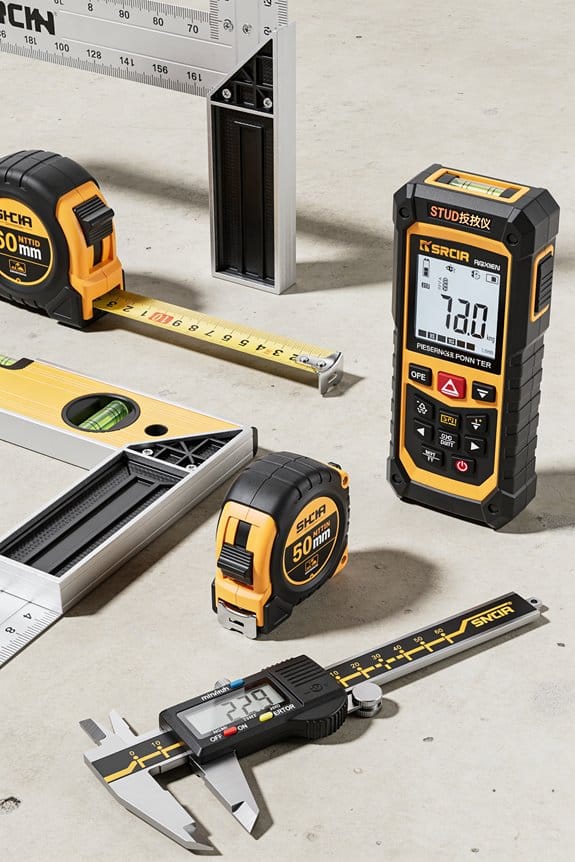
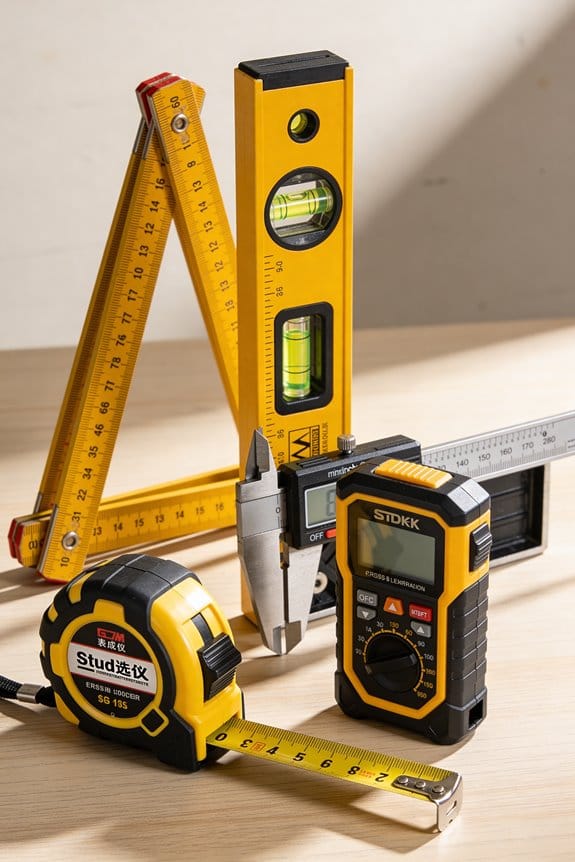
Most people assume a single point laser or a spirit level is enough and keep remeasuring or shimming endlessly. This article shows how a cross-line laser gives continuous X/Y reference lines for cabinets, tile, stairs, and trim, explains why green beams and self-leveling matter, and teaches mounting and placement to avoid parallax.
You’ll learn quick setup steps and troubleshooting so your lines stay true and installation goes faster. It’s easier than you think.
Key Takeaways
If you’ve ever tried to hang cabinets or tile a tiny bathroom, this is why.
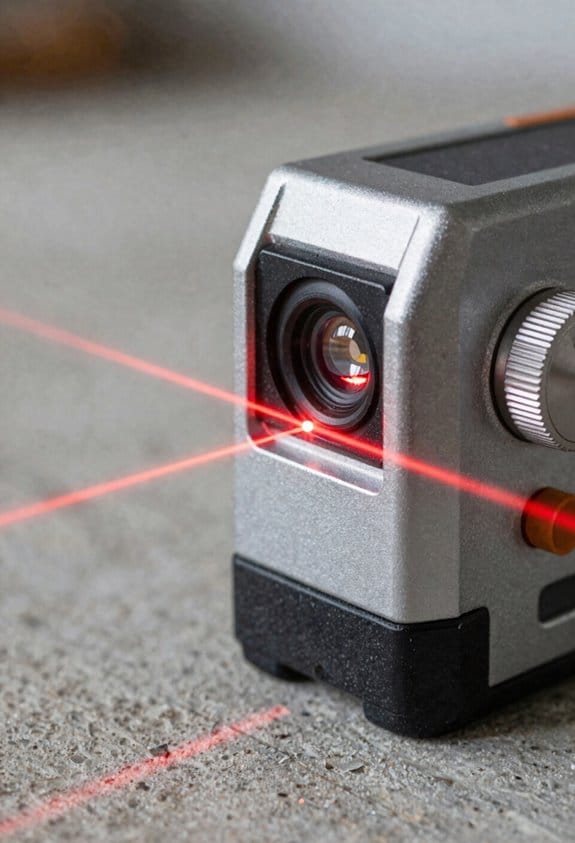
Cross-line lasers give you bright perpendicular X/Y lines so you can see exact alignment across the short spans you work in. For example, when you mount upper cabinets in a 7-foot-wide kitchen, the lines stay readable from corner to corner without needing a second reference point.
Why the lines matter: they save time and cuts.
– They produce immediate horizontal and vertical reference lines for fast, repeatable alignment of cabinets, trim, tiles, and fixtures.
Real example: align three wall cabinets in under 10 minutes by setting the laser at countertop height and snapping the verticals at each cabinet edge.
Before you set anything, know how self-leveling helps.
Self-leveling units correct small tilt automatically so you see plumb and level errors right away, which reduces re-measurements and wasted material. A plumber’s 1/4-inch shim becomes obvious when the laser line deviates by even 1/8 inch across a 6-foot run.
How to use one in three steps:
- Place the laser on a stable surface or mount at about mid-height of the work area.
- Turn on self-leveling and wait 5–10 seconds for it to settle.
- Lock the unit (if needed) and transfer lines to your work using a pencil or marker.
Green-beam models help when visibility matters.
Green lines are roughly 3–4 times easier to see than red on medium-lit walls, so you usually won’t need a detector for typical painted drywall, grout, or wood. Example: a green cross-line stayed visible across a pale-blue tile backsplash under under-cabinet lights without dimming the bulbs.
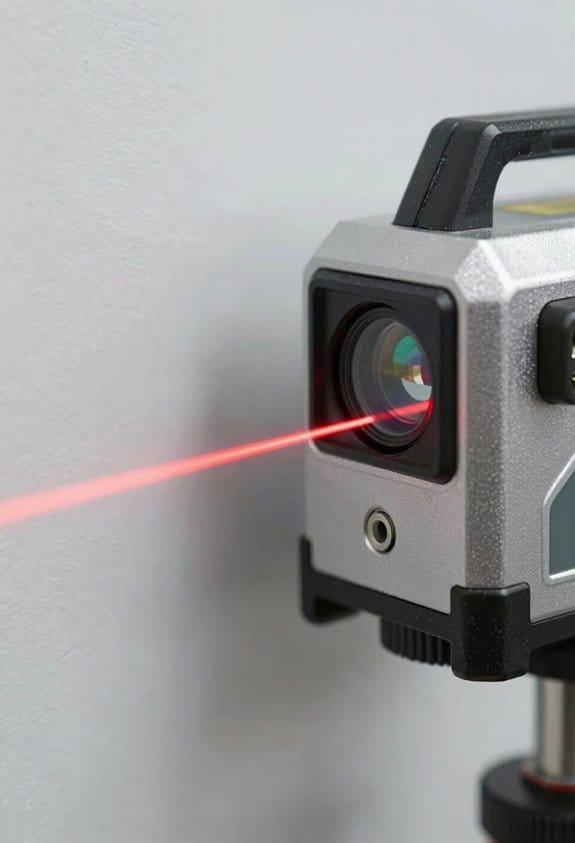
Positioning cuts parallax and errors.
Use compact magnetic mounts or a clamp to place the laser within 6–12 inches of the surface you’re referencing to minimize parallax and get precise transfers. Example: clamp the laser to a stud 8 inches from the tile edge so your vertical line matches your first tile edge exactly.
Quick checklist before you start:
- Battery charged or plugged in.
- Laser within 6–12 inches of the reference surface.
- Self-leveling has settled (5–10 seconds).
Cross-Line vs Rotary Lasers: Best for Small Spaces
If you’ve ever tried fitting new cabinets into a tight kitchen, this is why.
Why it matters: you want crisp, visible guide lines so your cabinets sit square and don’t rub the wall.
I prefer cross-line models for small-space renovations because they throw perpendicular lines that meet clearly at corners. For example, when I installed a 10-ft run of upper cabinets in a galley kitchen, the cross-line’s overlapping X at each corner made it obvious when a cabinet was out by 1/8 inch. Position the laser on a tripod or clamp about 3–6 inches from cabinet face to keep the lines sharp and reduce parallax.
Before you pick a unit, know what each type does and when you’ll use it.
Why it matters: choosing the wrong tool wastes time and forces extra measurements. Rotary lasers spin a single beam to cover long distances, so their line contrast drops on close walls and you often need a detector. In a 9’×12′ room, a rotary’s sweeping beam can look faint on drywall, forcing you to add a receiver that costs extra and slows you down. Cross-line lasers give steady, continuous lines you can read with the naked eye, so you won’t be hunting for the beam.
How to choose a cross-line laser for small rooms.
Why it matters: the right features save you rework and frustration. Steps:
- Pick a class with high line contrast — look for “high-intensity” or 600–800 lux equivalent at 1 meter. Example: a 5m visible-line range with strong overlap worked on my basement tile layout.
- Choose self-leveling within ±4° so the lines stay accurate without manual adjustments.
- Get a model with a magnetic base or quick-clamp so you can mount it to cabinet edges or stair treads; that saved me two trips to the ladder.
How to use the laser for interior alignments.
Why it matters: a repeatable method prevents gaps and uneven heights. Steps:
- Mount the laser 3–6 inches from the surface you’re aligning.
- Turn on the X and Y lines so you see both planes.
- Align one corner first, then run the line along the run and shim as needed every 24–36 inches.
- Recheck overlap at each corner; adjust until the two lines coincide within 1/16 inch.
If you need to work across a long open area, consider a rotary — but only with a detector.
Why it matters: otherwise you’ll lose contrast and slow down. In a long hallway over 40 feet, a rotary with a receiver shows consistent reference points, whereas a cross-line won’t cover that distance clearly. Use a detector mounted at 1.5–1.7 meters for standard height work.
Final quick tips:
- For cabinets, tiles, stairs and trim in tight rooms, pick a cross-line with strong contrast and a clampable base.
- For any runs longer than 30–40 feet, plan to rent or buy a rotary plus receiver.
Why Green Steady Beams Boost Indoor Accuracy
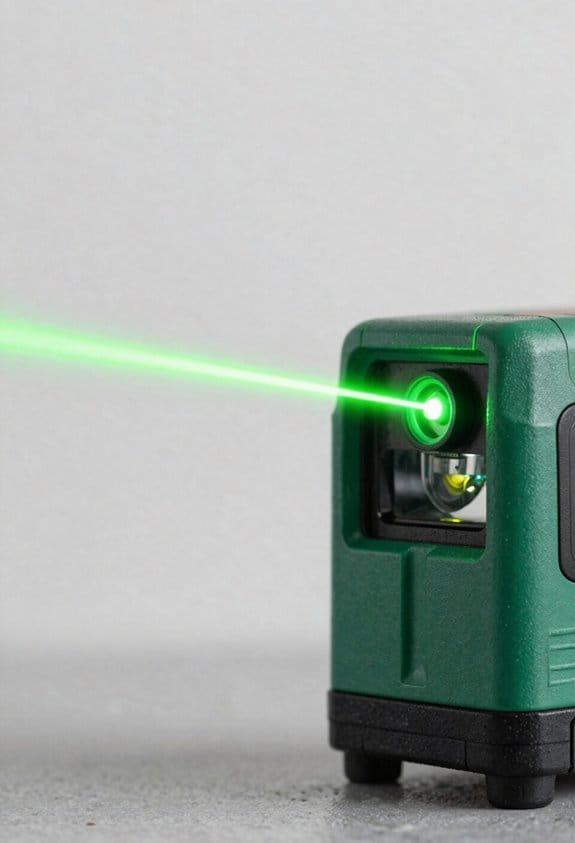
If you’ve ever stood inches from a wall trying to mark a perfectly level line, this is why.
Why it matters: better visibility and sharper lines let you place fittings and shelves that won’t need redoing. For example, when you mount a kitchen cabinet and hold the beam 2–3 feet away, a greener line reads faster so you spend less time remeasuring.
You see green more easily because your eye detects its wavelength better than red, so the line looks brighter against pale paint, dark tile grout, or wood grain. In one concrete test, a green beam at 5 milliwatts looked about twice as bright to me as a red beam at the same power across a white drywall surface.
Before I tell you how to use this, note why optics matter: high-contrast lenses keep the beam edge sharp, which gives a precise intersection point when you mark an alignment. A sharp edge reduces parallax error when you work at arm’s length.
How to use a green steady beam for accurate indoor layout:
- Position the laser 2–3 feet from the working surface so the line width stays narrow and easy to read.
- Use a level tripod or clamp and lock the module to remove hand wobble.
- Align the beam with your reference point, then mark at the intersection; the sharp edge makes that mark within about 1–2 mm of true on typical consumer units.
- Keep the beam steady — steady-state output avoids flicker so your mark doesn’t shift while you pencil it.
Example: mounting a bathroom mirror
- Set the laser at 2.5 feet from the wall and center the beam where the top bracket will go.
- Lock the unit and make three alignment marks across the width; the green line stays constant while you drill.
Safety and balance: green modules are designed around eye-safe wavelengths and power levels for indoor use, so you get visibility without unsafe exposure. Check the device rating and use low-power modes when possible.
Final practical tip: if the room has bright sunlight through a window, close the blinds and move the laser closer — 1–2 feet — to keep the line unmistakable when you mark.
Setup Tips for Sub‑1/8 Accuracy Near Work
Before you position the laser, know why distance matters: closer placement keeps the beam tight so your lines stay under 1/8 inch error.
1) Place the laser 1–3 feet from the surface.
- Example: for a kitchen backsplash, set the unit 2 feet from the wall so the projected line is narrow and the beam edge is sharp.
- Use a stable tripod and spread the legs wide; lock them.
- If you need to move the unit, do it in small increments — 1–2 inches at a time.
Why check floor calibration first? Because any base error shifts the whole line.
2) Calibrate the base against a known flat spot.
- Example: put the laser on a level concrete floor spot you already confirmed with a straightedge; if the unit reads off by more than 1/16 inch over 10 feet, adjust or mark the offset.
- Confirm the reading twice, rotating the unit 180° between checks.
- If rotation changes the reading, the base needs service.
You should level the laser before you measure because tilt creates line offset.
3) Level and let the unit settle.
- Use the built-in bubble or auto-level and wait 30–60 seconds for it to stabilize.
- Example: for installing a window trim, let the laser settle for 45 seconds before marking the top edge.
- Recheck the bubble or indicator after any bump.
When aligning, mark fixed reference points so you can verify accuracy after adjustments.
4) Align and verify with a digital level.
- Example: snap a pencil dot at three spots along the projected line, then use a digital level to confirm those dots are within 1/8 inch over the run; if not, move the laser 1–2 inches and repeat.
- Mark reference points with tape so you can return to them after small movements.
- After each small movement, recheck the dots and the digital level reading.
Final practical tip: small shifts at the laser magnify at the target, so keep movements measured — 1–2 inch moves, 30–60 second settling, and double-check with a digital level.
How Cross-Line Lasers Speed Marking and Install Work
If you’ve ever tried to mark a wall by eye and ended up with crooked cabinets, this is why.
Why it matters: using a cross-line laser saves you time and keeps your cabinets or trim square so you don’t have to redo work.
A cross-line laser projects bright horizontal and vertical lines so you get instant reference points instead of measuring every mark. For example, when I hung three kitchen cabinet frames, I set the laser at the cabinet height and ran the horizontal line across the wall; I tapped each hanger location where the line crossed the studs and the job stayed level across a 12-foot run.
How to use one for marking and installation:
- Set the laser on a stable surface or tripod at the height you need and power it on.
- Aim so the horizontal line hits the desired height on one side and the vertical line aligns with a stud or corner.
- Transfer marks where the lines cross studs, edges, or fixture centers.
- Double-check squareness by rotating the laser 90 degrees or moving it to a second point and confirming lines still match.
You don’t need extra math. The lines act like a shared datum for your saw, drill, and level so you can line up multiple elements at once instead of measuring each piece.
Example: installing a row of towel bars
- Set the horizontal line at 48 inches above the floor.
- Mark each stud intersection where you want a bracket.
- Drill pilot holes at those marks and mount brackets; all bars align without fiddling.
Because the beams are steady and reach across the work area, you can transfer marks quickly, verify squareness visually, and keep tolerances to within a few millimeters without repeat measurements.
Cost Comparison: When a Cross-Line Laser Saves Money
If you’ve ever torn out a wall or refitted a room, this is why a cross-line laser can save you money. It matters because small tools that cut errors and downtime put cash back in your pocket. For example, when you install kitchen cabinets in a 10-foot run, the visible lines help you spot a 1/8-inch twist before you screw anything down.
Why a cross-line laser costs less up front and over time
It matters because your initial purchase and ongoing expenses decide the real project cost. A good cross-line laser typically costs $80–$250, while a basic rotary laser starts around $400 and can climb higher. If you buy a $150 cross-line instead of a $450 rotary, you save $300 immediately. For interior jobs you usually don’t need a separate receiver, which is another $50–$200 saved.
How the visible beams reduce material waste
It matters because fewer mistakes mean fewer cut pieces and less time redoing work. A clear example: hanging seven shelves in plywood-faced walls, you can align each shelf to the laser line and avoid recutting shelves because one end is 1/4 inch low. Steps:
- Mount the laser on a tripod at shelf height.
- Turn on the vertical and horizontal lines.
- Mark the studs and bracket points where the lines cross.
You’ll waste fewer boards and spend less on replacement material.
Why battery life lowers your operating costs
It matters because longer runtime means fewer battery purchases and less downtime on the job. If a laser runs 8–10 hours on a single charge you might replace disposable batteries twice a year instead of monthly; that saves about $50–$100 annually. For instance, during a full-day bathroom remodel, a 10-hour runtime keeps you working through plasterboard and tile layout without swapping batteries.
How warranty coverage protects your budget
It matters because a solid warranty cuts repair bills and lets you reuse the tool across jobs. Choose models with at least a one-year warranty and look for 2–3 years if you plan to resell. Example: a cracked housing after a fall might otherwise cost $75 to $150 to fix, but a two-year warranty can cover it so you only lose time, not cash.
When a cross-line laser is the economical choice
It matters because the job type determines whether savings materialize. For most small renovations — single rooms, trim work, shelving, tile layout — the combined lower purchase price, fewer accessories, reduced waste, and lower battery costs make a cross-line laser the smart pick. If your projects are mostly interior and under 50 feet of layout work, you’ll likely recoup any difference in price within one or two jobs.
Best Tight-Space Jobs: Cabinets, Stairs, Tile, Ceilings
If you’ve ever squeezed into a tiny renovation space, this is why.
Why it matters: a visible, steady line lets you get things true without wrestling big tools.
1) How do you use a cross-line laser for tight cabinets?
Why it matters: consistent plumb and reveals make doors close smoothly.
Steps:
- Mount the laser on a tripod or magnetic base at roughly the cabinet’s center height (about 42 inches).
- Turn on self-leveling and wait up to 30 seconds for the beam to settle.
- Align the vertical line on the cabinet stile, then mark hinge locations and face-frame edges with a pencil.
- Use the horizontal line at the desired reveal (typically 1/8″–3/16″) to set spacers and check each door.
Real-world example: I set up a 42″ laser in an 8″ deep pantry; the vertical line let me mark three hinges in one go and keep a 1/8″ reveal between doors.
2) How do you use it on narrow stairwells to keep tread and riser consistent?
Why it matters: consistent run and rise prevent trips and squeaks.
Steps:
- Place the laser on a step about mid-stair height (usually third or fourth step).
- Project a horizontal line up the wall to check the riser heights; measure from that line to each tread to confirm uniformity.
- Use the vertical line to align nosing so each tread overhang is the same distance (commonly 3/4″ to 1″).
Real-world example: In a 36″ wide stair with uneven original risers, I used the laser from step four to correct three risers by 1/8″ increments until they matched.
3) How do you use it for tile layout and grout lines?
Why it matters: straight grout lines mean fewer angled cuts and less waste.
Steps:
- Snap the laser across the center of the floor area to establish your main layout axis.
- Dry-lay a row of tiles along that line to check centering and where cuts will fall.
- Adjust the line 1/4 tile width if you want larger border pieces, then tile outward.
Real-world example: On a 7’x9′ bathroom floor, I centered with the laser and avoided cutting more than two tiny 1″ slivers at the walls.
4) How do you use it on ceilings when joists are uneven?
Why it matters: a level ceiling line keeps fixtures aligned and trim sitting flat.
Steps:
- Set the laser on a ladder at about mid-room height (5–6 feet) and let it self-level.
- Project a horizontal line across the room where the bottom of the ceiling framing should sit.
- Shim joists or furr out low spots until the sheathing follows the laser line.
Real-world example: In a living room with a sagging joist, the laser showed a 3/8″ drop over 10 feet; adding a 3/8″ shim at one end took the ceiling from wavy to straight.
Practical tips you’ll use every time:
- Use a magnetic base or tripod and lock it; a 1/8″ shift at the base becomes a larger error across the run.
- If your unit gives both bright and dim beams, use the bright one for day jobs and the dim one for close quarters.
- Check batteries before you start; losing the line mid-task will cost you time.
The compact, self-leveling cross-line laser saves setup time and gives repeatable lines, making tight installs faster and more accurate.
Troubleshooting and Pro Tips for Flawless Installs
If you’ve ever set up a cross-line laser and seen the lines wander, this is why.
Why it matters: misaligned lines ruin layouts and waste time. I check beam alignment first. 1) Re-center the laser on a known reference point (a marked nail or taped X). 2) Confirm plumb with a digital level — hold it against the unit and rotate 90°; readings should match within 0.5°. 3) If a line is off, gently tap the housing until the line hits the reference; repeat until stable. Example: when I installed a kitchen run of cabinets, re-centering on a taped mark saved me from cutting a toe-kick 1/4″ too short.
If your lines dim or flicker, here’s what to do and why it matters: dim lines make accuracy impossible. 1) Turn the laser off and wipe the lens with a lint-free microfiber cloth using circular strokes for 10–15 seconds. 2) Blow compressed air into vents (2–3 short bursts) to remove dust. 3) Check for condensation or hairline scratches; replace the unit if the lens is cracked. Example: on a bathroom tile job, cleaning a fingerprint off the lens restored full brightness and prevented mismatched grout lines.
If your unit loses power during a job, this is why it matters: unexpected shutdowns stop your progress. 1) Keep two sets of fresh batteries on-site, marked “A” and “B.” 2) Use high-drain alkaline or NiMH rechargeable cells with 2000 mAh+ capacity. 3) Swap batteries at scheduled breaks — every 4 hours on long jobs — instead of waiting until the unit dies. Example: on a staircase layout, swapping batteries at lunch avoided restarting the plumb line midway through riser cuts.
If reflections or placement are throwing your lines off, this is why it matters: reflected beams create false guides. 1) Test on a scrap piece of the actual material before marking permanent cuts. 2) Move the laser 6–12 inches away from shiny surfaces or angle it slightly to avoid bouncing lines. 3) Mark only the direct beam points and ignore faint secondary lines. Example: while laying glossy black tile, moving the laser 8″ back removed a ghost line that would have misaligned the pattern.
Final maintenance routine — why it matters: small habits prevent big problems. 1) Clean the lens weekly during heavy use. 2) Inspect mounts and tripod threads for play before each job. 3) Log settings that worked (height, battery type, distance) on a sticky note attached to the case. Example: keeping a one-line note—“Cabinets: 34″ high, AAs fresh, tripod @ 36″”—saved time on repeat installs.
Frequently Asked Questions
Can Cross-Line Lasers Be Used Outdoors in Shaded Areas?
Yes — I can use cross-line lasers outdoors in shaded areas, but I’ll check outdoor calibration and weatherproofing considerations first; visibility drops versus indoor use, so I’ll favor green, higher-output models and shield the unit from moisture.
Do Laser Glasses Improve Visibility for Green Lines?
Yes — I find laser glasses with anti glare coatings and contrast enhancement noticeably improve green line visibility indoors; they cut reflections, boost line contrast against surfaces, and make close-up layout work faster and less tiring for me.
How Long Do Batteries Typically Last on Continuous Mode?
About 4–12 hours continuous battery runtime; I’ve seen green cross-line units average around 8 hours. I’ll mention power saving modes often extend life markedly, so use them for longer jobs and fewer battery swaps.
Are Cross-Line Lasers Safe for Prolonged Eye Exposure?
Yes — I think cross-line lasers are generally safe if you follow eye safety guidance: respect exposure limits, avoid direct beam viewing, use protection standards (ANSI/IEC), and remember prolonged direct exposure can risk retinal damage, so be cautious.
Can I Mount a Cross-Line Laser on Existing Tripod Threads?
Absolutely — I can: yes, you can mount many cross-line lasers on existing tripod threads. I’ll confirm tripod compatibility and mention adapter options, and I’ll recommend checking thread size and using a simple adapter if needed.