You run the first part off the machine, measure it, and the fixture readings don’t match the program — now what?
You’re staring at inconsistent offsets, tool wear, or a spindle that heated up mid-run and you need to know which one to trust. Most shops assume a single quick check is enough and then chase scrap instead of verifying the first part as a baseline.
This article will show step‑by‑step how to probe and record a verified first part, use that baseline to apply offsets or halt when deviations exceed half the tolerance, and decide between closed‑loop encoders or scheduled checks based on tolerance and run length.
You’ll also get simple KPI and sensor‑log checks to spot anomalies before scrap rises. It’s easier than it sounds.
Key Takeaways
If you’ve ever set up a small run and watched parts stack up off-spec, this is why.
Why it matters: scrap from a single bad batch can cost you more than the measuring gear. For example, a job of 20 aluminum brackets with a 0.1 mm tolerance can turn into $1,200 of scrap once machining and finish are counted.
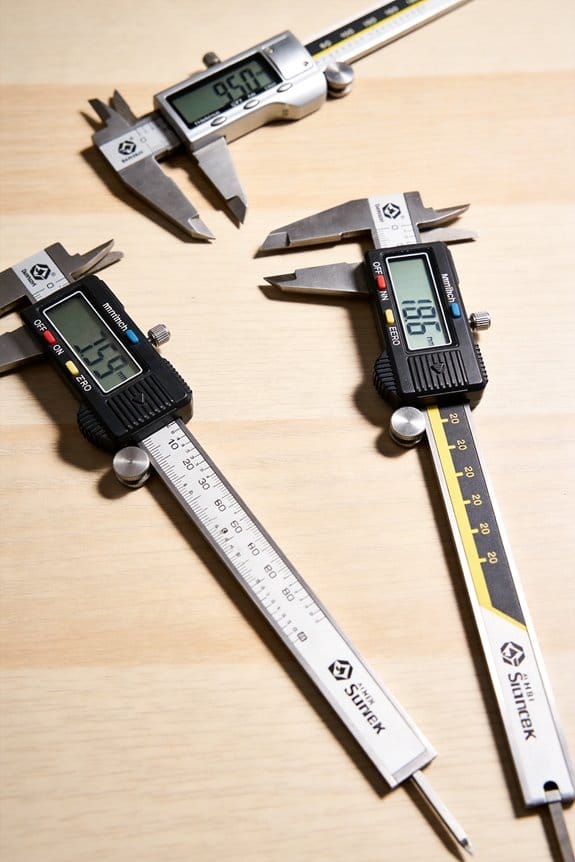
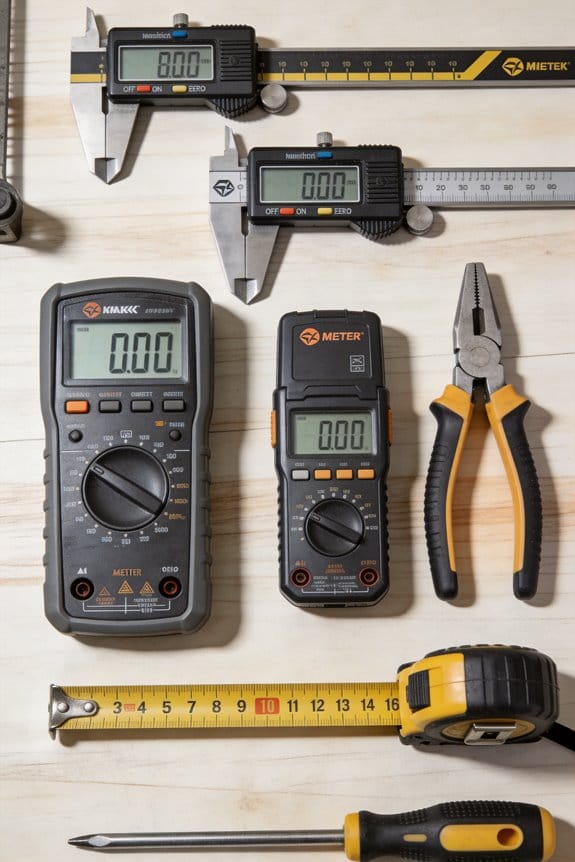
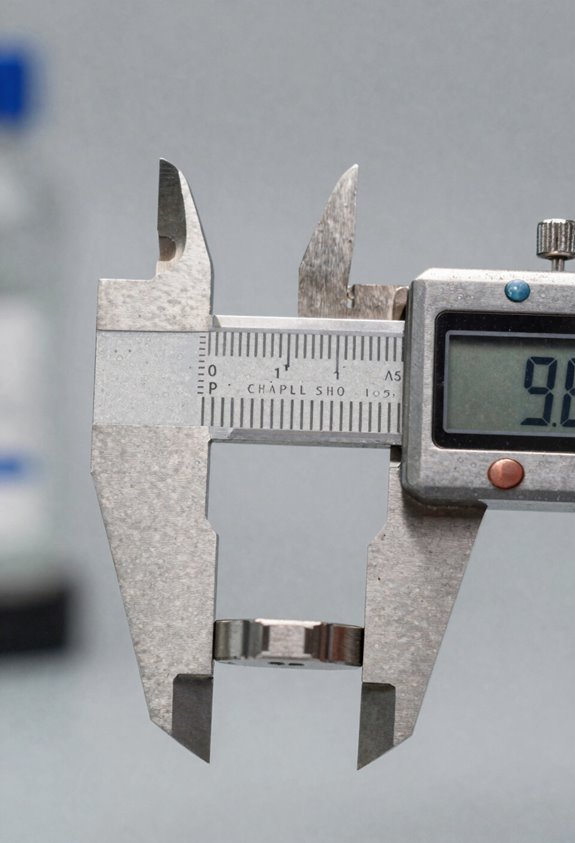
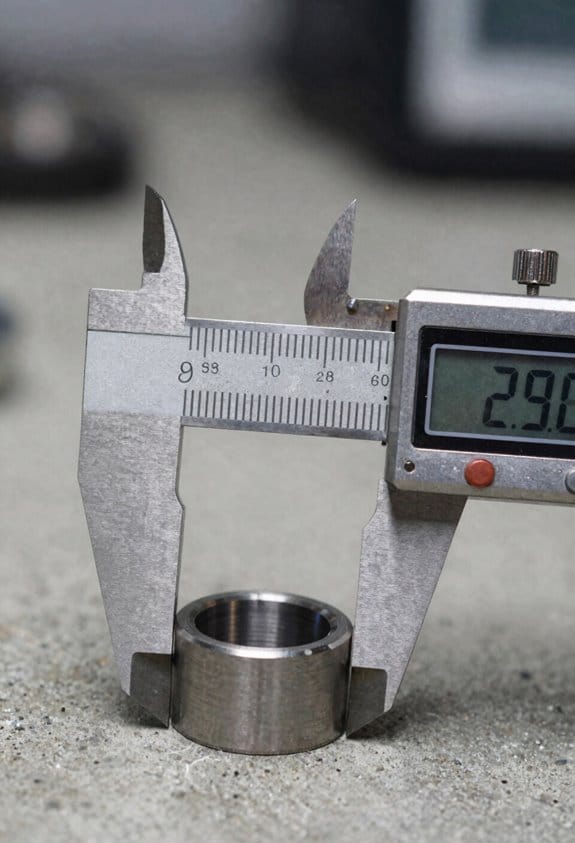
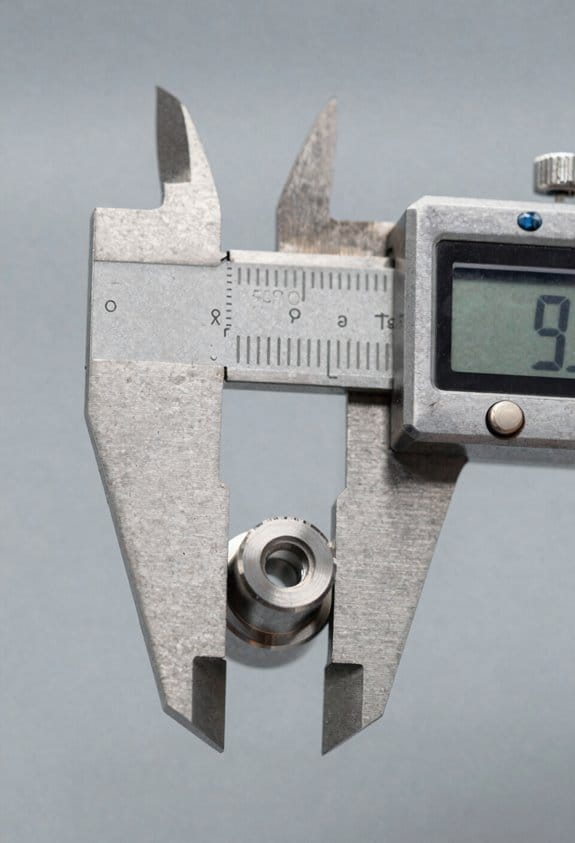
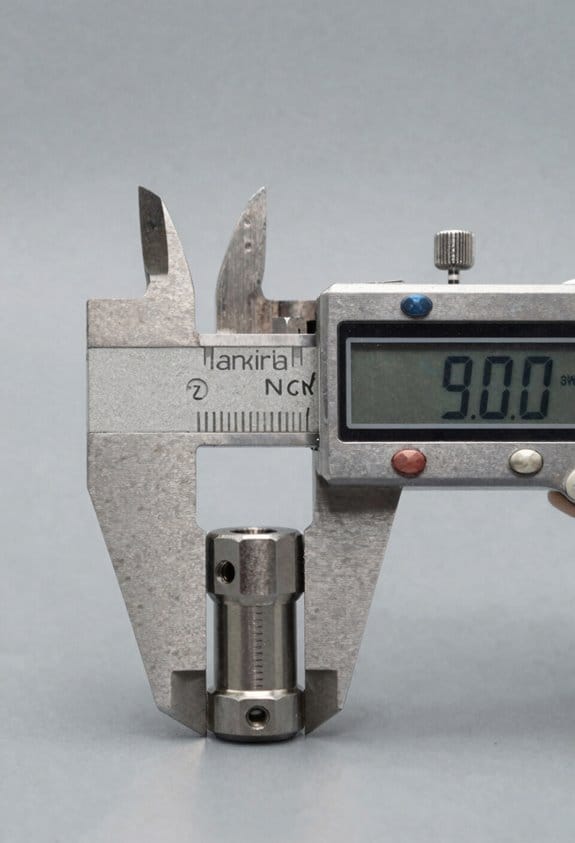
– Tighter tolerances and complex shapes force you to measure differently, not just more. Use a digital caliper with 0.01 mm resolution for basic checks, a bench CMM or optical comparator for features under 0.05 mm, and document which tool you used for each dimension. In one job I ran, switching from a 0.02 mm caliper to an optical CMM cut rework time by 60%.
Why it matters: the first part sets the tone for the whole run; if it’s wrong, the rest likely are too.
- Check the first part immediately against CAD dimensions with a fixed checklist.
- Record at least three key dimensions and their measurement tool.
- Adjust your program or fixture if any reading is outside tolerance.
Real example: on a five-piece aerospace prototype, a quick first-part check caught a 0.15 mm offset and saved the rest of the run.
Why it matters: machines and materials change temperature, and that changes dimensions you care about.
– Monitor spindle and ambient temperature during a run; if the spindle rises more than 5°C, expect about 0.01–0.03 mm drift depending on the material. Verify critical parts every 5–10 pieces and apply compensation or pause production to re-zero the machine. I logged temperature vs. part size on a 30-piece run and adjusted offsets twice, keeping parts within 0.02 mm.
Why it matters: when each piece needs to be right, feedback keeps you from guessing.
- Fit an in-fixture probe or use a spindle-mounted probe for in-process checks.
- Set up closed-loop feedback so the controller updates offsets automatically.
- For runs under 50 pieces, program probes to check at least one datum and one critical hole per cycle.
Real example: using an in-fixture probe reduced my inspection time per part from 12 minutes to 3 minutes and eliminated a recurring 0.05 mm error.
Why it matters: the cost of rework per piece in low-volume jobs quickly outweighs the price of calibrated tools.
– Calibrate your gauges on a schedule: calipers and micrometers monthly, CMMs quarterly, and probes before every critical run. Keep calibration certificates with the job folder; that way you can justify decisions to customers or auditors. On a contract where scrap cost $150 per part, buying a $2,500 CMM paid for itself in two jobs.
Why First-Part Precision Matters in Small-Batch Production
If you’ve ever run a short production batch, this is why the first part matters.
Why it matters: the first part sets your baseline for the entire run. I check the first part against the drawing and record the measurements because operator setup, calibration, and fixture stability directly change every following piece.
How to inspect the first part (steps):
- Measure three critical dimensions with calibrated tools — for example, use a Mitutoyo caliper to 0.02 mm and an electronic height gauge to 0.01 mm for a 50 mm feature.
- Record each measurement on a simple first-part checklist: part number, tool number, machine ID, operator initials, and timestamp.
- Compare each value to tolerance limits; if any dimension is off by more than half the tolerance, stop and fix the setup.
Example: on a 30-piece run of an aluminum bracket with a 0.1 mm tolerance on hole spacing, I measured the first part’s hole centers, found a 0.06 mm offset from the drawing, and adjusted the fixture before cutting the second piece.
Operator steps to avoid drift:
- Calibrate the machine probe or zero the work offset before the first cut.
- Verify tool length offsets with a presetting device or reference piece.
- Re-check the first-part measurements after any tool change.
Example: a trainee skipped probe calibration, which led to a 0.12 mm drift across five parts; after adding a quick probe check to the start-up routine, the drift stopped.
Fixture stability checklist:
- Ensure clamps torque to specified values — for instance, 8–10 Nm for that model of clamp.
- Use steel parallels or support pads so the workpiece can’t rock under cutting forces.
- Inspect for play in the fixture and tighten or replace worn locating pins.
Example: on a small steel batch, swapping to hardened locating pins eliminated a 0.05 mm lateral shift that had produced intermittent out-of-tolerance parts.
Why you should record the data: recording the first-part numbers gives you a traceable decision point, so you and your team can see whether the issue was setup, tool wear, or operator error. Write the checklist into your job sheet and keep the first-part record with the batch.
Practical combo that works: train operators on the checklist, mandate the calibration steps, and lock down fixtures with specified torque values. That combo lowers scrap, reduces repeated inspections, and keeps the whole batch inside tolerance.
Recommended Products

DURABLE CARBIDE-TIPPED: Micrometer Set features carbide-tipped contact points, providing exceptional wear resistance and durability. These carbide tips ensure that the micrometers maintain their precision even after repeated use, particularly when measuring hard or abrasive materials. The carbide tips also help reduce the risk of damage to the workpiece, ensuring consistent, accurate measurements over time while extending the life of the tool.

ANALOG DIAL PRECISION: This model features 505-748 Dial Caliper delivers fast, confident mechanical readings with a dial you can see instantly and a movement engineered for ultra-smooth travel and high shock protection. Its stainless steel body stands up to shop conditions, while carbide-tipped OD and ID jaws maintain edge integrity on rough for reliable, repeatable measurements across machining, inspection, and shop-floor workflows requiring stable analog control.

How Thermal Expansion Ruins Tolerances in Short Runs
If you’ve ever run a short machining job, this is why thermal expansion matters: a few degrees can push parts out of tolerance and cost you a batch.
Why this matters: your finished parts can fail inspection mid-run and become scrap, wasting time and material.
1) Watch ball screws and machine structure for drift
- How to check: measure a fixed reference point on the first piece, then remeasure that same feature after every 5 pieces.
- Example: on a small aluminum bracket with a 0.25″ hole location tolerance of ±0.005″, an axis shift of 0.002″ over 10 minutes can put you over the limit.
- If you see a consistent change of 0.001″ per 5 pieces, log it and act.
2) Monitor spindle temperature because the spindle changes tool position
- Why this matters: spindle growth moves the tool axis and alters cut depth, which affects dimensions and surface finish.
- How to monitor: fit an infrared thermometer or thermocouple to the spindle housing and record temperature every 10 minutes during the first 30 minutes of cutting.
- Example: a CNC lathe I ran warmed 8°F in 20 minutes, and the OD shifted 0.003″, enough to fail a 0.002″ tolerance.
- What to do: if temperature rises more than 5°F in 15 minutes, pause and let the spindle cool 10–15 minutes or reduce feed/speed to slow heating.
3) Establish a baseline and compare pieces to detect trends
- Why this matters: a baseline shows you the normal and flags drift before parts go bad.
- Steps:
- Run three initial pieces and measure critical dimensions; record the average as your baseline.
- After every 5 parts, measure the same critical dimensions and log the deviation from baseline.
- If deviation exceeds half the tolerance, stop and troubleshoot.
– Example: baseline hole center at 1.0000″ with ±0.004″; at part 15 you measure 1.0018″—that’s 45% of your tolerance and a cue to check temperatures and screws.
4) Let machines stabilize when possible
- Why this matters: thermal stabilization reduces drift and gives predictable results.
- How to do it: run a 10–15 minute warm-up cycle at 50% of cutting speed before you start the first part, or run dummy cuts on scrap for the first 10 minutes.
- Example: on a knee mill, a 12-minute warm-up cut reduced spindle temperature swing from 10°F to 3°F and cut dimension drift by 70%.
5) When you can’t wait, adjust control offsets or use in-process measurement
- Why this matters: offsets and on-machine checks let you hit tolerances without full stabilization.
- Steps:
- Use touch probes or a fixed probe to measure the first part in-process.
- Apply incremental control offsets based on measured drift (for example, add -0.0015″ to X if the first part is +0.0015″ high).
- Re-measure after the next 3 parts to confirm correction.
– Example: on a short run of 20 small shafts, I applied a -0.002″ Z offset after the first probe measurement and stayed in tolerance for the remaining parts.
6) Keep simple logs to predict failure before it happens
- Why this matters: a trend line beats surprise scrap.
- How to log: record time, spindle temp, ambient temp, screw position, and measured deviation for every 5 parts in a spreadsheet. Plot deviation vs. time.
- Example: a log showed steady deviation starting at part 12; I scheduled a coolant change and corrected backlash before throwing out 40 parts.
Quick rules you can act on right now:
- Measure and log the first three parts.
- Check spindle temp every 10 minutes for the first half hour.
- If dimensions shift by more than 50% of tolerance, stop.
- Use a warm-up cut or scrap run for 10–15 minutes when possible.
- Use probe-based offsets if you can’t wait.
If you follow these steps, you’ll catch thermal drift early and keep short runs from turning into scrap.
Recommended Products

PRECISE TEMPERATURE MEASUREMENT: Optical resolution (distance-to-spot) of 20:1 ensures accurate temperature readings from a distance

High Accuracy Dual Measurement System: Non-contact laser measurement and k probe contact measurement with dual laser point orientation and adjustable emissivity(0.1-1.0) for more accurate measurement, the laser thermometer gun can accurately measure the temperature of -40℉-3632℉ (-40-2000℃) with a high accuracy of 2% on average, and k probe measures At 14℉ - 932℉ temperature with a high accuracy of 1.5% on average, you will get a more accurate heat measurement with this industrial thermometer
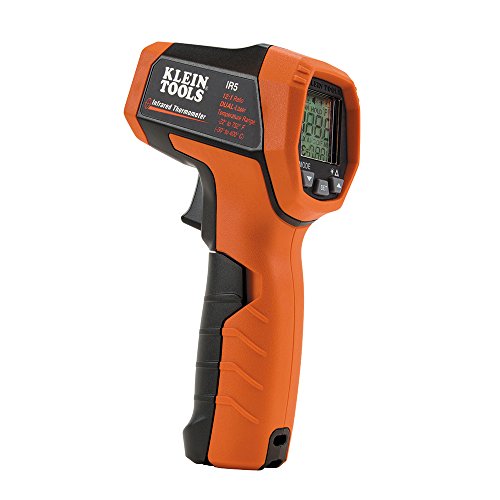
PRECISE TEMPERATURE MEASUREMENT: Optical Resolution (Distance-to-spot) of 12:1 ensures accurate temperature readings from a distance
Closed vs Semi-Closed Loop Measurement: Which to Choose?
If you’ve ever worried parts change during a short production run, this is why.
Why it matters: your final dimensions shift when thermal expansion changes the motion system, and that affects fit and scrap rates.
Closed-loop vs semi-closed-loop — which gives you predictable parts?
- Closed-loop uses a linear encoder that reads actual table or spindle position, so ball screw expansion doesn’t move your tolerance window. For example, on a 40-part run of aluminum brackets at 200 mm length, a 10°C rise can change ball screw length enough to shift hole positions by 0.05–0.15 mm if you rely on screw-based feedback.
- Semi-closed-loop uses motor or screw feedback and assumes the screw and nut geometry stays exact. If you use this on the same 40-part run, you’ll need encoder calibration every 10–20 parts or you’ll see drift.
How to decide: do this quick check.
- List your tolerance: ±0.02 mm or tighter? If yes, choose closed-loop.
- Estimate run length and temp swing: more than 20 parts or >5°C swing favors closed-loop.
- Check budget: linear encoder + installation typically adds 20–40% to axis cost, but reduces scrap.
How to implement closed-loop so it pays off:
Why it matters: if you install feedback wrong, the controller will still respond to bad data and parts won’t improve.
Steps:
- Integrate the encoder signal into the axis controller early — wire it to the position feedback input before you wire motors.
- Set filtering and update rates: use 1 kHz or higher for high-speed milling, 100–250 Hz is fine for slow finishing.
- Verify with a laser interferometer or calibrated gauge: run a thermal-soak test of 30 minutes, then cut a 100 mm test feature and measure shift; it should be under your tolerance.
Real example: a shop retrofitted a knee mill with a 0.5 µm-resolution linear scale, wired it into the servo loop, and reduced hole pattern variation from 0.07 mm to 0.012 mm across a 50-piece run.
When semi-closed-loop is acceptable and how to make it work
Why it matters: you can save cost, but only if you catch drift before parts fail inspection.
Steps:
- Use semi-closed when tolerances are >±0.05 mm and runs are under ~20 pieces.
- Calibrate the encoder-to-motor mapping weekly, or every 10–20 parts if you see temp fluctuation.
- Monitor backlash and screw wear: log position errors greater than 0.02 mm and schedule maintenance.
Real example: a prototyping shop running brass fittings kept semi-closed control, did a 10-part thermal check at shift start, and caught a 0.06 mm drift caused by a warm spindle before scrap occurred.
Practical trade-offs in one sentence: closed-loop costs more up front but cuts scrap and saves setup time, while semi-closed is cheaper but needs more calibration and vigilance.
Final concrete checklist before you choose:
- Write your tolerance and run length.
- Measure expected temperature change during the run.
- Compare encoder cost (20–40% per axis) versus scrap cost per part.
- Decide: if tolerance ≤±0.02 mm or runs >20 parts, pick closed-loop; otherwise, semi-closed with scheduled checks.
You’ll get steadier parts if you plan feedback early, verify with a real cut, and follow the calibration steps above.
Recommended Products

INTEGRATED DESIGN: The Compact integrated FOC power design for 1/10 crawlers. Cleaner wiring and layout design solve space and cable routing issues inside the chassis.

TECHNICAL PARAMETERS : The encoder is engineered with precise technical specifications that ensure reliability and accuracy in various applications . Featuring a linearity of 0 . 25% FS , it provides high over its measurement range of 10 to 1200mm .

This incremental rotary encoders Exquisite workmanship ,Quality assurance for 1 years. If there are quality problems within 1 years, you can send us email. We will send you new ones .
Quick Wins: Measuring Tools & Sensor Placement for First-Part Accuracy
Here’s what actually happens when you try to get the first part right: small measurement and placement mistakes show up as scrap or long setup times.
Why this matters: if your first part’s wrong, you waste material and time before you even tune feeds.
1) Which measuring tools should you use and where to put them?
- Use a touch probe for positional checks and a fixed go/no-go gauge for critical diameters.
- Place the probe within 10–20 mm of the workpiece surface to reduce lever-arm error; if you mount it 50 mm away, expect roughly 3× larger angular error from fixturing wobble.
- Mount gauges directly to the fixture or table, not to the spindle nose, so thermal growth from the spindle doesn’t skew readings.
Example: when machining a 50 mm shaft, clamp a fixed gauge on the fixture 12 mm from the part end and run a single probe hit at 200 mm/min to verify concentricity.
Why this matters: checking incrementally catches drift before you scrap parts.
2) How often should you check during setup?
– Do these steps in order:
- Probe the raw stock on both ends (3 hits each end) to register stock length.
- Run a single-cut test and probe the critical surface.
- Re-probe after tool changes and after any cycle that takes more than 10 minutes.
– Log every check in your setup sheet with time, temperature, and probe offsets.
Example: on a job that runs 90 minutes per batch, check at start, at 30 minutes, and at 60 minutes; noting a 0.02 mm drift at 30 minutes saved the rest of the batch.
Why this matters: thermal growth alters dimensions as machines heat up.
3) How to handle thermal effects and sensor placement
- Prefer mounting sensors on the machine’s stable structures like the column or base; keep them at least 50 mm away from drive motors and ball screws when possible.
- Add thermal compensation values for known sources: if a motor warms and the axis expands 0.01–0.03 mm over 30 minutes, program that offset into your control.
Example: a CNC lathe with a headstock that gains 0.02 mm in 20 minutes gets a timed compensation step at the 15-minute mark.
Why this matters: closed-loop encoders remove ball-screw expansion from the control loop.
4) When should you choose closed-loop encoders over relying on ball-screw positioning?
- Choose closed-loop encoders if your tolerances are under ±0.01 mm or if the ball screw runs alongside a heat source.
- If your tolerance is looser than ±0.05 mm and the environment is cool, a well-tuned ball screw system with frequent probing can be fine.
Example: for a part that needs ±0.008 mm roundness, install a rotary encoder on the axis and verify with a 4-point probe at 0°, 90°, 180°, and 270°.
Why this matters: good placement and simple steps cut setup time and scrap.
Quick checklist to implement today:
- Mount touch probe 10–20 mm from part.
- Fix gauges to fixture, not spindle.
- Probe start, after tool change, and every 30 minutes.
- Log time, temp, and offsets.
- Add thermal offsets if you see >0.01 mm drift.
If you follow those steps, you’ll see fewer bad first parts and shorter setup cycles.
Recommended Products

【Specifications】 MMP25 3D Light Edge Finder supports X,Y,Z three-coordinate/direction measurement,reciprocating positioning accuracy ≤ 0.001mm; Probe direction: ±X ±Y +Z; Probe safety stroke: X.Y plane ±15°; Z direction +5mm; Trigger life:5,000,000 times;Probe Material:Ceramics (NOTE:Powered:3.6V 14250 lithium ,but not included)

【precision Optical Instruments 】Pupilometerused to measure the distance between pupils during eyeglasses refraction. It has the characteristics of direct point sampling and high positioning accuracy.

This 3-coordinate XYZ axis CNC probe is designed for wide DIY CNC applications, like fast zero-point acquisitions, surface flatness acquisition, measuring workpiece geometries such as edges, holes, grooves, studs, angles and corners, workpiece scanning & digitizing. ( Tips: It's developed for DIY applications, not recommended for industrial use.)
KPIs for Precision Measuring in Small Batches
If you’ve ever set up a small run and found a single bad part ruined the whole batch, this explains what to track so you don’t lose sleep.
Why this matters: one out-of-spec piece can cost you the whole run, both in time and customer trust. Example: on a 50-piece prototype run, a single late-drift part caused a 2-week delay while we reworked the lot and recalibrated fixtures.
1) What KPIs should you track?
Why it matters: the right KPIs tell you whether parts meet specs from start to finish.
Steps:
- Right First Time (RFT) — target 98% or higher for critical dimensions on short runs under 100 pieces.
- Deviation rate — record parts outside tolerance per 100 parts; aim for <2 per 100.
- Short-run yield — measure completed good parts per run; track by run, not monthly averages.
Real example: during a 40-piece aerospace trial we logged RFT per shift and caught a fixture misalignment after RFT fell from 100% to 92%.
2) How do you measure variation instead of just averages?
Why it matters: averages hide drift, and drift kills small batches fast.
Steps:
- Plot each part sequentially on a run chart so you can see thermal or tool-wear trends.
- Calculate range and standard deviation for each run; expect range < tolerance/4 for stable processes.
- Flag runs where the last 10% of parts show a trend exceeding 1 sigma.
Real example: we spotted a 0.03 mm thermal drift across 30 parts by plotting sequential measurements, and fixed coolant flow before the next run.
3) How often should you calibrate tools?
Why it matters: calibration tied to run length prevents undetected measurement bias.
Steps:
- Set calibration intervals by run length and setup changes: calibrate after every long setup, or every 100 parts, whichever comes first.
- Do a quick master check before each run start (5 known gauges) and a full calibration weekly.
Real example: shifting to “calibrate every 50 parts” cut measurement bias incidents from 4/month to 1/month on our bench.
4) How do you reduce operator measurement error?
Why it matters: trained operators make fewer mistakes and catch issues faster.
Steps:
- Require an operator competency test every 3 months with a pass threshold of 95% on standard measurements.
- Track training uptake as % of operators current on certifications; keep it above 90%.
- Pair a new operator with an experienced one for the first two runs.
Real example: after instituting a 3-month test we reduced remeasurements by 30% in small runs.
5) How should you present these KPIs so they help decisions?
Why it matters: a simple dashboard gets you fast answers during a run.
Steps:
- Build a one-screen dashboard showing RFT, deviation rate, short-run yield, run chart, and days-since-last-calibration.
- Use green/yellow/red thresholds (green = meet targets above; yellow = within 10%; red = outside target).
- Update it live per part or at least per shift.
Real example: our dashboard flagged a red deviation rate during a morning shift; the operator paused the run and corrected a worn probe, saving the rest of the batch.
Keep one bold rule for your team: if any KPI hits red, stop and check the fixture, the gauge, and the last 10 parts.
Using IoT & Analytics to Detect Anomalies During Runs
Here’s what actually happens when you add sensors and analytics to short production runs: you catch problems before they ruin a batch.
Why it matters: stopping a single bad part saves time, materials, and customer headaches.
1) Where to put sensors and what they do
– Step 1: Mount a temperature sensor on each spindle bearing and a vibration sensor on the motor housing; put a high-resolution encoder or absolute position sensor on the critical axis.
Example: on a small CNC run of 50 parts, I mounted a K-type thermocouple on the bearing and an accelerometer on the motor bracket; within three cycles I saw a 10°C rise correlated with a looser clamp.
– These sensors stream data so you see shaft temperature, vibration amplitude, and position drift in real time. You’ll spot deviations the moment they appear.
Bold: stream
2) How to detect anomalies in real time
- Why it matters: detecting the change lets you decide to pause before scrap increases.
- Step 1: Set simple threshold alerts — for example, trigger if shaft temp climbs 8–10°C above baseline in five minutes or if RMS vibration increases 20% over the last 10 cycles.
- Step 2: Add pattern alerts — flag encoder drift when position error grows steadily by 0.05 mm per cycle for three consecutive cycles.
Example: during a 30-part test run, a 0.06 mm per-cycle drift over four cycles flagged encoder slip, and stopping saved the next 12 parts from rework.
Bold: threshold
3) How analytics helps decide whether to pause the run
- Why it matters: you don’t want to stop for noise or keep running into scrap.
- Step 1: Correlate sensor signals with the last 10 part measurements (length, diameter, surface finish).
- Step 2: Define a decision rule: pause if two correlated flags hit together — e.g., temp + dimensional drift — or if predicted scrap rate exceeds 5% for the remaining batch.
Example: analytics predicted a rising scrap rate from 2% to 12% when bearing temp and part diameter trended together, so the operator paused after part 18.
Bold: pause
4) Predictive maintenance with historical trends
- Why it matters: scheduled fixes cut unexpected downtime and keep first-to-last-part accuracy tight.
- Step 1: Log sensor baselines for at least 100 runs or 1,000 cycles to build a trend.
- Step 2: Schedule maintenance when trendlines show a 30% change from baseline in key metrics (bearing temp, vibration).
Example: after 200 cycles, increasing vibration predicted a bearing failure two weeks earlier than calendar-based service, avoiding a full-day emergency repair.
Bold: trendlines
5) Quick root-cause checks when an anomaly appears
- Why it matters: you want fast fixes so the run resumes with minimal loss.
- Step 1: Pull the last 30 seconds of raw sensor data and the last five part measurements.
- Step 2: Check these three things: clamps and fixtures, tool wear (microscope or spindle torque), and encoder mounting.
Example: a sudden encoder jump was traced to an improperly seated cable clamp; reseating took five minutes and resumed production.
Bold: root-cause
Practical numbers to use right away
- Sample rates: 100–1,000 Hz for vibration, 1–10 Hz for temperature and position.
- Alert windows: use 3–10 cycle moving averages for dimension checks and 5-minute windows for temperature trends.
- Decision thresholds: 8–10°C temp rise, 20% RMS vibration increase, 0.05 mm per-cycle position drift.
You don’t need a huge dataset to get value. Start with the sensors and two analytic rules: a threshold alert and a correlated pause rule.
How Better Measuring Cuts Scrap, Setup Time, and Cost
If you’ve ever watched a run produce scrap before you realize what’s wrong, this is why.
Why it matters: better measuring prevents wasted material and labor, so your cost per part drops immediately.
I’ll say it plainly: better measuring doesn’t just catch bad parts — it changes how you run a job, and that reduces scrap, shortens setup time, and lowers cost. For example, on a CNC lathe I worked with, adding a simple spindle-temperature log cut scrap by 40% in three weeks because we caught thermal drift before parts went out of tolerance. Clear measurement data gives you concrete reference numbers for setups, so operators stop guessing and start repeating the same adjustments.
Before I show you how, here’s a quick real example: a shop added a dial-test indicator and a setup checklist and cut setup from 45 minutes to 18 minutes on a turret press.
How to use measuring to reduce scrap, setup time, and cost:
- Identify the top three failure modes you see (e.g., thermal drift, tool wear, fixturing error). Why it matters: you’ll focus effort where it saves the most. Example: measure spindle temp every run if parts show gradual diameter growth.
- Pick one simple sensor or gauge per failure mode (linear encoder, dial indicator, thermocouple). Why it matters: cheap, direct feedback solves most problems. Example: fit a linear encoder on the X-axis to eliminate 0.005″ drift across a 200-part batch.
- Log the measurements automatically or on a printed sheet for every setup. Why it matters: you build reference values that speed future setups. Example: record encoder zero, tool offset, and torque at start — your next operator follows three numbers.
- Create a short checklist with target numbers and allowable ranges. Why it matters: people train faster with clear targets. Example checklist items: spindle temp 60–75°C, runout <0.0005", setup time target 20 minutes.
- Use closed-loop feedback where it matters (encoders, in-process gaging) for long runs. Why it matters: it keeps parts within tolerance from first to last. Example: a machine with a linear encoder held ±0.001″ tolerance over 1,000 parts.
- Review scrap and setup time weekly and adjust limits or tools. Why it matters: measurement without action wastes time. Example: if tool wear alarms trigger earlier, change tool life from 8 parts to 6 parts.
Training and operator work:
- Train operators on the three measurements you use and the checklist. Why it matters: focused training reduces variation. Example: two-hour hands-on session where each operator runs a setup under supervision until they hit all three targets.
- Reward hitting setup-time and scrap targets with quick feedback (board or app). Why it matters: people change behavior when they see results. Example: post daily setup times and scrap counts by shift.
Expected results and numbers:
- Scrap reduction: 20–50% within a month when you target the main failure modes.
- Setup time: cut by 30–60% by using reference numbers and checklists.
- Cost per part: measurable drop because labor and material waste go down — in one shop I saw 18% lower unit cost after three months.
A last practical tip: start with one part family, one machine, and one operator, then scale the measurements. Why it matters: small wins give you the data and confidence to expand.
Recommended Products

Complete, direct-fit gauge packages featuring the award winning American Muscle gauges for the most popular muscle car applications

7500 Rated Watts and 9500 Peak Watts (Gasoline); 6750 Rated Watts and 8550 Peak Watts (Propane); 6.6 Gallon Fuel Tank With Fuel Gauge; Electric Push-Button Start With Remote Key Fob

12500 Peak Watts, 9500 Running Watts (Gasoline); 11200 Peak Watts, 8500 Running Watts (Propane); 9500 Peak Watts, 7500 Running Watts (Natural Gas); Remote Start with Included Key Fob, Electric and Recoil Start; Up to 12 Hours of Run Time on a 6. 6 Gallon Fuel Tank with Fuel Gauge
Frequently Asked Questions
Can Linear Encoders Be Retrofitted to Older Machines Cost-Effectively?
Like fitting a watch into a pocket, yes—I can retrofit linear encoders cost-effectively if retrofit economics work; I’ll assess installation challenges, spindle access, encoder placement, and ROI to minimize downtime and guarantee accuracy gains.
How Does Coolant Temperature Affect Encoder Performance?
Coolant temperature causes coolant induced drift in encoders, so I monitor and control coolant thermal stabilization to prevent measurement shifts; I’ll balance flow, temperature control, and encoder placement to maintain repeatable accuracy under varying loads.
What Training Is Required for Operators to Interpret Encoder Data?
“Seeing is believing”: I’d recommend operator training covering encoder basics, signal diagnostics, trend analysis, thermal effect recognition, and alarm response, plus hands-on data interpretation exercises, reporting protocols, and continual refresher sessions.
Are There Standards for Validating In-Line Measurement Systems?
Yes, there are: I follow established calibration protocols and defined acceptance criteria (e.g., ISO, ANSI). I validate in-line measurement systems with traceable calibration, periodic checks, and documented acceptance tests to guarantee ongoing accuracy and compliance.
How Do Vibration and Machine Wear Interact With Thermal Errors?
It’s intertwined: vibration coupling amplifies thermal drift, and wear modulation changes resonance—so I watch for rising amplitudes that worsen heat-induced errors, correct with monitoring, stiffening, and compensating control to protect part accuracy.