You’re standing over a laptop at a job site, squinting at a 3D model while the contractor asks if that countertop will actually clear the doorway — and you can’t quickly show them the real fit. You want to know how to avoid hours of CAD rework because a modeled detail didn’t translate to the built condition.
Most people rely solely on digital models and miss inexpensive, fast ways to test scale and clearances. This piece shows how quick hand sketches and measured thumbnails let you spot fit problems, train your eye for human scale, and mark up photos or drawings so contractors understand intent immediately.
I’ll also show how to import photos of sketches into CAD at known scale for precise modeling. It’s easier than it seems.
Key Takeaways
If you’ve ever sketched a rough idea, this is why rapid hand sketches matter: they let you try lots of concepts fast so you avoid spending hours on bad digital models. For example, sketch three floor-plan variants in 10 minutes each, cross out the two that don’t meet circulation needs, and model only the best one. Try a 5‑minute bubble diagram, a 15‑minute layout, then refine the winner.
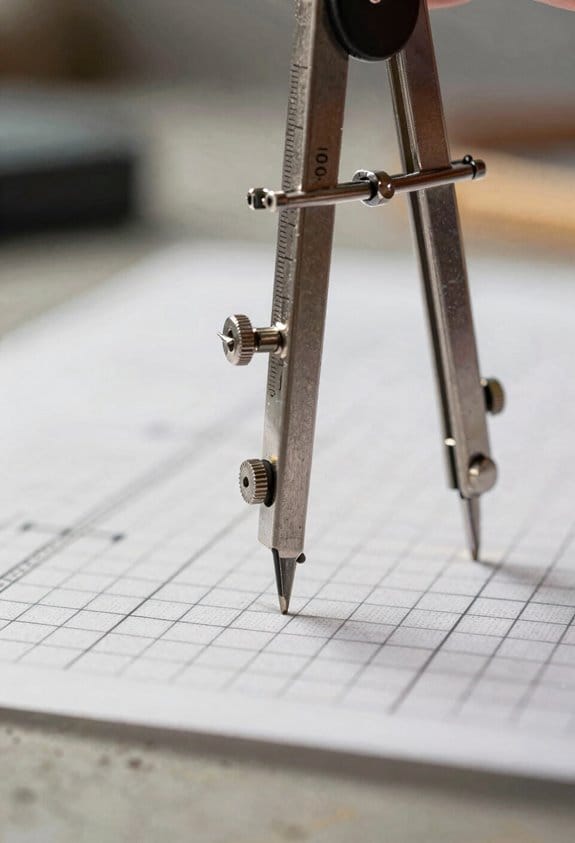
Measured hand layouts matter because they catch scale and clearance problems before you sit at CAD; that saves you time and costly field fixes. On a kitchen remodel, measure and draw the sink-to-stove distance and cabinet clearances on graph paper at 1/4″ = 1′ scale to confirm 36″ work aisles. Steps: 1) Measure actual dimensions. 2) Draw to scale on gridded paper. 3) Mark required clearances in a different color.
You don’t need a meeting to explain every detail when you can hand-annotate a sketch on site and hand it to the contractor; that speeds decisions and reduces misinterpretation. Say the contractor asks about mounting height — sketch the wall elevation, note 42″ to the centerline, and hand it over. One sketch often saves a phone call and a site visit.
Tracing and scanning your sketches before importing them into CAD preserves the original intent and speeds digital setup because you already have composition and key dimensions. For example, trace a rough façade study on tracing paper, scan at 300 dpi, place the raster in your CAD file, then snap CAD lines to major elements. Steps: 1) Trace on translucent paper. 2) Scan at 300 dpi. 3) Insert into CAD and align to two control points.
Regular manual sketching sharpens your eye for proportion and tolerances, which makes your digital detailing more accurate and faster to produce. Sketch the same door detail by hand once a week for a month and you’ll notice tighter spacing decisions when you model the assembly. Keep a small sketchbook and do one 10‑minute detail each week.
Why Hand Sketching Still Matters for Digital Design
If you’ve ever stared at a blank CAD file and felt stuck, this is why. Hand sketching gets your ideas out fast so you can judge space and proportion before you spend hours in software.
Why it matters: you save time by spotting failures early. For example, sketching the layout of a tiny coffee grinder on paper lets you see that the hopper blocks the crank before you model it.
How to sketch so your CAD work improves:
- Start with five 1–2 minute thumbnails to explore shapes.
- Pick two promising thumbnails and do 10–15 minute refined sketches with measured notes (write key dimensions beside parts).
- Trace one refined sketch at full scale on graph paper to confirm proportions.
- Photograph or scan the sketches and import them into CAD as a background image.
Why it works: drawing trains your eye to judge scale, balance, and form quickly. For example, when you sketch a chair by hand, you’ll notice seat depth feels too shallow just by sight, so you add 20–30 mm before you model.
How you use tactile intuition: hold a pencil and imagine touching the part; your hand senses relationships between elements and nudges proportions. Try this with a simple lamp: sketch the base, stem, and shade, then adjust the stem height by eye until the shade looks balanced—then measure that change (usually 50–150 mm).
What to do when you move to CAD:
- Use your sketch as the precise reference.
- Recreate main profiles first, then add fillets and constraints.
- Reserve digital time for accuracy, documentation, and simulation—allocate 60–80% of CAD time to these tasks.
Real example: I sketched a desk organizer with five compartments in 10 minutes, noticed two slots would pinch large pens, increased the slot width by 5 mm on paper, and saved two hours of back-and-forth in CAD.
Quick practical tips:
- Use 0.5–0.7 mm pencils for quick lines; switch to 2H for measured notes.
- Carry a small sketchbook and do three 5-minute studies a week to train your eye.
- Label dimensions and materials on the sketch so your CAD session focuses on precision.
If you follow these steps, your digital time gets cleaner and faster because your concepts arrive already tested on paper.
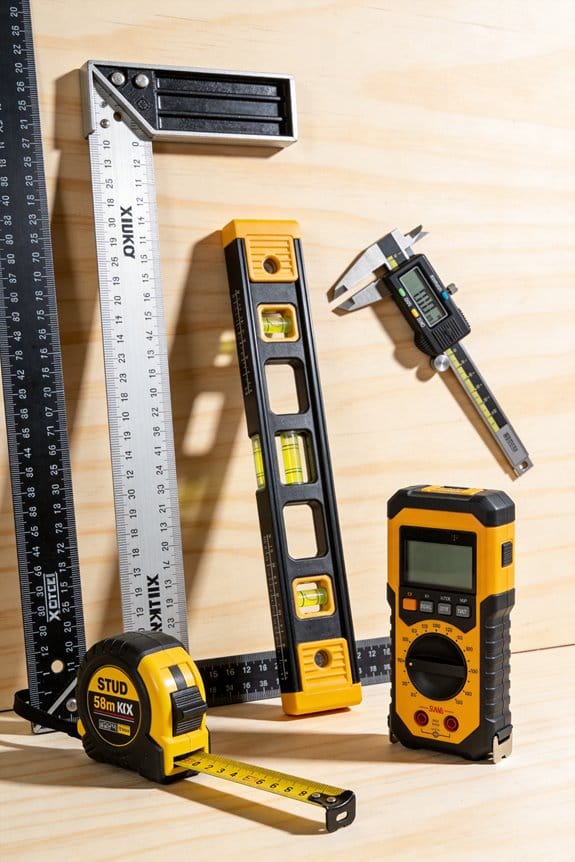
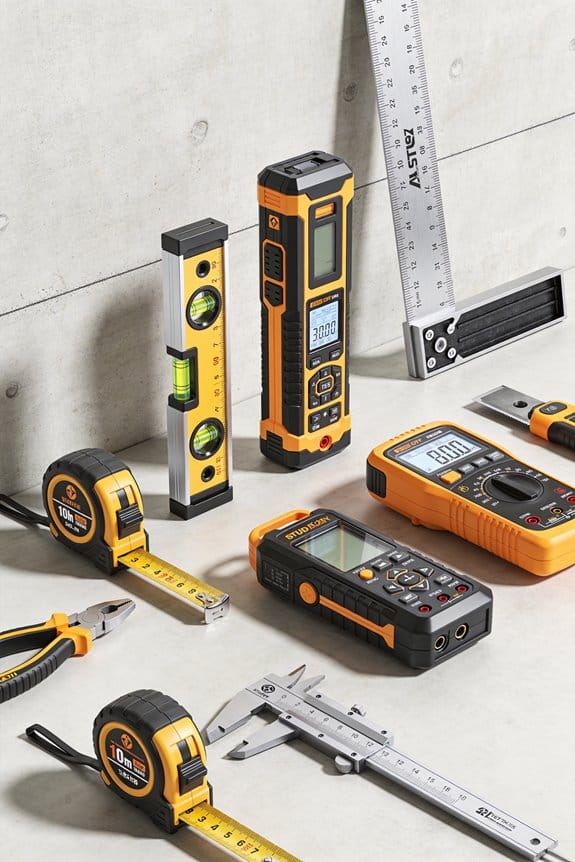
Recommended Products

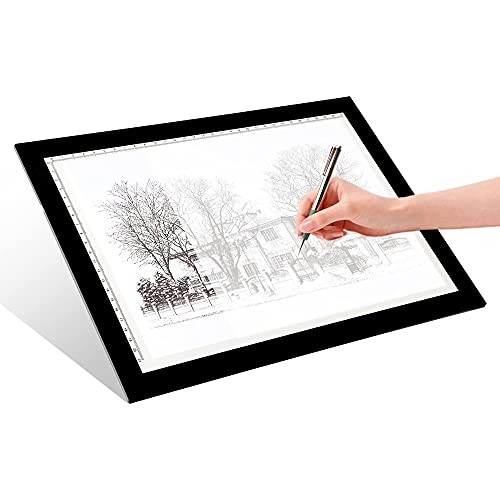
THE ONLY TABLET THAT FEELS LIKE PAPER – With a paper feel never before experienced on a digital device, reMarkable 2 redefines note-taking, reading, and reviewing documents. At just 4.7 mm thick, you can take it anywhere.

Unique Landscape Format – Designed in a horizontal 11" × 9.5" landscape layout, this legal pad is ideal for spreadsheets, charts, graphs, and wide-format note-taking. Buy in bulk for the office with this 48 pack.

ENGINEERING GRAPH PAPER WITH ENCLOSED GRID - Front frame with 1/2" right margin on the front and 5x5 enclosed grid on the backside of each sheet helps keep numbers, diagrams, and layouts neat, aligned, and easy to read for math, drafting, and technical work.
How Hand Sketching Boosts Creativity and Spatial Sense
If you’ve ever picked up a pencil before opening CAD, this is why.
Why this matters: sketching first saves you time in CAD and leads to clearer designs. One real-world example: before designing a café counter in CAD, you sketch three quick layouts on tracing paper and decide the best one in five minutes.
How hand sketching shifts your thinking
Why it matters: sketching frees your brain to test ideas without software limits. When I sketch gesture lines, I capture movement and proportion fast, so I can see which compositions feel right before committing to models. For example, sketching a product silhouette on a napkin helped me choose a more ergonomic handle before any 3D work.
How to sketch for spatial sense (do this sequence)
Why it matters: these steps train your ability to judge depth, scale, and rotation mentally. Follow these steps exactly:
- Massing (2–5 minutes): draw three boxes to block out volumes; label each with height and width in centimeters. Example: a 120×60×90 cm counter, a 60×60×90 cm prep island, and a 40×40×90 cm register stand.
- Gesture and proportion (1–3 minutes each): use quick, single-line strokes to show flow and connection between parts; keep each sketch under 30 seconds.
- Quick perspective study (3–5 minutes): draw one vanishing point, then sketch the primary object in one- and two-point perspective; annotate one depth measurement.
- Annotate and iterate (under 5 minutes): add three notes—material, human scale (e.g., “reach height 110 cm”), and a constraint (e.g., “clearance 90 cm”).
How sketching improves your CAD outcomes
Why it matters: you’ll make fewer digital revisions because your proportions and intent are pre-tested on paper. For instance, hand-sketching a kitchen layout with appliance clearances specified reduced my CAD redo time by two hours on a small project. When you mentally rotate forms and judge overlaps in sketch form, you’ll input more accurate dimensions and avoid guesswork.
Practical tips to make this habit stick
Why it matters: consistent practice builds your internal scale and speed. Try this routine three times a week:
- Carry a small sketchbook and a 0.5 mm mechanical pencil.
- Time each sketch with your phone; aim for four sketches in 20 minutes.
- After CAD work, note one difference between your sketch and the model.
A final concrete rule
Why it matters: constraints force better ideas. Limit each sketch round to five minutes and three annotations; this keeps you decisive and improves the quality of later CAD models.
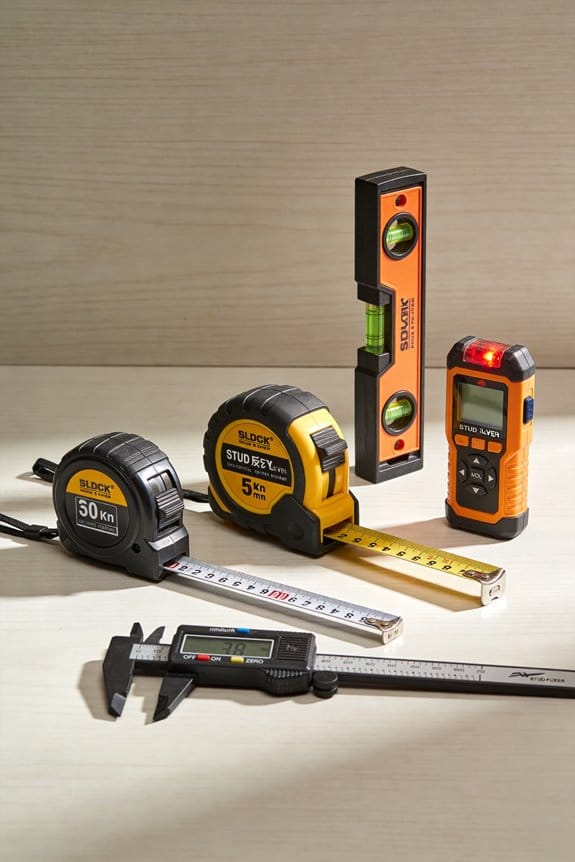
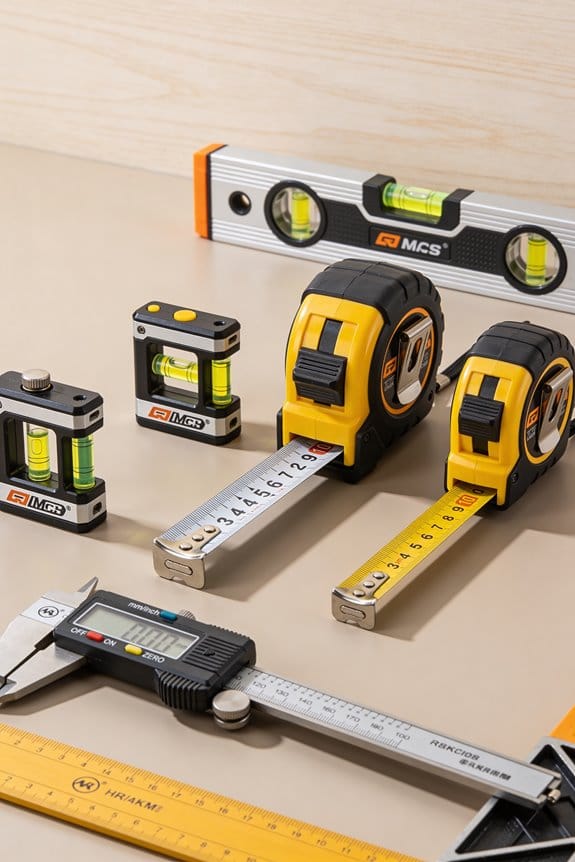
Recommended Products

Spacious A1 Working Surface: Features a 26-3/4" x 36-3/4" (A1) working area with a 3/8" profile, providing ample workspace as a light box for tracing and drawing or diamond art light board.
★ 10 Levels+Stepless Adjustable Brightness :The brightness of the tracing pad can be 6 levels adjusted by smoothly touch the control and you can also set the brightness steplessly by long touch the control to suit your artwork in different environments.With 6500K color temperature, it's bright enough to lit up through a few layers of paper evenly without glare.No longer to strain your eyes during tracing your drawing.

LIT DRAWING SURFACE: Artist drawing accessory features a 24 x 17-inch lit surface with adjustable brightness from 1,000 to 5,000 LUX; Includes soft, protective storage pouch for easy transport
How Hand Sketches Speed On‑Site Decisions With Contractors
Here’s what actually happens when you sketch on-site with contractors: you make decisions fast because everyone sees the intent immediately.
Why this matters: it stops delays and reduces mistakes in minutes. I once sketched a simple roof flashing detail on a ripped photo of the wall — the crew started the fix within ten minutes.
How to sketch so contractors act now
Why this matters: contractors follow clear visuals faster than verbal instructions alone.
- Grab paper and a pencil (mechanical pencil, 0.5–0.7 mm tip works).
- Lay the contractor’s drawing or a phone photo flat and draw your change directly on it.
- Sketch a plan or elevation at roughly 1:50 scale by eye (about 1 cm = 0.5 m) for clarity.
- Annotate two things: dimensions and materials. Write one critical dimension per sketch (for example, “150 mm overlap”) and the material (e.g., “lead flashing”).
- Circulate the sketch to the crew and ask one person to repeat the instruction aloud.
Real-world example: on a retrofit job I drew a 150 mm step flashing overlap on a photo of the existing chimney, wrote “stagger joints 100 mm,” and the masons started cutting stock immediately.
Speak as you draw
Why this matters: talking while sketching aligns understanding and cuts rechecks.
- Describe each line as you make it: “This is the cap flashing, 150 mm wide.”
- Pause after a major note and ask one contractor to repeat it.
- If disagreement happens, sketch the alternative and mark pros and cons.
Real-world example: at a small hospital rehab, I sketched two gutter slopes and said the pitch numbers aloud; the foreman repeated the correct slope and crews adjusted the hangers on the spot.
When measurements matter
Why this matters: it tells the crew where to be exact and where to use judgment.
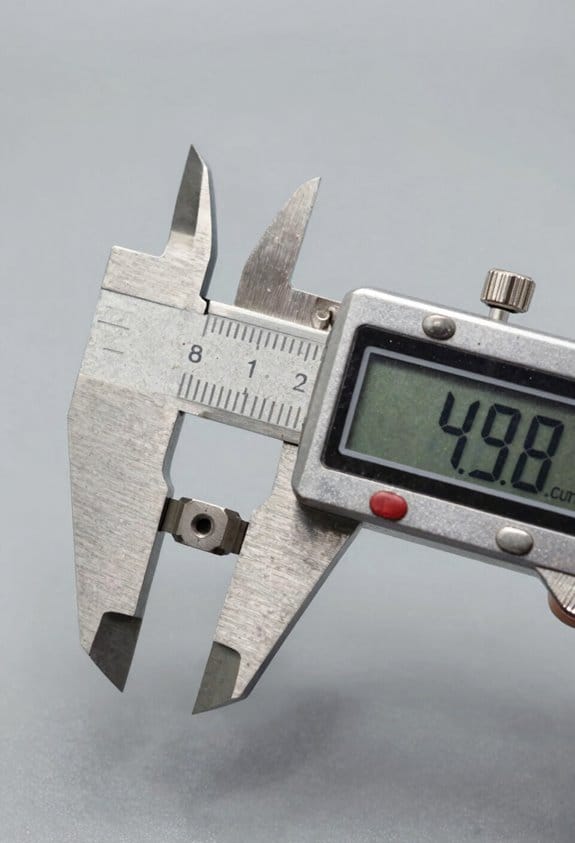
- Mark precise dimensions where tolerances matter — write the number and tolerance, e.g., “300 ±5 mm.”
- For noncritical items, note “field fit” or “trim to suit.”
- If a critical fit involves three or more parts, draw a simple exploded detail.
Real-world example: installing a storefront frame, I noted jamb widths as “1200 ±2 mm” and marked mullion locations; glazing contractor measured twice and machined mullions before leaving site.
Turn your sketch into a record
Why this matters: you need proof of the decision and a file to reference.
- Date and sign the sketch on the corner.
- Photograph or scan it and upload to the project folder within 24 hours.
- Attach a one-line note in the file naming the affected area and contractor, e.g., “2026-03-21 — Roof flashing change — Masonry.”
Real-world example: a quick signed sketch resolved a billing dispute later because it showed the change and who approved it.
Tips that save time
Why this matters: small habits keep sketches useful and accepted.
- Keep a small sketchbook and a pencil sharpener in your hard hat.
- Use quick symbols: dashed = remove, solid = new, arrow = direction.
- If you reuse someone else’s drawing, write your initials next to edits.
Real-world example: a foreman asked for my sketchbook because he liked the symbols; the crew adopted them for the week and moved faster.
Do this once and you’ll see fewer calls, fewer re-measures, and fewer mistakes.
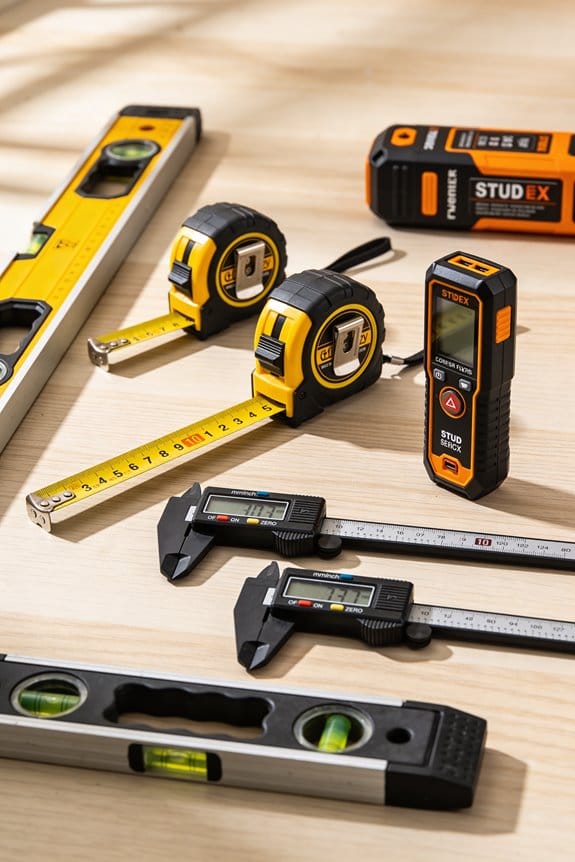
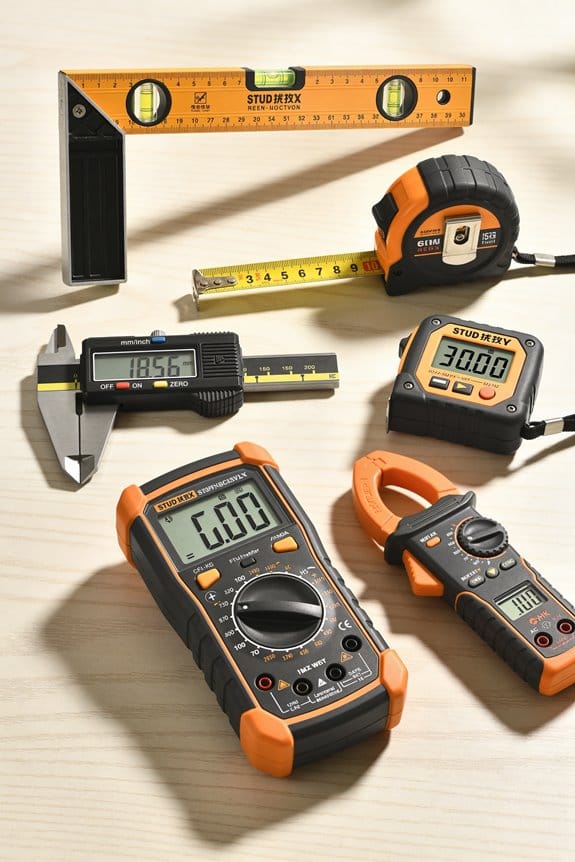
Recommended Products

Automatic Drafting Pencil, .5mm, Gray Accent Barrel

Isograph College Set includes: 3 Isograph pens, 1 Tikky mechanical pencil 0.5, 12 HB leads, 1 B20 eraser, 1 bottle of ink 23ml, 1 compass attachment

Ease and Efficiency - Knurled stainless steel finger grips for very low or high grip preferences, rotating lead degree windows, and cushion point to make writing control comfortable and beautifully balanced.
A Step‑by‑Step Hybrid Workflow: Sketch to CAD
Here’s what actually happens when you turn a quick site sketch into a clean CAD drawing: you start with a measured sketch so proportions are right, then digitize, scale, trace, and finish with notes and exports.
Why this matters: a clear process saves you rework and keeps clients confident. Example: you sketch a 12 ft kitchen wall with window locations and door swings before visiting a contractor.
1) Make a measured hand sketch.
Why it matters: correct dimensions stop guesswork later. Example: jot the 8 ft counter, 3 ft doorway, and a 4 ft window on your page so you can scale accurately in CAD.
Steps:
- Use graph paper or a clipboard and a pen.
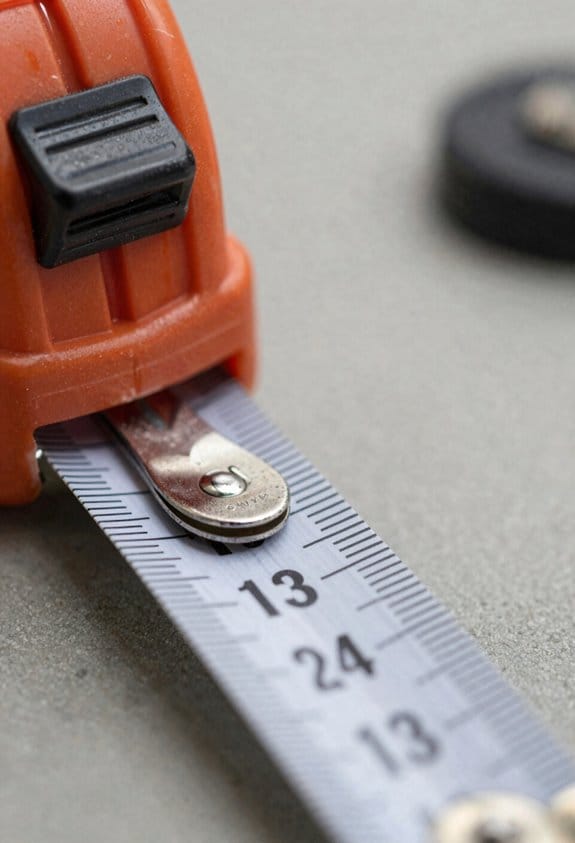
- Measure with a tape and write dimensions next to each line; include two reference distances like the total room length (12 ft) and one wall height (8 ft).
- Note fixed points: window centers, door hinge side, and a utility box location.
Keep that sketch for comparison.
If you’ve ever photographed a drawing and lost detail, here’s a simple digitization method.
Why it matters: a high-quality image preserves legible notes and line edges. Example: set your phone 3 ft above the sketch, shoot in natural light so shadows don’t fall across the lines.
Steps:
- Photograph or scan at 300 DPI or higher; a 12 MP phone camera works fine.
- Crop to the paper edges and rotate so the grid or paper is square.
- Save as PNG or JPEG and import into your CAD file.
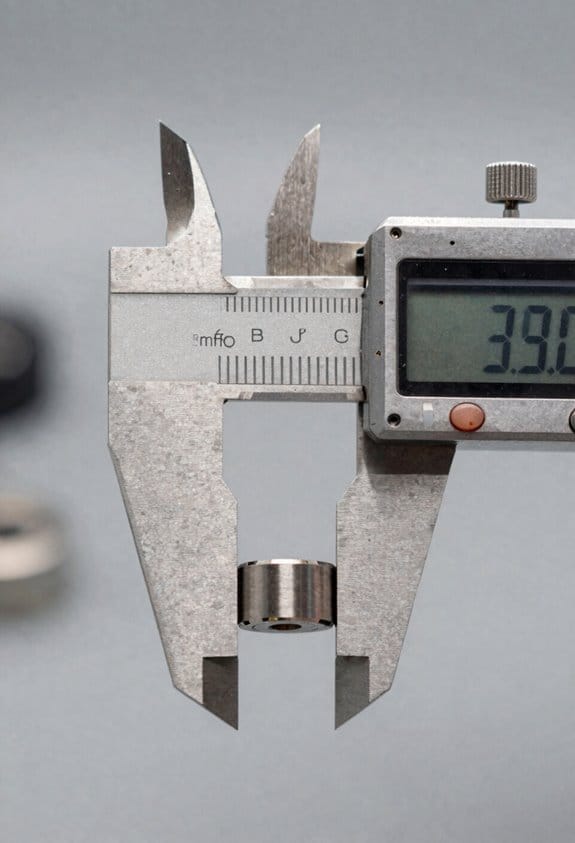
Think of scale like a ruler for the image.
Why it matters: locking the right scale means your traced geometry is accurate. Example: if your sketch shows the room as 12 ft long, you’ll map that exact image distance to 12 ft in CAD.
Steps:
- In CAD, place the imported image on a separate layer.
- Measure two known distances on the image (e.g., room length and window width).
- Use the CAD scale or align command to match those image distances to actual units, then lock the layer units.
Do not trace until units are fixed.
Before you trace, set up a template so your drawing follows office norms.
Why it matters: templates save time and keep annotations consistent. Example: apply your company title block, set layer names like A-WALLS, A-FURN, and choose a text height of 3/32″ for notes on 1/8″ = 1′-0″ sheets.
Steps:
- Open your standard template or create one with title block, layers, and dimension styles.
- Match lineweights: thin for hidden lines, medium for walls, bold for section cuts.
- Turn off unnecessary layers, then lock the imported image layer.
Trace with vectors and add precise annotations.
Why it matters: vectors allow edits and clean prints. Example: draw the wall outlines with polylines, set doors as blocks, and place a window block centered 4 ft from the corner.
Steps:
- Trace walls with polylines, snapping to the image.
- Insert door/window blocks and adjust blocks to measured sizes.
- Add dimensions using aligned dim style and place notes with your text style.
Fine-tune intersections and remove stray segments.
Export and archive so you can iterate without losing originals.
Why it matters: PDFs communicate with clients and originals let you revise. Example: export a 24″ x 36″ PDF for review and save the CAD file as ProjectName_sketch_v1.dwg.
Steps:
- Plot to PDF at the intended sheet size and check scales.
- Save a copy of the DWG with a version number and keep the scanned sketch attached in the project folder.
- Send the PDF for review and note any requested changes in your revision log.
Final practical tip: when in doubt, re-measure the two reference distances you used for scaling; if they match within 1/8″, your drawing is reliable.
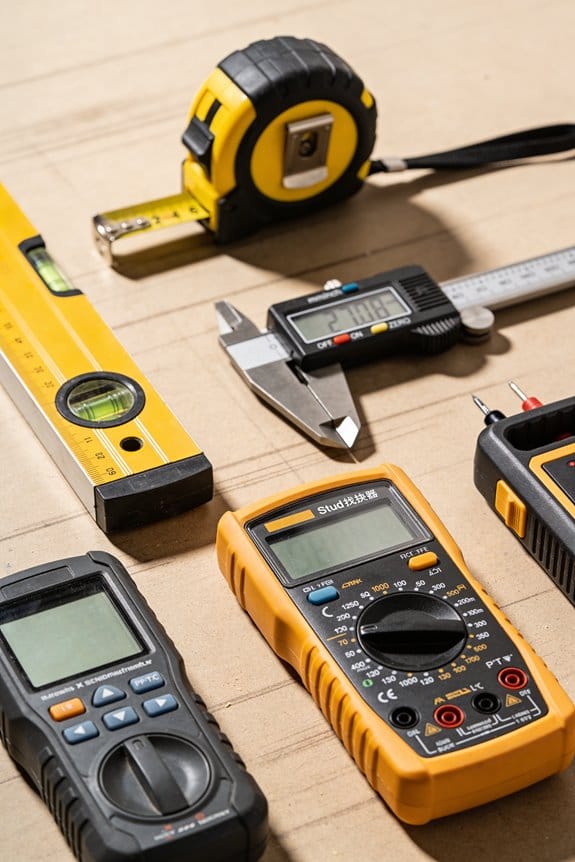
Recommended Products

ENGINEERING GRAPH PAPER WITH ENCLOSED GRID - Front frame with 1/2" right margin on the front and 5x5 enclosed grid on the backside of each sheet helps keep numbers, diagrams, and layouts neat, aligned, and easy to read for math, drafting, and technical work.

12-Pack of Whitelines Spiral notebooks measure 11" x 8.5" and have 70 Sheets / 140 Pages of lined Premium 20# graph paper

High quality white paper with attractive binding head strips
Train Teams: Keeping Manual Drafting Skills Relevant
Before you start training, you need to know where your team’s manual drafting skills actually are and why that matters: you can’t fix what you can’t measure. Do a 20-minute timed sketch test where each person draws a simple floor plan at 1:100 scale, review two recent hand-drawn sheets from each person for legibility and annotation, and record scores on line quality, scale accuracy, and clarity. Example: on a recent site visit, one junior drew wall lines with inconsistent weights; the timed sketch exposed that and gave a baseline score of 6/10 for line control.
Why strengthen manual drafting: it speeds on-site problem solving and makes you a better CAD user. Design three short training modules, each 45 minutes long, that focus on fundamentals: module 1 — line weight and pen control (practice drawing 10 parallel lines and 5 section symbols in 10 minutes); module 2 — scale and layout (plot a 1:50 room plan and dimension it to ±5 mm accuracy); module 3 — annotation and symbols (label 15 elements using standard abbreviations). Example: run module 1 after lunch when people are fresh; one teammate improved line weight consistency by 30% in a week.
How to give hands-on feedback so people actually learn: pair teammates for peer coaching and use a 10-point checklist. Peer coaching matters because teaching forces clarity. Steps:
- Pair a stronger drawer with a weaker one for a 30-minute session.
- Have the stronger person demonstrate one skill for 5 minutes.
- The learner practices for 15 minutes while the coach gives targeted tips from the checklist.
- Swap roles and repeat.
Example: on a project last month, swapping roles cut redraw time on site sketches by half.
How to practice regularly without killing schedules: short, frequent drills that relate to real work are best. Schedule two 20-minute sessions per week; use one for a quick on-site sketch drill (draw the façade you just walked past) and the other for a precision exercise indoors (dimension three doors to ±3 mm). Example: a team that did two weekly drills for six weeks saw clearer hand notes on RFIs.
How to connect manual tasks to CAD so people see the payoff: show direct translation exercises and measure speed gains. Steps:
- Pick a recent hand sketch and have someone convert it to a CAD plan in 25 minutes.
- Time the CAD conversion and note errors introduced.
- Re-run the same exercise after three weeks of practice and compare times and error counts.
Example: one firm reduced CAD entry time from 40 to 28 minutes after four practice cycles.
How to track progress and keep training effective: repeat the initial assessments every four weeks and focus new sessions on persistent errors. Use the same 20-minute timed sketch and the same checklist so results are comparable. If line weight or scale errors persist after two cycles, increase practice for that skill to three short sessions weekly. Example: after two assessment cycles, a persistent annotation error dropped from 12% to 2% when the team added a single focused 15-minute drill.
Keep sessions brief, practical, and tied to current projects so skills stick.
Frequently Asked Questions
How Do Hand-Drawn Sketches Affect Project Liability and Legal Documentation?
Imagine a sketch like a fingerprint: I’ll say hand-drawn sketches can aid legal admissibility if you make certain sketch authentication—date, signatures, witness notes—yet they’re supplementary, not definitive, and need corroborating documents and professional verification.
Can Manual Sketches Be Archived or Indexed With BIM Systems?
Yes— I can integrate manual sketches: I use sketch indexing and archive integration workflows to tag, scan, geolocate, and link hand drawings into BIM, making them searchable, versioned, and accessible alongside digital models for coordination.
What Materials Are Best for Durable On-Site Sketching in Harsh Conditions?
Like a rock in a storm, I rely on weatherproof notebooks and industrial pencils for durable on-site sketching in harsh conditions; I also carry waterproof pens, a clipboard with non-slip grip, and a small roll of tape.
How Do Clients Perceive Hand Sketches Versus Polished Digital Renderings?
Clients often prefer hand sketches for emotional resonance and perceived authenticity, and they see trust signals in rough drafts; I convey design clarity early, though polished digital renderings often inspire confidence about final precision and feasibility.
Are There Insurance or IP Concerns When Sharing Hand-Drawn Concepts?
Yes — I worry about client confidentiality and advise clear copyright assignment terms before sharing hand-drawn concepts; I’ll use NDAs, mark drafts as preliminary, and document dates to protect ownership and restrict unauthorized use.