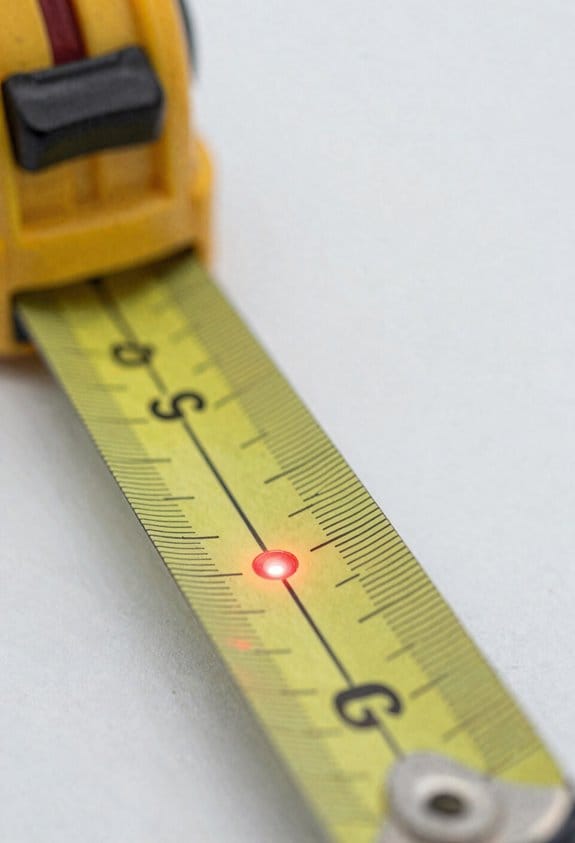
You set a compact laser level on the tripod, sight along the beam, and wonder why your marks are off a fraction of an inch across the room.
You’re asking: how accurate is this little tool at 30–50 feet, and why does the error change with distance?
Most people assume the factory spec (like ±1/8″ at 30′) is a fixed guarantee and ignore factors that actually dominate accuracy.
This piece will show you how error scales with distance, which real-world factors (beam spread, temperature, vibration, tilt) really matter, and simple checks to verify accuracy before and after moving the tripod.
It will also tell you when to switch to a detector or rotary unit for longer runs.
It’s easier than it looks.
Key Takeaways
Here’s what actually happens when you rely on a compact laser level for a job.
Why this matters: knowing the real accuracy tells you whether your layout will fit tile, trim, or cabinets. A common spec you’ll see is ±1/8″ at 30′, which means the error scales linearly with distance. Example: at 15′ expect about ±1/16″; at 60′ expect about ±1/4″.
If you’ve ever run a room layout and wondered whether your laser was good enough, this explains when it is. For indoor runs under 30–50 feet, most midrange compact units will meet typical trim, tile, and cabinet tolerances if you use them correctly. Example: laying tile in a 12’×16′ room — a ±1/8″@30′ unit will keep grout lines within normal tolerance across the room.
Before you trust the beam at longer distances, recognize beam spread and brightness reduce usable precision. Past about 50–70 feet the dot/line gets thicker and dimmer so you should switch to a rotary head plus detector. Example: on a 75′ exterior wall, the line width can be several millimeters and a detector will give a repeatable reading.
The operator controls real-world accuracy more than the sticker specs. Why this matters: setup errors often exceed the laser’s stated tolerance. Example: if your tripod shifts or the unit isn’t centered on your reference, you can introduce 1/8″–1/4″ easily on a 30′ run.
How to verify accuracy in the field (doing this prevents surprises). Why this matters: you’ll prove the laser’s error at the distances you actually use. Steps:
- Pick a straight baseline and mark three points: near (5–10′), mid (15–30′), and far (30–50′ or job distance).
- Aim the laser and mark the beam position at each point.
- Repeat the measurement three times, re-centering the laser between repeats.
- Calculate baseline error: average the three errors, then scale to your job distance using this formula — error × (job distance ÷ baseline distance).
Example: baseline at 30′ shows 1/8″ error averaged; on a 60′ job distance you’d expect 1/8″ × (60/30) = 1/4″.
Setup checklist to keep the unit performing at spec. Why this matters: small habits stop most mistakes. Steps:
- Mount on a stable tripod and lock it down.
- Center over your reference point; use a plumb or offset adapter if needed.
- Do a level-check: cross-check with a bubble level or a second laser.
- Let the laser warm up 2–5 minutes before final layout.
- Recheck after any bump or temperature change.
Example: when installing cabinets on a slightly sloped floor, centering and a level-check saved 3/16″ of cumulative drop across three runs.
Final tip: if you need repeatable precision beyond what a compact unit gives at your job distance, rent or buy a rotary/detector system. Example: for exterior grade runs over 70′ on a retaining wall, a rotary with detector held to 1/16″ beats trying to coax a thin beam from a compact unit.
TL;DR: Are Compact Laser Levels Accurate Enough for Jobs?
If you’ve ever wondered whether a compact laser level will do the job, here’s a clear take: for many interior tasks a compact unit is accurate enough.
Why this matters: accuracy decides if your backsplash, picture rail, or shelf looks straight to the eye and holds up over time. A common spec is ±1/8″ at 30 ft, which means at 15 ft you’ll typically be within about ±1/16″. For example, when hanging six kitchen cabinet doors across a 12 ft run, that tolerance keeps gap lines visually even.
How to choose and use one — concrete steps:
- Check the spec sheet. Look for accuracy listed as a fraction or millimeter at a distance (for example, ±1/8″ at 30 ft).
- Match the tool to the task. For tile, shelves, trim, picture hanging, or cabinet alignment under 30–50 ft, pick a compact model. For long exterior runs or precision over 50 ft, get a rotary or higher-spec unit.
- Verify on setup. Place the laser on a flat surface or tripod, let it self-level, then measure and mark at two points to confirm the line. If the two marks differ by more than the spec tolerance, recalibrate or return the unit.
- Mind the beam spread and range. Indoors, expect the beam to get fuzzy past 50–70 ft; use a detector or a rotary head for long, bright runs.
- Practice your technique. Ensure the unit is solid (no wobble), stay inside the self-leveling range, and re-check after moving scaffolding or ladders.
Concrete example: when aligning a row of 10 recessed lights across a 40 ft hallway, a midrange compact unit with ±1/8″ at 30 ft may show a little drift toward the ends. Use a tripod, set two verification marks 30 ft apart, and if you see more than 1/8″ error, step up to a rotary laser or split the run into two setups.
A quick cost guide:
- Budget compact: ok for short indoor jobs, expect specs like ±1/8″–±1/4″ at 30 ft.
- Midrange compact: better optics and battery life, usually ±1/8″ at 30 ft.
- High-end/rotary: costs more but gives sub-1/16″ control at long distances and works outdoors with a detector.
Remember operator technique affects results: a cheap laser set perfectly can beat an expensive one set poorly. Practice the verification step every time you set up, and you’ll avoid most surprises.
What Those Specs (±1/8″ @30′, ±1/16″ @100′) Really Mean
If you’ve ever stood on a jobsite trying to decide which laser to buy, this is why.
Why this matters: picking the wrong spec can ruin a layout and cost you time and materials. A spec like ±1/8″ @ 30′ tells you the maximum distance the beam can be off level or plumb at 30 feet, so you can plan tolerances accordingly. For example, when setting a kitchen cabinet run 30 feet long, ±1/8″ means the beam might be up to one-eighth of an inch high or low at the far end.
How the numbers work:
- Read the spec as maximum deviation. ±1/8″ @ 30′ means the beam can sit 1/8″ above or below the true reference at 30 feet. A beam at 15 feet would be proportionally less—about 1/16″.
- Convert specs for your job: ±1/16″ @ 100′ equals about 0.0625″ of error at 100 feet, which is roughly the thickness of a nickel. Use that when you’re laying out long runs like suspended ceilings.
Real-world factors that change performance:
- Manufacturers test in controlled conditions, so expect worse results on a windy, hot day or when the battery’s low. For example, a long outdoor fence line measured at midday heat can shift toward the spec limit.
- Vibration from nearby tools or a truck can nudge the beam. On a scaffolding setup beside a busy street, check the level more often.
- Color only affects visibility. A green beam looks brighter to your eye but isn’t inherently more accurate than a red one; if you’re measuring accuracy, rely on the spec, not the color.
Practical steps to use the spec on the job:
- Match spec to tolerance: choose a laser with a maximum error one-half or less of your allowable tolerance. For example, if your tolerance is ±1/4″ at 30′, pick a laser rated at ±1/8″ @ 30′ or better.
- Verify in the field: set the laser, mark the beam at both ends of the run, then measure the difference with a tape or level to confirm it’s within spec.
- Re-check after setup changes: if you move the tripod, swap batteries, or the temperature shifts by more than 10°F, repeat the verification.
Example: installing vanities across a 30-foot wall
- Tolerance needed: ±1/4″.
- Laser spec: ±1/8″ @ 30′ (good choice).
- Steps: mount laser, laser-check (mark both ends), measure with a 25′ tape, and if error exceeds ±1/8″, adjust or recalibrate.
Use the spec to pick a tool that matches your job tolerance, check performance on site, and compensate for heat, vibration, and battery state.
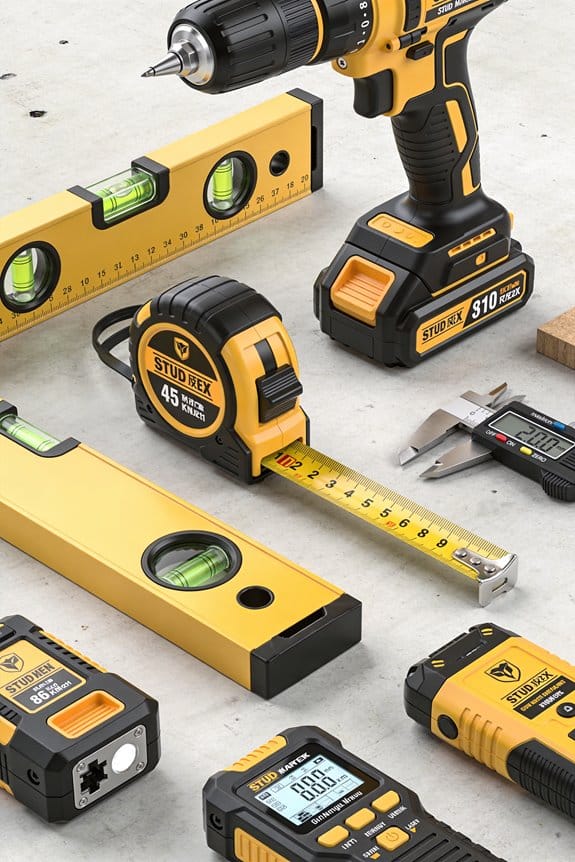
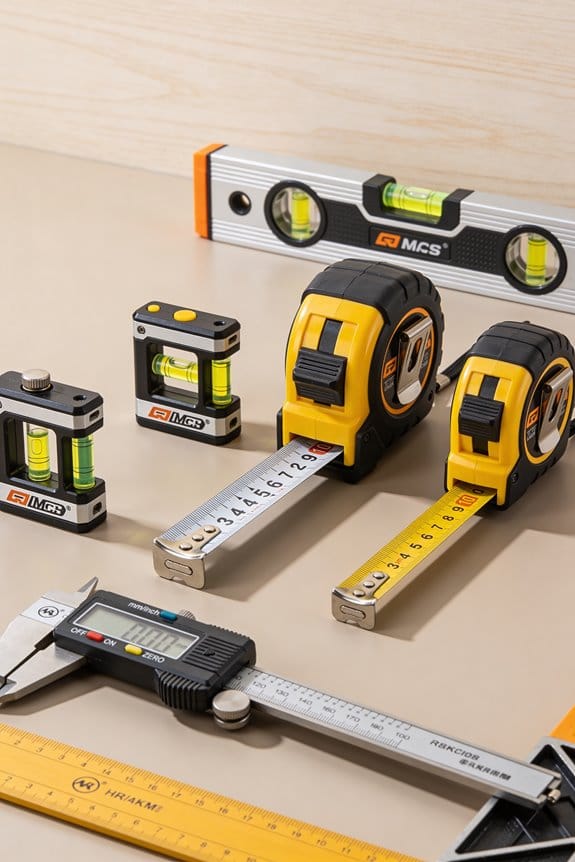
Recommended Products

INCLUDES: LAR 160 G rotary laser, REC 160 RG receiver with clamp, BST-S construction tripod, NL leveling rod, target plate, manual, hard case, 2 x D 1.5 V batteries, 2 x AA 1.5 V batteries

ACCURATE LEVELING: This Johnson Rotary Laser Tool is designed to complete both indoor and outdoor leveling jobs. The vertical self-leveling makes it equally suitable to aligning posts or footings; or indoors to layout walls or floors.

1150-FOOT RANGE: Powerful self-leveling Class 3R green laser (≤ 5mW) reaches up to 1150 feet when used with included detector, ideal for indoor and outdoor use
How Accuracy Scales With Distance (Expected Error)
If you’ve ever lined up a laser for a long run, this is why accuracy matters: small angle error makes marks drift the further away you are.
Error scales roughly linearly with distance, so you can predict expected deviation by simple proportion. For example, a ±1/8″ error at 30 ft becomes about ±1/4″ at 60 ft and about ±5/16″ at 75 ft; manufacturers sometimes quote ±1/8″ at 100 ft for pro models, which you’d treat skeptically unless you verify it. Check a laser at a short, known distance like 10 ft: if it reads ±1/16″ there, expect about ±1/8″ at 20 ft and ±1/4″ at 40 ft.
Why this matters: temperature and calibration make that linear rule optimistic in the field. Temperature drift slowly shifts internal components and increases error over long runs, and poor sensor calibration compounds that change. A real example: on a 60 ft ceiling layout in summer, a unit warmed by sun through a window shifted an extra 1/8” compared with a morning check, changing your tile layout near a wall.
How to check and extrapolate so you trust your layout:
- Pick a short, known baseline — 10 or 20 ft works well. Use a tape to mark exact points.
- Measure the laser deviation at that baseline and record the reading in inches.
- Multiply by (job distance ÷ baseline distance) to get the expected error at your work length.
- Repeat the check after the unit has been powered on for 10–15 minutes and after any temperature change greater than 10°F.
A specific on-site example: you need a straight line across a 50 ft corridor. You check at 10 ft and see ±1/16″. Multiply by 5 and plan for ±5/16″ at 50 ft; if tolerance is ±1/4″, use a higher-spec laser or rework the layout.
Practical tips to avoid surprises:
- Re-verify marks every 30–60 minutes on long layouts or after you move the laser.
- Use a higher-spec unit when tolerances are tighter than your extrapolated error.
- Document baseline readings and job distance on your layout note so you can prove what you checked.
- If you need sub-1/8″ accuracy at 50+ ft, consider mechanical methods or a calibration-certified laser.
Quick rule of thumb: baseline reading × (job distance ÷ baseline distance) = expected error. Keep that number in your head on site.
Recommended Products

👍【REACH NEW FRONTIERS】Autel Robotics EVO Max 4T V2 perfectly integrates a wide camera, Zoom Camera, L~aser R~angefinder, and T~hermal Camera. Ultra-sensitive wide-angle camera supports 48MP 1/2" CMOS, max ISO 64000, Moonlight Algorithm 2.0 allows capturing crisp even in low-light environments. Zoom Camera supports 48MP 8K 10x optical zoom (160x Max). L~aser R~angefinder's Measuring Range: 16.4–3737 ft, Measuring Accuracy: ± (1 m + D×0.15%). T~hermal Camera with 640*512 30Hz t~hermal imaging and 9.1mm focal length and 16x digital zoom.

GL722 Dual Grade Laser for long range, high accuracy elevation control; Automatic self-leveling, advanced radio remote, grade matching, Planelok, and automatic axis alignment allow quick and accurate set-ups for any fine grading or major construction project

【All-in-One Fiber Laser】:Experience Monport's latest, independently developed autofocus laser marking machine. Upgraded for enhanced performance and cost-effectiveness, users can enjoy advanced features without significant cost increase. The machine arrives ready-to-use with easy installation, quick setup, and user-friendly operation.
Real-World Limits: Beam Spread, Range, and Usable Distance
If you’ve ever tried to mark a point far away with a small laser level, this is why.
Why it matters: beam spread limits how precisely you can mark a point at distance. Beam spread is the widening of the laser cone as it travels, and that widening blurs the true center of the line so your mark gets less precise the farther away you are. For example, a 2 mm beam at the projector that spreads to 2 mm per meter will be about 10 mm wide at 5 meters, so your “center” can be off by several millimeters on a wall 16 ft away. Use a sharper beam or move closer when you need sub‑5 mm accuracy.
Why it matters: beam coherence affects how tight that center stays over distance. Higher coherence (from better optics or a line generator) gives a sharper line over longer range, so a coherent beam might stay within 1–2 mm for 10–15 m compared with 10+ mm for a cheap unit. Example: on a long hallway layout, a higher‑coherence model kept tile edges aligned over 30 ft while the cheap tool produced a fuzzy band.
Why it matters: indoors you’ll often get usable precision only to 50–70 ft before spread causes measurable error. Test your unit: mark a point at 10 ft, 25 ft, 50 ft, then measure offset from a true plumb or level line at each distance to see where error exceeds your tolerance. If you need better range, use a higher‑grade laser or reposition the tool.
Why it matters: outdoors a receiver extends range but does not improve coherence. A receiver lets you detect the beam at longer distances and in sunlight, but it still reads where the widened cone crosses the detector, so positional uncertainty equals the cone width at that range. Example: on a 100 ft site grade, a receiver picked up the laser but the grade varied ±3 mm from the expected value because the beam was wide.
Why it matters: ambient light, dust, and reflections reduce visible range and effective accuracy. Bright sun can hide the beam entirely and airborne dust scatters it, so control lighting when you can and keep the beam path clear. Practical steps:
- Indoors: turn down bright lights or close blinds when marking lines beyond 25 ft.
- Outdoors: use a detector/receiver and shade the target with your hand or a clipboard when checking fine marks.
- Maintenance: wipe optics and keep the beam window clean every day.
Quick rules of thumb:
- Expect usable indoor precision to about 50–70 ft with midrange compact levels.
- Expect outdoors to need a receiver beyond 30–50 ft, but assume a few millimeters of extra error.
- If you need under 5 mm accuracy at 30 ft, pick a higher‑coherence or premium line generator.
Final tip: always verify at the distance you’ll work at. Set up, mark, then measure once — that tells you your actual error numbers, not just the specs.
Common Accuracy Killers: Temperature, Vibration, and Tilt
If you’ve ever set up a compact laser level and the line wandered, this is why.
Temperature: why it matters and what to do
Why this matters: thermal drift shifts the beam over time, so your layout can end up off by inches on long runs.
How temperature wrecks accuracy: parts like the laser diode, lens mount, and housing expand or contract as the temperature changes, which slowly moves the beam alignment.
Real-world example: you bring a laser from a cold van (40°F / 4°C) into a sun-warmed room (75°F / 24°C) and start a long run down the hallway; the beam can shift enough that your last mark is 1/8″ to 1/4″ off.
What to do (steps):
- Shade the unit from direct sun and hot lamps before you measure.
- Let the laser sit and stabilize for 10–15 minutes after moving between big temperature changes.
- Avoid placing the unit on hot surfaces like asphalt or a freshly painted board; use a thin insulating pad if needed.
Tip: if the temperature difference between setup and job area is more than 20°F (11°C), expect up to 0.02″ per 10 ft of drift until it stabilizes.
Vibration: why it matters and what to do
Why this matters: even small, repeated shakes create transient errors that the sensor or pendulum averages into your line.
How vibration wrecks accuracy: nearby machinery, foot traffic, or equipment running on the same structure transmits rhythmic motion to the laser and makes the beam jump or wobble.
Real-world example: a laser on a drywall scaffolding near a compressor-driven air tool will show a jittering line that moves with each compressor cycle.
What to do (steps):
- Mount the laser on a solid surface or tripod with rubber feet.
- Use a vibration-damping pad or a tripod with removable vibration-isolating mounts when you expect nearby machinery.
- Pause work while heavy machinery cycles, and take readings when vibration is lowest.
Tip: if you see the beam jump more than 1/16″ at 10 ft, reduce vibration or move the tool.
Tilt (self-leveling limits): why it matters and what to do
Why this matters: exceeding the self-leveling range defeats the compensator and creates large, predictable offsets.
How tilt wrecks accuracy: the compensator only corrects within a small angle (often ±4°); beyond that the device will stop auto-leveling or give a false level line.
Real-world example: a tripod placed on a leaning scaffold platform can put the laser 6° off; the compensator will fail and your entire string of marks will be skewed by several millimeters per foot.
What to do (steps):
- Check the bubble or digital indicator every time you set up.
- If the bubble is more than half outside the center, re-level the tripod or move to a flatter spot.
- For long runs, re-check level every 30–60 minutes or after moving the tripod.
Tip: most compact lasers have a self-level range around ±3–5°; if you need work on steeper slopes, use manual leveling with angle readout.
Quick check routine before you start work
Why this matters: a short checklist prevents the common surprises that cost time and rework.
Steps:
- Shade the laser and let it sit 10 minutes if temperatures changed.
- Confirm bubble/digital level is centered.
- Feel for vibration at the mounting point; pause if you sense rhythmic shaking.
- Do a 10 ft check: mark the beam at start and at 10 ft to verify it hasn’t drifted more than your tolerance.
Final note: a few minutes following these steps cuts most accuracy problems and keeps your layout within the tolerance you need.
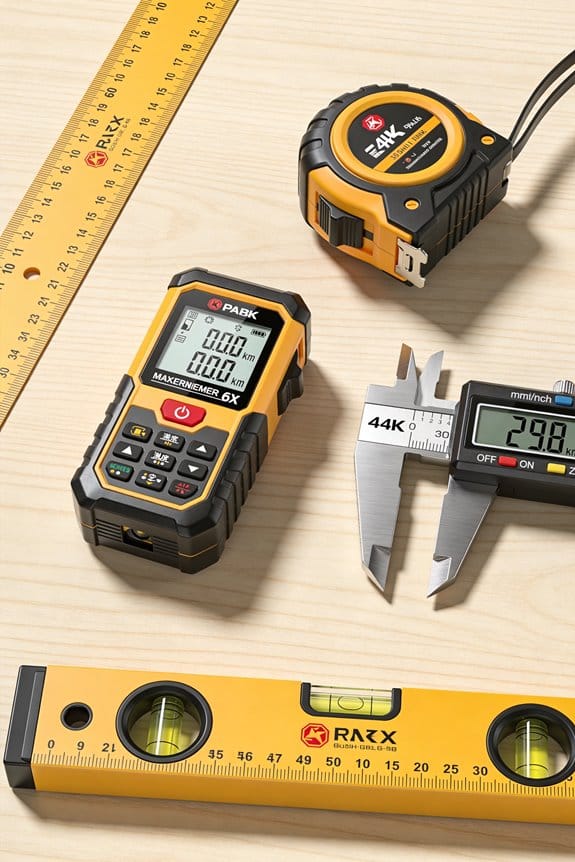
Recommended Products

Model #171579 - VX-6HD 4-24x52 Riflescope with an Illuminated TMOA Reticle, CDS-ZL2 and a Matte finish

Increases Productivity With Faster Setups, Fewer Mechanical Parts, And Automatic Self-Leveling

Eliminates the need for contractors to purchase two tools by combining a 5-beam pointer and a crossline laser into one product. Automatic self-leveling assures accuracy and fast setup
Simple Field Tests to Verify Level and Plumb Accuracy
Here’s what actually happens when you check a laser level in the field: if the beam drifts or the plumb point shifts, you’ll end up redoing work and wasting time.
Why this matters: a quick check prevents crooked layouts and costly fixes later.
1) How to check horizontal level accuracy
Why this matters: you want to know the beam stays level over distance so your layouts match the plans.
Real-world example: check a 20 ft stringer run before you set the cabinets so you don’t install a crooked run of upper cabinets.
Steps:
- Mark two points on a wall 10–20 ft apart (I usually use 15 ft).
- Place the laser exactly midway between the marks and set it on a stable surface or tripod.
- Turn the laser on and note the beam height at each mark.
- Subtract the two heights to get the deviation across the distance.
- Compare that deviation to your spec (for example, ±1/8″ over 30 ft).
- Repeat the test three times, rotating or slightly repositioning the unit each time to confirm consistency.
Tip: if you measure a 1/8″ difference over 15 ft, that scales to about 1/4″ over 30 ft.
2) How to check plumb (vertical) accuracy
Why this matters: a bad plumb means walls, posts, and finish trim will be out of true and look wrong.
Real-world example: verify plumb before you hang a door frame so the door doesn’t bind.
Steps:
- Mark a top and bottom point on a wall about 6–10 ft apart directly along the laser plumb beam.
- Rotate the laser 180° in place and note the new positions of the top and bottom marks relative to the originals.
- Measure the shift between original and rotated marks at both top and bottom.
- If the shift is consistent and within spec (for example, ±1/8″ over 8 ft), you’re good. If not, schedule calibration or service.
3) How to verify your reference surface
Why this matters: a warped surface will give false readings and waste your time.
Real-world example: check a steel table top before using it as the base for the laser on a countertop layout.
Steps:
- Place a spirit level on the surface you’ll use as the reference.
- Note any bubble offset and move the level to three points across the surface.
- If the surface shows more than the acceptable tolerance (use the same tolerance you apply to the laser), pick a different reference or shim the laser.
Final checks and practical notes
Why this matters: repeating tests catches intermittent problems so you don’t rely on a bad reading.
- Repeat each test at least three times to confirm results.
- If you see a consistent offset, follow the manufacturer’s calibration routine or send the unit for service.
- Keep track of the measurements and the date so you know when the unit last passed a field check.
If you follow these steps, you’ll avoid surprises on the job and know whether your level or plumb is trustworthy.
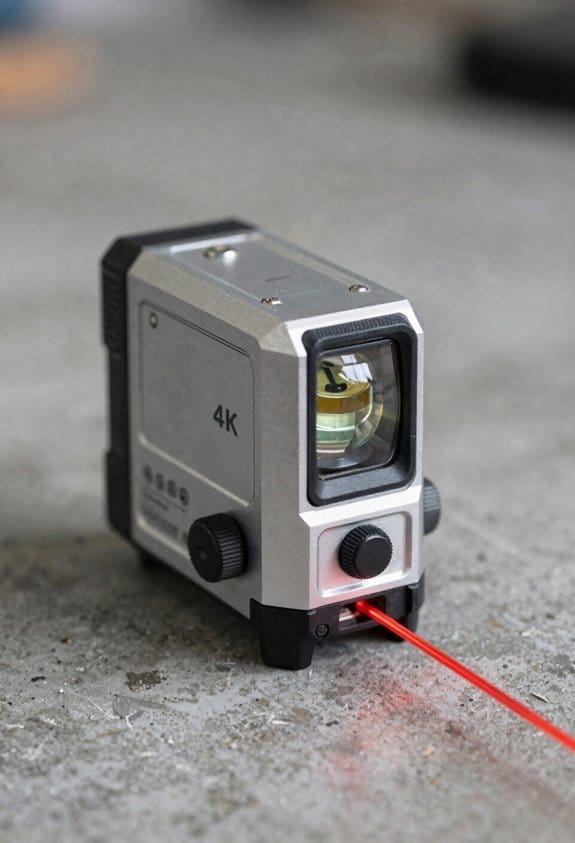
After Testing: Use a Receiver or Upgrade to Rotary?
Before you add a receiver or switch to a rotary, know why it matters: either choice directly fixes visibility and usable range so your layout stays accurate.
Here’s what actually happens when your beam wanders at distance: the laser looks fine nearby but becomes hard to see or inconsistent beyond 50–100 feet, especially in daylight. If your compact laser starts losing accuracy past about 75–100 feet, add a receiver; it detects the beam and gives you a stable reference in bright light. Example: on a sunny 150-foot site run for a fence line, a receiver mounted on your grade rod will lock to the beam when your eye can’t, so you get repeatable elevations.
Why choose rotary instead: the difference between extending range and changing how you work comes down to coverage. For jobs regularly over 200–300 feet or where you need a full 360° reference, upgrade to a rotary—a spinning head creates a plane the receiver tracks over several hundred feet, and you get better repeatability between crew members. Example: laying out a 300-foot utility trench across open ground, a rotary with a receiver will let two people work at opposite ends and hit the same grade within 1/8″–1/4″ depending on the instrument.
How to decide in practice (step-by-step):
- Measure the longest distance you’ll need on the site. Pick a receiver if distances are under 200 feet; pick a rotary if you routinely need 200–500+ feet.
- Check light conditions: add a receiver when daytime glare makes the beam hard to see.
- Check tolerance: keep the compact unit plus receiver when you need the same mm/inch accuracy but more range; go rotary when you need consistent 360° coverage and multiple crew members working simultaneously.
- Compare costs: receivers cost a few hundred dollars; a quality rotary head is usually several times that—factor that into recurring job needs.
Quick practical tips:
- Mount receivers on a grade rod with a clamp; set the rod bubble and lock it for repeatable reads.
- On windy sites, use a tripod and pole stabilizer with a rotary for consistent readings.
- For mixed jobs, consider buying a receiver first; upgrade to rotary only if you regularly hit the receiver’s distance limits.
If you follow those steps you’ll match the tool to your distance, tolerance, and site conditions and avoid costly mistakes.
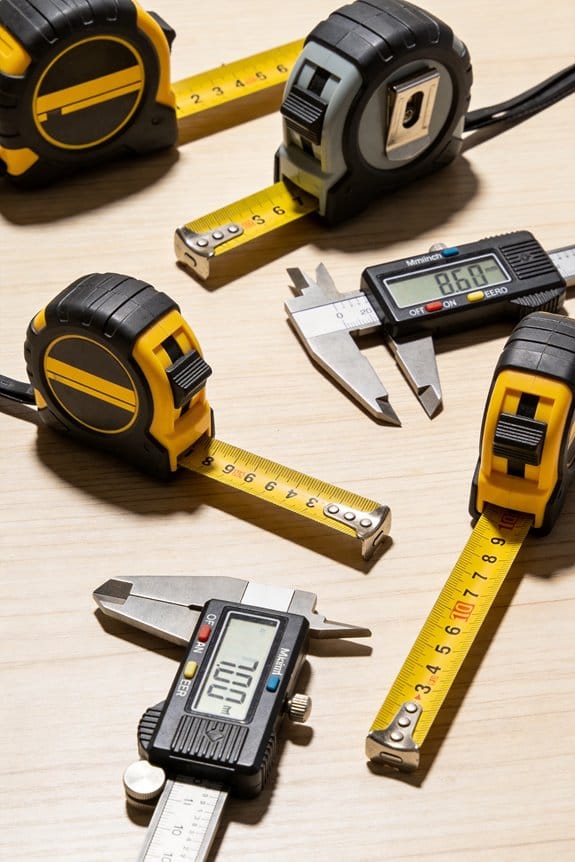
Recommended Products

COMPLETE KIT: Features a laser receiver, tripod, grade rod, remote control, wall mount and all-in-one hard carrying case

Increases productivity with faster setups, fewer mechanical parts, and automatic self-leveling

Complete leveling crew in a case includes the LL100 laser transmitter, HR320 receiver, C59 rod clamp, 15 ft grade rod in inches, adjustable tripod, system case, alkaline batteries and user guides
How Setup and Technique Change Your Final Marks
If you’ve ever set up a laser level and wondered why your marks don’t line up, this explains why.
Why this matters: small setup errors become bigger over distance and will throw off your whole layout by millimeters or inches.
1) How to position the tool so your mark is repeatable
- Step 1: put the level on a stable surface or tripod about 4–6 inches above your work surface if you’re marking the middle of a wall; if you’re marking floor lines, set it at hip height (around 36 inches).
- Step 2: center the tool over your reference point. Use the tripod center column or a plumb bob if you need sub-1/8″ accuracy.
- Step 3: verify the unit is within its self-leveling range (usually ±3° to ±5° on compact models). If the bubble or indicator shows out of range, adjust the tripod legs until it sits in the green zone.
Example: when I was aligning tile on a 12′ kitchen backsplash, I set the laser on a tripod at 48 inches, centered it on the midline, and corrected two tripod legs by 1/8″ to get the level into range.
2) How to stop vibration or tilt from shifting the beam
Why this matters: vibration moves the pendulum and shifts your beam, and tilt multiplies error over long distances.
- Step 1: let the pendulum settle for at least 10–20 seconds after you power the unit on.
- Step 2: lock the head if your model has a lock when transporting, then unlock on location to avoid starting with a misaligned pendulum.
- Step 3: avoid touching the tripod while marking; brace it with a sandbag or weight if you’re on a windy site.
Example: on an outdoor deck job, a gust of wind moved my tripod 2 mm; I tied a small sandbag to the center column and the beam stayed steady for the whole day.
3) How to verify right angles and cross-lines
Why this matters: a wrong 90° intersection ruins layout geometry for everything that follows.
- Step 1: check three reference points along each projected line—near, mid, and far—rather than trusting a single point.
- Step 2: use a framing square or combination square to confirm the cross-line is actually 90°; place the square against the wall and align the laser with the square’s blade.
- Step 3: if you detect more than 1/16″ error at 10 feet, reposition and re-center your laser.
Example: while laying out a closet partition, I checked at 2′, 6′, and 12′ and corrected a 1/8″ drift by re-centering the tool.
4) How to place and re-check your marks so errors don’t compound
Why this matters: a sloppy first mark multiplies into bigger mistakes down the line.
- Step 1: pick a clear, repeatable spot to mark the beam center—like the exact edge of a tape measure notch or the center of a nail head.
- Step 2: mark precisely with a fine pencil or a scribe; avoid thick markers that hide the true center.
- Step 3: re-check the same mark from a second, fixed reference point across the room and again at the farthest distance you’ll use; if the mark moves more than 1/8″ at the far end, fix the original placement.
Example: on a 20′ run of conduit, I marked the beam center on a small 1/8″ punch in the drywall and rechecked from the opposite corner; that kept my conduit line within 1/16″ tolerance.
Quick tips you can use right now
- If your model has a manual fine-adjust knob, use it to nudge the beam by 0.5–1 mm per click.
- Keep the laser lens clean; a smudge can shift perceived center by a fraction of an inch.
- Over long runs, re-center every 10–20 feet to prevent cumulative drift.
Follow these steps and you’ll cut the usual setup variation down to a few millimeters instead of fractions of an inch that ruin finishes.
Buying Checklist: What to Check on a Compact Laser Level
If you’ve ever picked up a tool that slowed your work, this is why.
Why it matters: accuracy tells you whether your lines will actually match up at the distance you need.
How to check accuracy:
- Look for a spec like ±1/8″ at 30 ft. That’s common and means your line can be off about 0.125 inches over 30 feet.
- Estimate your typical working distance and scale the error: at 60 ft, expect roughly double the error.
Real-world example: hang three kitchen cabinets across a 30 ft run; a ±1/8″ error keeps gaps and seams nearly invisible.
Before you buy, check battery life because dead batteries stop work.
Why it matters: runtime affects how long you can use the level without interruption.
How to check battery life:
- Ask the manufacturer runtime in hours under continuous use.
- Prefer models with replaceable AA/AAA or a swappable rechargeable pack.
- Test it: run the unit for an hour and note battery drain if possible.
Real-world example: on a full-day tiling job, a level that lasts 2 hours will need multiple batteries or a charger on site.
Think of your level like a camera tripod — mounting options determine stability and positioning.
Why it matters: good mounts make setup faster and keep lines steady.
How to check mounts:
- Confirm a 1/4″-20 tripod thread for standard tripods.
- Check for a magnetic base or clamp mount for metal studs and pipes.
- Try the clamp action or magnet strength in-store if you can.
Real-world example: mounting to a metal stud with a weak magnet caused a laser to slip while drywall was being hung.
The difference between a working day and a frustrating day comes down to self-leveling range and pendulum lock.
Why it matters: self-leveling speed and lock protect accuracy and make setup quicker.
How to check this:
- Note the self-leveling range in degrees (±3° is common).
- Ensure the unit has a pendulum lock for transport and for when you need manual tilt.
- Time the self-leveling cycle; faster is usually better.
Real-world example: on a job with frequent moves, a pendulum lock prevented internal damage during transport.
You don’t need a bright beam if you only work inside, but beam visibility matters for longer or outdoor runs.
Why it matters: you must see the line where you’re working.
How to check visibility:
- Look for stated visible range (for example, 50 ft indoor without a receiver).
- For outdoor use, get a receiver-compatible laser and include a target.
- Inspect beam color — green is typically easier to see than red in bright light.
Real-world example: installing fence posts in sunlight required a laser receiver because the beam vanished at 40 ft.
Before you buy, confirm durability and accessories because a rugged tool and the right extras save time.
Why it matters: a damaged or under-equipped level stops work and costs more long term.
How to check durability and accessories:
- Check IP rating; IP54 or higher resists dust and splashes, IP65+ resists jets and heavy exposure.
- Look for a hard case, spare batteries, targets, and a receiver if you work outside.
- Inspect build quality: plastic thickness, rubber overmolds, and sealed seams.
Real-world example: a rainy job ruined a level without an IP rating, but a colleague’s IP65 unit kept working.
Quick checklist you can use in-store or when reading specs:
- Accuracy spec (e.g., ±1/8″ @ 30 ft)
- Battery type and runtime (hours), and swappable or rechargeable option
- Mounts: 1/4″-20 thread, magnet, or clamp
- Self-leveling range (°) and pendulum lock presence
- Beam visibility range and color; receiver compatibility for outdoors
- IP rating, case, and included accessories (targets, receiver, spare batteries)
Pick the features that match how and where you work, and you’ll spend less time fiddling and more time finishing jobs.
Recommended Products

Horizontal self-leveling automatically aligns the DEWALT laser level to center
POWER FLEXIBILITY: Works with included core 18V 4 Ah battery or 4X C Cell alkaline batteries (sold separately) for less downtime on the job

POWER FLEXIBILITY: Works with 4x c cell alkaline batteries or a core18v 2.0 ah or 4.0 ah battery (sold separately) for less downtime on the job
Frequently Asked Questions
Can Ambient Light Make Readings Unreliable Indoors?
Yes — I’ve seen ambient reflections and bright ambient light reduce visibility; with beam spread, usable indoor precision drops around 50–70 ft. I’ll note color temperature can affect perceived contrast, so dim or shade the area.
How Often Should I Recalibrate a Compact Laser Level?
I’d recalibrate annually, but I’ll do transport checks before every job and after any drop or shock; more frequent calibration’s wise if you rely on 1/16″–1/8″ tolerances or work in extreme conditions.
Do Green Lasers Affect Battery Life Significantly?
Yes — I’ve noticed green diode lasers usually cause more power drain than red ones, so they’ll shorten battery life. I’d pack spares or use alkaline/rechargeable cells rated for higher current to avoid surprises.
Can I Use a Compact Line Laser for Stair Stringer Layout?
Yes — I’d use a compact line laser for stair rise/run layout; it’s handy for consistent rise/run marks and handrail alignment, though I’d double-check measurements and account for beam spread at longer distances.
Will Magnetic Mounts Distort Accuracy Near Metal Studs?
Yes — I don’t trust magnetic mounts near metal studs; magnetic interference and metal attraction can shift the mount or housing, so I avoid them or use nonmagnetic clamps to keep the laser’s alignment stable.