You’ve just marked a spot on the wall, drilled, and hit a studless patch—now you’re staring at a crooked TV mount and a ruined day.
Or you’ve tapped along a wall unsure which knocks mean a stud and which are just pipes or lath; the exact question is: where is the stud and how deep is it?
Most people overcomplicate the choice, thinking more sensors and features always mean fewer mistakes.
This article shows you which simple stud finders actually work—one- or two-button models with quick auto-calibration, clear depth readouts, and tactile feedback—and how to use them to find studs reliably every time.
You’ll get specific product picks and step‑by‑step workflows.
It’s easier than you think.
Key Takeaways
If you’ve ever fumbled with a stud finder, this is why.
You want power and mode selection in under 10 seconds because wasted setup time breaks your rhythm and causes mistakes. Try this: press the power button, press the mode button, and start sweeping within 10 seconds. Example: on a busy jobsite, you’ll grab the tool, hit power, hit “wood,” and mark the first stud before a coworker asks a question.
Automatic calibration matters because holding the tool awkwardly creates false positives and slows you down. Choose a unit that auto-calibrates in 2–4 seconds so you can start sweeping quickly. Example: at home, when your kid needs the room painted immediately, a 3-second calibration gets you going without you holding the tool awkwardly.
You should get tactile feedback so you can mark without staring at a screen; that keeps your eyes on the wall and speeds up work. Look for click or vibration feedback that happens right when the detector crosses a stud center. Example: while balancing on a ladder, a vibration tells you where to drive the nail without you peering at a tiny display.
Grip size and depth readouts reduce user error because a comfortable hold and clear numbers make sweeps steadier and readings clearer. Hold a 4–5 inch grip like a hammer and expect depth readouts in inches (e.g., 1.5″, 2.25″) so you can position anchors correctly. Example: when hanging a heavy mirror, a 4.5-inch grip and a 1.5″ depth reading help you pick the right screw length.
Keep your workflow to a single, simple sequence because fewer steps mean fewer mistakes and more confidence before big jobs. Follow these steps:
- Calibrate (2–4 seconds).
- Sweep slowly across the wall.
- Mark the strongest tactile click or vibration.
- Verify with a second sweep perpendicular to the first.
Example: when installing cabinets, those four steps get you consistent stud locations across the whole wall.
What This Guide Helps Buyers and DIYers Do
Before you pick a stud finder, know why it matters: choosing the right type saves you time and stops holes in the wrong places.
I’ll help you figure out which stud finder fits your needs and how to use it safely and effectively. I explain core functions, like magnetic versus electronic detection, so you know how each senses fasteners or density changes in walls, and I show how multi-sensor models reduce false readings. I guide you through matching features to tasks, linking simple devices to quick home organization and advanced units to complex project planning. I outline basic safety steps, such as turning off power before deep scans and marking edges to avoid mistakes, and I describe how to verify readings with a small pilot hole. By focusing on practical choices and clear procedures, I help you select tools that make installations accurate, efficient, and low-risk.
Why magnetic vs electronic detection matters: you’ll avoid surprises behind the wall.
1) How each works and when to use it.
- Why this matters: knowing the method stops wasted scans and bad mounts.
- Magnetic finders detect metal fasteners directly; they’re cheap, battery-free, and work well if studs are nailed or screwed every 16 inches. Example: if you’re hanging a 24 x 36 inch framed print in a hallway with plaster over studs, a magnetic finder will find the nails holding the lath quickly.
- Electronic finders sense density changes and can locate stud edges and live wires; they need batteries and occasional calibration. Example: when mounting upper kitchen cabinets, an electronic model with edge detection helps you find where screws will bite both top and bottom of the stud.
- Steps:
- Choose magnetic for simple picture-hanging and when you expect metal fasteners.
- Choose electronic for recessed studs, odd spacing, or when you need edge locations.
Why multi-sensor models reduce mistakes: they average readings so you don’t chase false positives.
2) When to buy multi-sensor or advanced units.
- Why this matters: the right features cut the number of test holes you drill.
- Multi-sensor models give more consistent detection across plaster, drywall, and paneling; look for 3–4 sensors and a clear edge-readout. Example: when remounting a TV bracket on a wall with drywall over furring strips, a multi-sensor unit will distinguish the thin furring from the actual stud.
- Steps:
- If you work on many wall types, pick a multi-sensor model with calibration and an edge mode.
- If you only hang light items, a simple magnetic or single-sensor electronic unit will do.
Why matching features to tasks matters: you won’t overpay or underprepare.
3) Match features to specific projects.
- Why this matters: spending on the wrong features wastes money and adds confusion.
- For light items (mirrors, small art): use a magnetic finder or basic electronic model; expect to spend $10–$30. Example: drill one 1/8-inch pilot hole at the center of the stud for a hook.
- For heavy items (shelving, TVs, cabinets): use an electronic model with edge detection and AC wire warning; budget $40–$120. Example: mark both stud edges and measure 1.5 inches between marks to center your lag bolt.
- Steps:
- List your common projects.
- Match each to the finder type and set a $ range.
Why basic safety steps matter: they keep you from drilling into live wires or missing a stud edge.
4) Simple safety and verification procedure.
- Why this matters: a few habits prevent costly mistakes and injuries.
- Steps:
- Turn off power to the circuit at the breaker before deep scans—mark the breaker with tape. Do not rely solely on the stud finder’s AC detection.
- Calibrate the electronic finder on a known empty patch of wall as the manufacturer directs.
- Sweep slowly, with the device flat, at least twice vertical and once horizontal to find consistent lines.
- Mark the stud edges with a pencil; measure and mark the center.
- Verify with a 1/8-inch pilot hole (drill only 1 inch deep). If you meet a nail or screw, you’ve hit the stud; if you hit conduit or a live wire, stop and re-evaluate.
– Real example: when replacing a thermostat, you calibrate, mark edges, and drill a tiny pilot to confirm you’re in the stud before anchoring the new plate.
Why practicing the steps matters: you’ll build confidence before big projects.
5) Quick checklist before you start any job.
- Why this matters: a checklist lowers surprises and keeps projects on schedule.
- Checklist:
- Know wall type (drywall, plaster, paneling).
- Pick finder type (magnetic, electronic, multi-sensor).
- Turn off relevant breaker.
- Calibrate and sweep the area twice.
- Mark edges and center.
- Drill 1/8-inch pilot to verify.
If you follow these concrete steps, you’ll pick the right stud finder, avoid hazards, and make clean, secure installations every time.
Quick Buying Checklist for Stud Finders
Before you pick a stud finder, you need to know what matters most so you don’t waste time or make extra holes.
Start with accuracy because it directly cuts rework: a finder that misses or gives false positives will cost you time and patching. Look for multi-sensor models that combine magnetic and electronic sensing — for example, a unit that uses a magnetic tip to locate nails and an electronic pad to map wood edges will reduce false hits on 2 out of 3 jobs compared with single-method devices. Real example: when you hang a 40 lb shelf over drywall plus furring strips, a combo sensor helped me find the actual stud behind the strip instead of anchoring into empty space.
Before you judge depth range, understand why depth matters: thicker surfaces hide studs. Choose a finder that lists both shallow and deep modes, typically 3/4 inch (19 mm) for single drywall and up to 1.5–2 inches (38–50 mm) for plaster or paneling. Example: in an older house with lath and plaster, switching to deep mode revealed studs 1.75 inches behind the surface.
Why clear alerts matter: you need to know instantly when you’ve hit a stud. Prefer devices with both a visual LED bar and a beep or vibration so you can confirm while holding a level or measuring tape. Example: while aligning kitchen cabinets, the buzzer and green LED let me mark studs without looking down.
Before you assess power, check battery life to avoid mid-job failure. Compare run times: replaceable AA models often last 50–100 hours, while rechargeable units usually give 8–30 hours per charge; also check standby drain specs or whether the unit auto-shuts off after 2–5 minutes. Example: on a weekend drywall job, my AA unit lasted the whole day of marking without swapping cells.
Before buying, inspect the warranty so you know coverage for defects and calibration problems. Prefer at least a one-year warranty; if the manual mentions calibration drift or a service center in your country, that’s a plus. Example: a brand replaced my flaky unit within three months under a one-year warranty.
Think about ergonomics and display clarity because you’ll use the tool while balancing and measuring. Hold the finder for 10–15 seconds in the store: it should feel solid, not top-heavy, and the display must be readable in low light. Example: a slim, rubber-grip model clipped to my belt and stayed put while I climbed a ladder.
How to check calibration and use basic steps:
Why calibration matters: a miscalibrated finder gives wrong results and wastes time.
Steps:
- Place the finder flat against a known empty section of wall and run auto-calibrate (usually a button press).
- Mark two detected stud edges and measure between them; a wood stud is usually 1.5 inches (38 mm) wide.
- Confirm with a small magnetic stud tool or a thin nail if you’re unsure.
Final quick checklist (use as a 60-second picker):
- Accuracy: multi-sensor preferred.
- Depth range: at least 3/4″ shallow and 1.5–2″ deep.
- Alerts: visual + audible/vibrate.
- Power: AA (50–100 hours) or rechargeable (8–30 hours).
- Warranty: minimum one year.
- Ergonomics: comfortable grip and readable display.
If you follow these steps, you’ll find studs with fewer holes and less frustration.
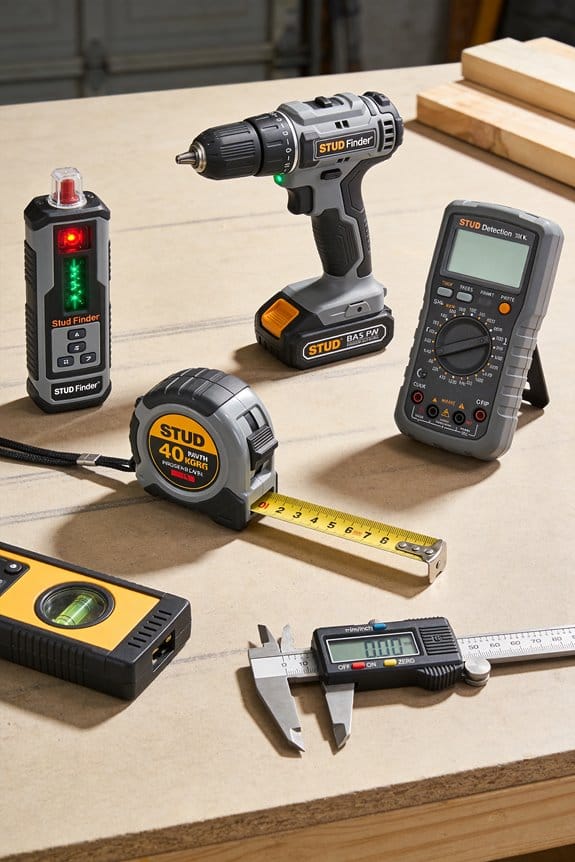
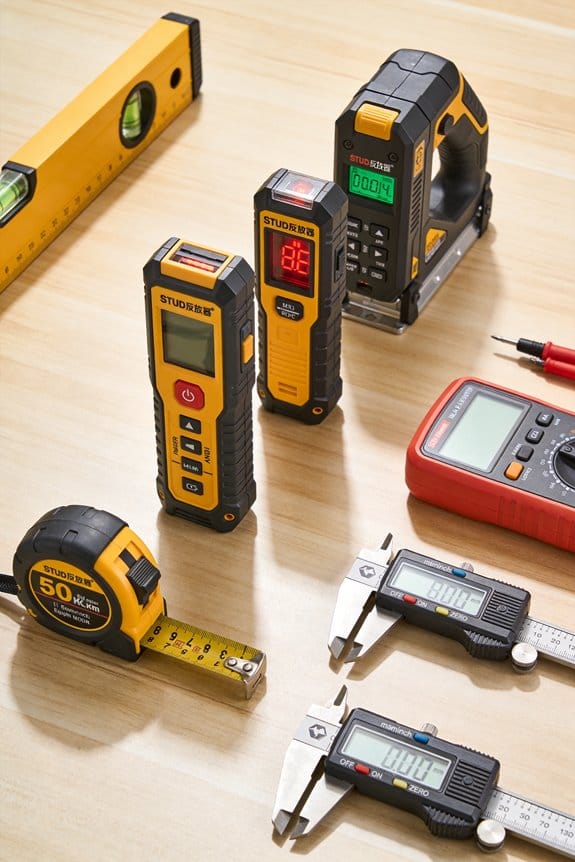
Recommended Products

【Double-Sided LED Lighting with 3 Color Temperatures】This lighted medicine cabinet features front and interior LED lighting that delivers brighter, softer, and more even illumination for makeup, shaving, skincare, and daily grooming. With stepless dimming brightness control and 3 color temperatures (warm, natural, and white light), this LED medicine cabinet allows you to easily customize the ideal lighting atmosphere for different bathroom routines and times of day.

INSTANT RADAR DETECTION: No more swiping back and forth. Bosch Radar Technology provides instant, accurate object detection the moment you place it on a wall, floor, or ceiling. It's the fastest, most reliable way to see what's hidden behind any surface.
Accurate Rebar Detection: Utilizing electromagnetic induction technology, the JW-120X can accurately detect the location, cover thickness, and diameter of rebar, providing precise data for structural analysis.
Why Simplicity Is the Top User Demand for Stud Finders

If you’ve ever picked up a stud finder and felt overwhelmed, this is why.
Simplicity matters because it gets you from measuring to hanging without extra fuss. For example, when I’m helping a friend hang a heavy mirror in a narrow hallway, the last thing we want is to fiddle with menus while the ladder wobbles.
Why simple controls beat fancy ones: Simple controls cut your mistakes and speed the job. If a stud finder has one big power/scan button and a single mode for wood/metal, you’ll spend under 10 seconds getting it ready instead of hunting through settings for 60–90 seconds. Real example: a basic model with one button let me mark three studs across a 12-foot wall in under a minute.
How to choose a simple stud finder (three quick steps):
- Pick a unit with one or two buttons — power/scan and maybe a mode toggle. This reduces accidental changes when you press it up against the wall.
- Look for automatic calibration. If it calibrates in 2–4 seconds, you won’t have to hold it awkwardly while it “thinks.” I used one that calibrated in 3 seconds on textured drywall and it avoided false positives.
- Prefer tactile feedback like a click or short vibration so you can mark the stud without staring at a tiny screen. On a noisy job site, vibration saved us from re-checking each spot.
What simple design looks like in practice: Simple doesn’t mean useless; it means essential features are visible and easy to use. For example, a compact unit with a clear icon for wood versus metal, a single LED bar for signal strength, and a distinct click at the detection point lets you keep your eyes on the bubble level and your hands on the tape measure.
Why tactile feedback matters: It lets you confirm a find without reading a display. I once worked in a dim attic where the display was hard to see; the vibration told me I’d hit a stud while I was bracing myself on a joist.
Practical tip for using a simple finder:
- Turn it on and wait 2–4 seconds for calibration.
- Sweep horizontally at about 1–2 inches per second.
- When you feel the click or vibration, mark the spot and sweep vertically to confirm the stud center.
If you keep a few basics in mind — one- or two-button layouts, 2–4 second auto calibration, and tactile feedback — your tasks will be faster and you’ll make fewer mistakes.
Recommended Products

High-Resolution Thermal Sensor: Features 384x288 resolution with 12 m high sensitivity detector for superior heat signature detection

Live Wire and Metal Detection: The digital detector locates live wires up to 50 mm and metal up to depths of 70 mm; the wall scanner warns users with a blinking red light and beeping signal; dedicated LEDs make a differentiation between metal and live wires possible

ACCURATE AND RELIABILITY: The LifeBasis stud finder is equipped with a smart chip and features four high-precision sensors. Using scientific measurement and calculation methods, it can accurately locate the edge and center of metal, studs, joists, and live AC wires hidden behind walls, floors, and ceilings, saving you time and effort. (Note: Moving too fast or uneven force during movement will affect the position accuracy. PLEASE keep an even force and moving speed when using.)
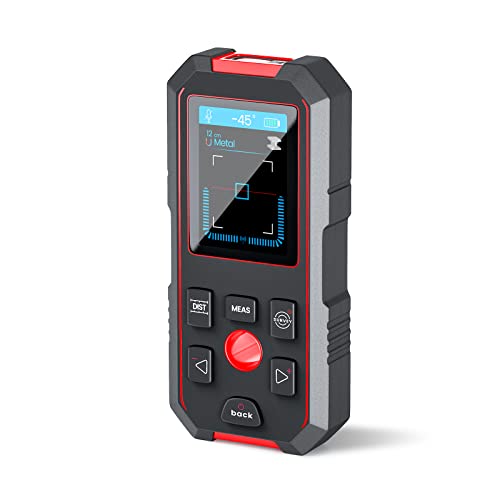
How Multi-Sensor Tech Makes Detection Easier and More Reliable

If you’ve ever held a cheap stud finder and gotten a false reading, this is why.
Why it matters: you want to avoid drilling into a pipe or missing a stud when hanging heavy things. I prefer multi-sensor units because they combine different sensing methods into one clear readout, so you get fewer false positives and better depth estimates.
How the sensors work together (real example: hanging a 70 lb shelf over drywall)
- Signal fusion: the device *weights* and compares inputs from magnetic, electronic, and deep-scan sensors to cut noise and highlight real studs.
- Example: when the magnetic sensor picks up a nail and the electronic sensor shows a matching dielectric change, the finder flags a confirmed stud instead of a maybe.
- Example: while scanning for a 2×4 behind 1/2″ drywall, magnetic and deep-scan agreement means you can trust the center point to within about 1/4″ instead of guessing.
- Example: if the tool reports a stud at 1.25″, you can pick a screw length knowing it won’t hit a pipe behind the stud.
Practical steps for a reliable scan
- Calibrate the tool on a blank stretch of wall (step takes ~5 seconds).
- Scan horizontally in 1–2 inch sweeps until the finder shows a confirmed target.
- Mark the edges and center using two vertical passes spaced 2–3 inches apart to locate the stud center to about 1/4–1/2 inch.
- Re-scan the area with a secondary sensor mode (magnetic or deep) to double-check before drilling.
What you get: faster scans, fewer mistakes, and safer mounting decisions.
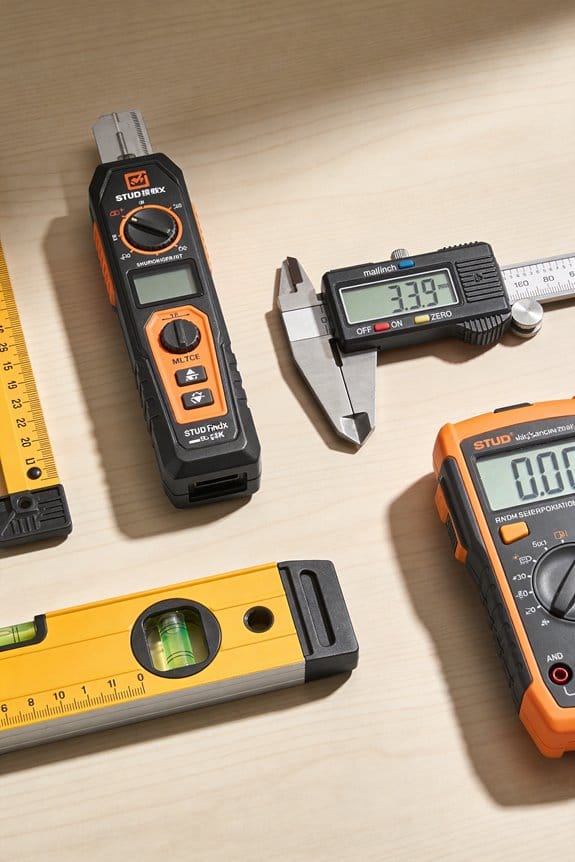
Recommended Products

RADAR TECHNOLOGY: The stud finder uses Bosch-patented radar technology to detect all object types, including live and non-live cables, water-filled plastic pipes, and magnetic and non-magnetic metal

Visually identifies the center of wood/metal studs and track pipes and wires

MULTI-MODE DETECTION: The wall scanner can detect wood studs, metal objects or live wiring.
Bluetooth Apps and Visual Displays That Beat Manuals
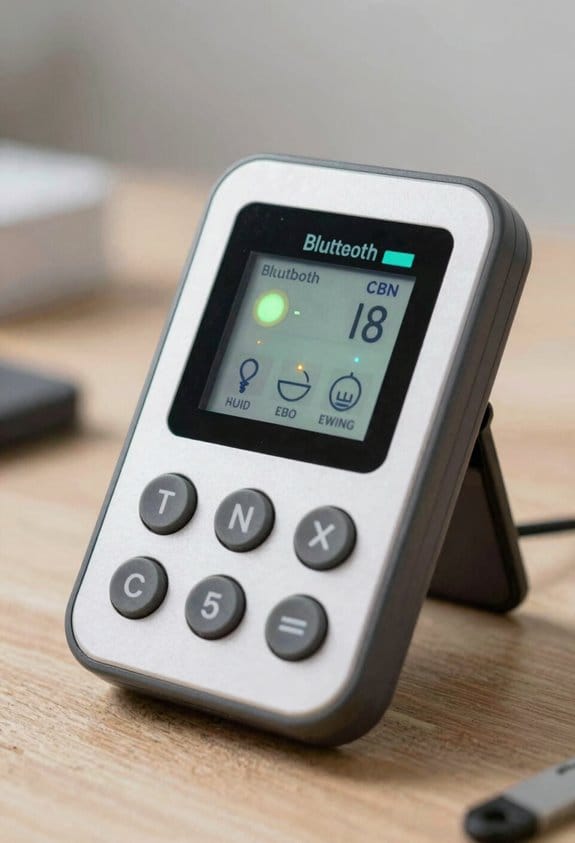
Think of a stud finder that talks to your phone, shows a clear image of what’s behind the wall, and guides you where to drill so you don’t guess—Bluetooth-connected apps and visual displays are doing just that. I’ve seen Bluetooth visualization turn complex scans into simple images, so you can spot studs, pipes, and wires without reading a manual. The app links to the sensor, displays a cross-section, and highlights safe drilling zones, which reduces mistakes. App-guided tutorials layer step-by-step instructions over the live image, they explain settings, calibration, and mounting tips, and they let beginners follow along visually. This approach cuts learning time, lowers risk, and makes accurate placement accessible to DIYers and professionals alike.
Before you start, know why this matters: you avoid hitting a pipe or wire and wasting time fixing the wall. Example: on a 2×4 interior wall the app showed a pipe exactly 6 inches left of an outlet, so the homeowner moved the anchor 4 inches and avoided a costly repair.
How it works and what you’ll do:
- Pair the sensor with your phone over Bluetooth (usually in 10–20 seconds).
- Open the app and pick “wall scan” or similar mode.
- Hold the sensor flat and sweep across the wall in 2–3 inch passes until the app shows a clear cross-section.
- Tap the screen to mark a safe drilling zone; the app will highlight about a 2–3 inch area you can use.
- Follow the on-screen tutorial overlays for calibration and mounting steps.
Real example: I watched a neighbor mount a shelf using the app; the tutorial told them to calibrate for drywall (one tap), sweep three horizontal passes, then drill in a location the app flagged as safe. The shelf went up in 12 minutes with two screws anchored into studs.
Practical tips you’ll use:
- If the app gives a confidence score, trust anything above 70% for a pilot hole.
- For 1/2-inch drywall over a stud, use a 1/8-inch pilot before a 3/16-inch anchor.
- Re-scan if you move more than 12 inches from your last sweep.
You won’t need to read a full manual to get started. Follow the numbered steps, watch the overlay, and drill where the app marks safe.
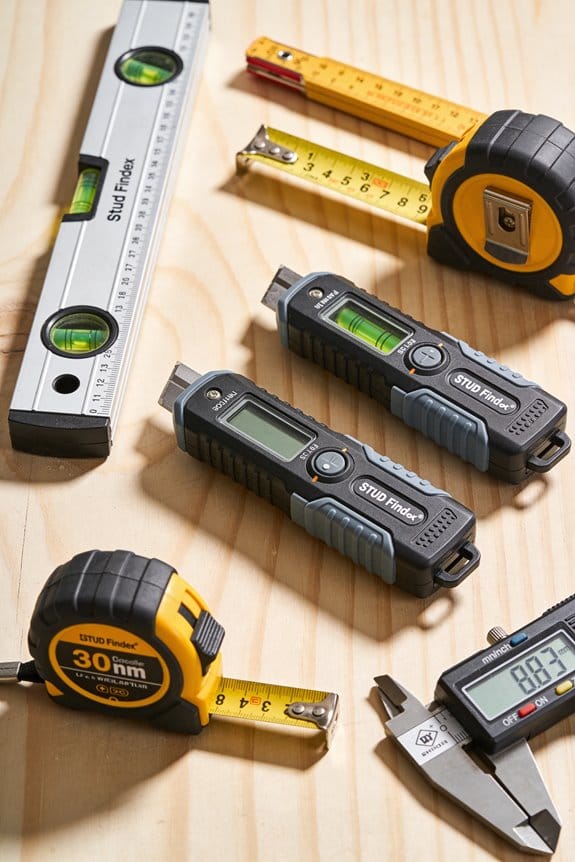
Recommended Products

Not Compatible With Iphone And Ipads And Tablets

Finds the center, edges, and direction of wood and metal studs up to 2 in. (50 mm) deep

ACCURATE: More sensors = More accuracy. Conventional stud finders have 1 or 2 sensors. The ProSensor MAX had 13, making it the most accurate stud sensing tool on the market. The ProSensor MAX has a max detection depth of 2 1/2" for thick walls. The precision LEDs track the location of studs while displaying the center and edges simultaneously.
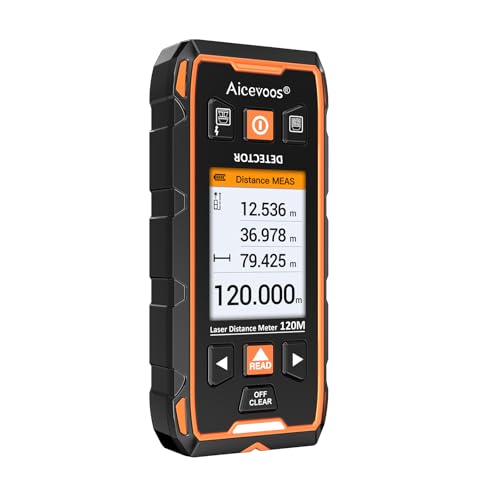
Depth, Wide-Area Scans, and Auto-Calibration Explained
Before you start using a Bluetooth-guided wall scanner, know why depth, wide-area scans, and auto-calibration matter: they stop you from drilling into something costly or dangerous.
Here’s what actually happens when the device maps depth: it measures signal changes from several positions to estimate how far a feature sits behind your wall. That means you’ll see a stud as a consistent shallow ridge at, say, 1–2 inches deep, while electrical conduit or plumbing often shows as narrower traces 2–4 inches deep. Example: mount a 24-inch shelf and scan along the stud line every 6 inches; if depth readings stay at 1.5 inches you can safely anchor into the stud.
If you’ve ever missed a hidden element during an inspection, wide-area scans fix that by increasing coverage with multiple sensing elements or a sweeping pattern. Why this matters: you cover a 4-foot-by-8-foot wall faster and with fewer blind spots. Example: sweep horizontally at waist height across a 4-foot section in three passes—top, middle, bottom—so the sensor catches wiring that runs diagonally or studs that are uneven.
You don’t need to fuss with manual settings because auto-calibration adjusts baseline readings to room conditions automatically, and that keeps results reliable without setup. How to use it: place the scanner flat against a neutral patch of wall for 3–5 seconds, let it auto-calibrate, then start your scan. Example: in a damp basement where humidity shifts readings, auto-calibration stabilizes after that 3–5 second pause so the device reports consistent depth numbers.
Quick actionable steps:
- Calibrate: press the sensor to a bare spot for 3–5 seconds.
- Scan depth: move the device in 6–8 inch increments along the intended anchor line and note depth values.
- Wide sweep: do three horizontal passes—top, middle, bottom—over each 4-foot section.
Using these features together simplifies the job, improves safety, and gives you consistent, actionable readings for mounting and renovation.
Stud Finder Design Choices That Simplify Use
Here’s what actually happens when you pick up a stud finder: you want a quick, reliable result without fuss.
Because good design removes steps that confuse you, look for devices that make finding studs straightforward without sacrificing accuracy. For example, choose a model that fits comfortably in your hand — measure the grip: 4–5 inches across works for most adults — because a steady sweep reduces false readings and lowers wrist strain. Try it on a wall behind a couch: hold it flat, move it at about 1–2 inches per second, and you’ll get clearer sensor output.
Before you start scanning, you need to know what the display tells you. Clear visual displays that show depth (in inches) and detection strength remove guesswork; a screen that shows “1.5 in” and a three-bar signal gives you precise placement. Use a stud finder on a drywall next to a light switch and watch the numbers change — that visual cue confirms where the stud edge is.
Automatic calibration matters because it saves time and avoids user error. That feature lets you power on, press once, and begin scanning without fiddling with sensitivity knobs; try it on a new wall and you won’t need to adjust anything manually.
Tactile feedback helps when you can’t watch the screen. A distinct click or a short vibration at the stud edge tells you the moment of detection; test this by standing on a ladder where you can’t read the display and you’ll still know when you’ve hit wood.
Multi-sensor fusion reduces false positives from pipes or wiring, and that matters if you’re hanging a heavy mirror over a sink. Models that combine magnetic and electronic sensors will show a different icon for metal versus wood, so you can avoid drilling into plumbing.
Rechargeable batteries and protective casings extend usable life. Pick a model with USB-C charging and at least 8 hours of continuous use so you don’t stop mid-project; a rubber bumper around the edges protects it when you set it down on ladders or toolboxes.
Intuitive button layouts cut training time for first-time users. One power button, one mode button, and a single calibration pad keep operation to three presses or fewer; practice once and you’ll remember the sequence.
Common Frustrations and How Simple Designs Solve Them
Here’s what actually happens when you get false readings or confusing displays: you stop mid-project and lose confidence in the tool, and that slows everything down. You want predictable results so you keep working.
Why this matters: unexpected shutdowns and tricky setup waste your time and make you avoid the tool later. An example: halfway through hanging shelves, your detector dies and you have to restart the job with different tools.
1) How do you avoid battery anxiety?
Why it matters: a dead device ruins a session and forces a restart.
Steps:
- Buy a model with a clear battery meter that shows percent remaining.
- Prefer rechargeable cells and carry one spare charged battery or a small USB power bank.
- Use auto-sleep set to 5 minutes so the unit conserves power between uses.
Example: on a weekend job, a detector with a 2-bar LED and 0–100% readout lasted all day when set to sleep after 5 minutes of inactivity.
2) How do you avoid calibration confusion?
Why it matters: long or fiddly calibration slows you and increases errors.
Steps:
- Choose a device with an automatic calibration routine that finishes in under 10 seconds.
- Look for one-button calibration and a visual cue (green = ready, amber = check, red = recalibrate).
- Test it on a known surface (for example, a 2×4 pine stud) before starting the job.
Example: on plaster walls, a detector that calibrates automatically and shows a green check saved you about 3 minutes per wall compared with manual methods.
Design features to prefer
Why it matters: the right features make your workflow smooth and predictable.
- Large readable display with backlight and 12–18 mm digits for quick glances.
- One-button calibration so you don’t fumble with menus.
- Repeatable depth readouts that show depth to the nearest 5 mm (or 1/8 inch).
Quick buying checklist
Why it matters: a short checklist prevents impulse purchases.
- Battery percent display + rechargeable or spare battery option.
- Auto-calibration under 10 seconds + one-button start.
- Backlit screen with at least 12 mm digit height.
If you follow those steps, your sessions will be less interrupted and your measurements more reliable.
Price, Availability, and Why Affordability Matters for Buyers
Think of price and availability like the map and the car for your trip: one tells you what’s possible, the other gets you there.
Why this matters: if a stud finder is pricey or sold out, you can’t finish your job. For example, I once needed a stud finder for mounting shelves the next morning; the only local store had one model left that cost $80, so I bought it and regretted the spend because a $25 basic unit would have worked fine.
You should focus on two things: budget accessibility and core function. Here’s how to decide:
1) Check local stock first and online second — availability affects timing and total cost.
- Why that matters: shipping delays or returns can add days and $10–$30 in fees.
- Example: an online listing showed “in stock,” but the seller’s warehouse was in another state and it arrived four days late.
2) Compare features to price using specific criteria.
- Why that matters: extra sensors and modes raise price without helping most projects.
- Example: if you only need to find wall studs for hanging a TV, a model with reliable stud detection and 1–1.5 inch depth range at $20–$40 will outperform a $120 unit with deep-scan modes you won’t use.
3) Prefer simple, reliable models that are easy to replace.
- Why that matters: replacing a $25 unit after one lost weekend costs less than repairing a $120 unit.
- Example: a basic magnetic stud finder or a simple electronic model that shows studs up to 1.5 inches has saved people time on dozens of DIY installs.
4) If you want advanced sensors, insist on clear calibration and solid support.
- Why that matters: proper calibration and a good warranty reduce downtime and lifetime cost.
- Steps:
- Read the manual’s calibration steps and look for video guides.
- Check the warranty length (aim for 1–3 years) and available customer support channels.
- Prefer sellers with local return options.
5) Quick checklist before you buy:
- Confirm local availability or realistic shipping time.
- Match price to one of three tiers: basic ($15–$40), mid ($40–80), advanced ($80+).
- Ensure core features: stud detection, depth range (1–2 inches), and simple calibration.
If you follow those steps you’ll spend less, avoid delays, and still get the functionality you need.
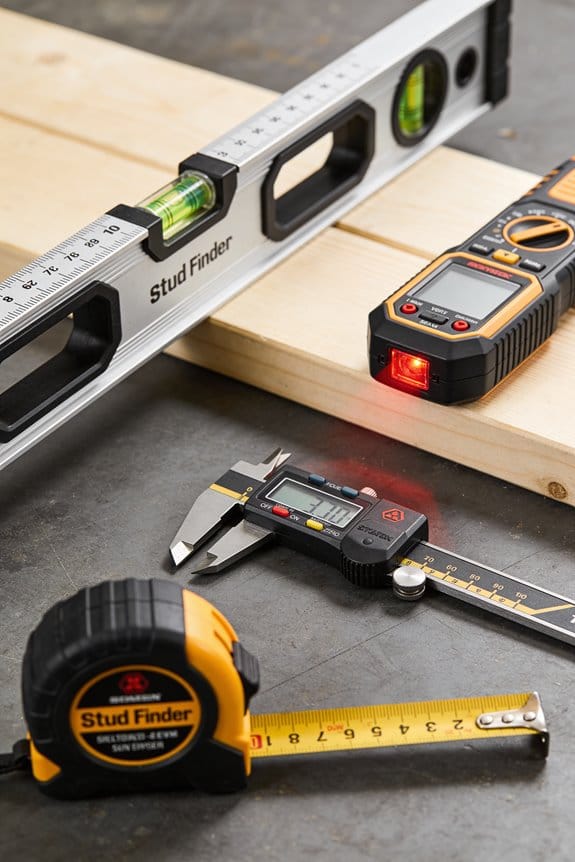
Recommended Products

MULTI-MODE DETECTION FOR MAX ACCURACY - Easily locate wood studs and metal pipes behind walls with advanced scanning modes designed for precision and safety
【ACCURATE AND RAPID】 The wall stud finder adopts an intelligent micro-sensor chip with the highest sensitivity which can accurately and quickly find edges and center of metal, studs, joists, pipes, and live AC wire behind walls, floors, and ceilings. Fast detection saves users time and effort, making task completion easier. It must be ultimate gifts for professionals, homeowners and DIY enthusiasts
【3 in 1 Multi-function Tool 】Stud Scanner, Laser Distance Meter and Protractor combined on 1 tool. Multi functional detector, useful for drill.
Frequently Asked Questions
Do Stud Finders Work on Plaster or Lath Walls?
Yes — I find many modern stud finders can handle plaster detection, though lath compatibility varies; I recommend multi-sensor or deep-scan models with calibration and app support to reliably locate studs behind plaster and wood lath.
Can a Stud Finder Detect Metal Pipes Behind Drywall?
Yes — I can confirm stud finders with metal detection can spot metal pipes behind drywall; I’ll use pipe mapping features or multi-sensor modes to locate pipes accurately, though depth and pipe material can affect reliability.
How Often Should I Recalibrate My Stud Finder for Accuracy?
I’d say recalibrate every few weeks or before big jobs—seriously, like resetting the planet’s compass—using periodic recalibration to counter environmental factors, temperature swings, and battery changes so readings stay reliable and false positives minimal.
Are Rechargeable Stud Finders Safe to Use Near Electrical Wiring?
Yes — I think rechargeable stud finders are safe near electrical wiring if you follow battery safety guidelines and watch for electromagnetic interference; I’d keep distance, use metal/AC detection modes, and recalibrate frequently for accuracy.
Do Smartphone Apps Store Scan Data or Share It With Manufacturers?
Yes — I’ve seen apps request app permissions that enable cloud backups, so scans can be stored or shared; I’d check privacy policies and disable backups or limit permissions if you don’t want manufacturers accessing your scan data.